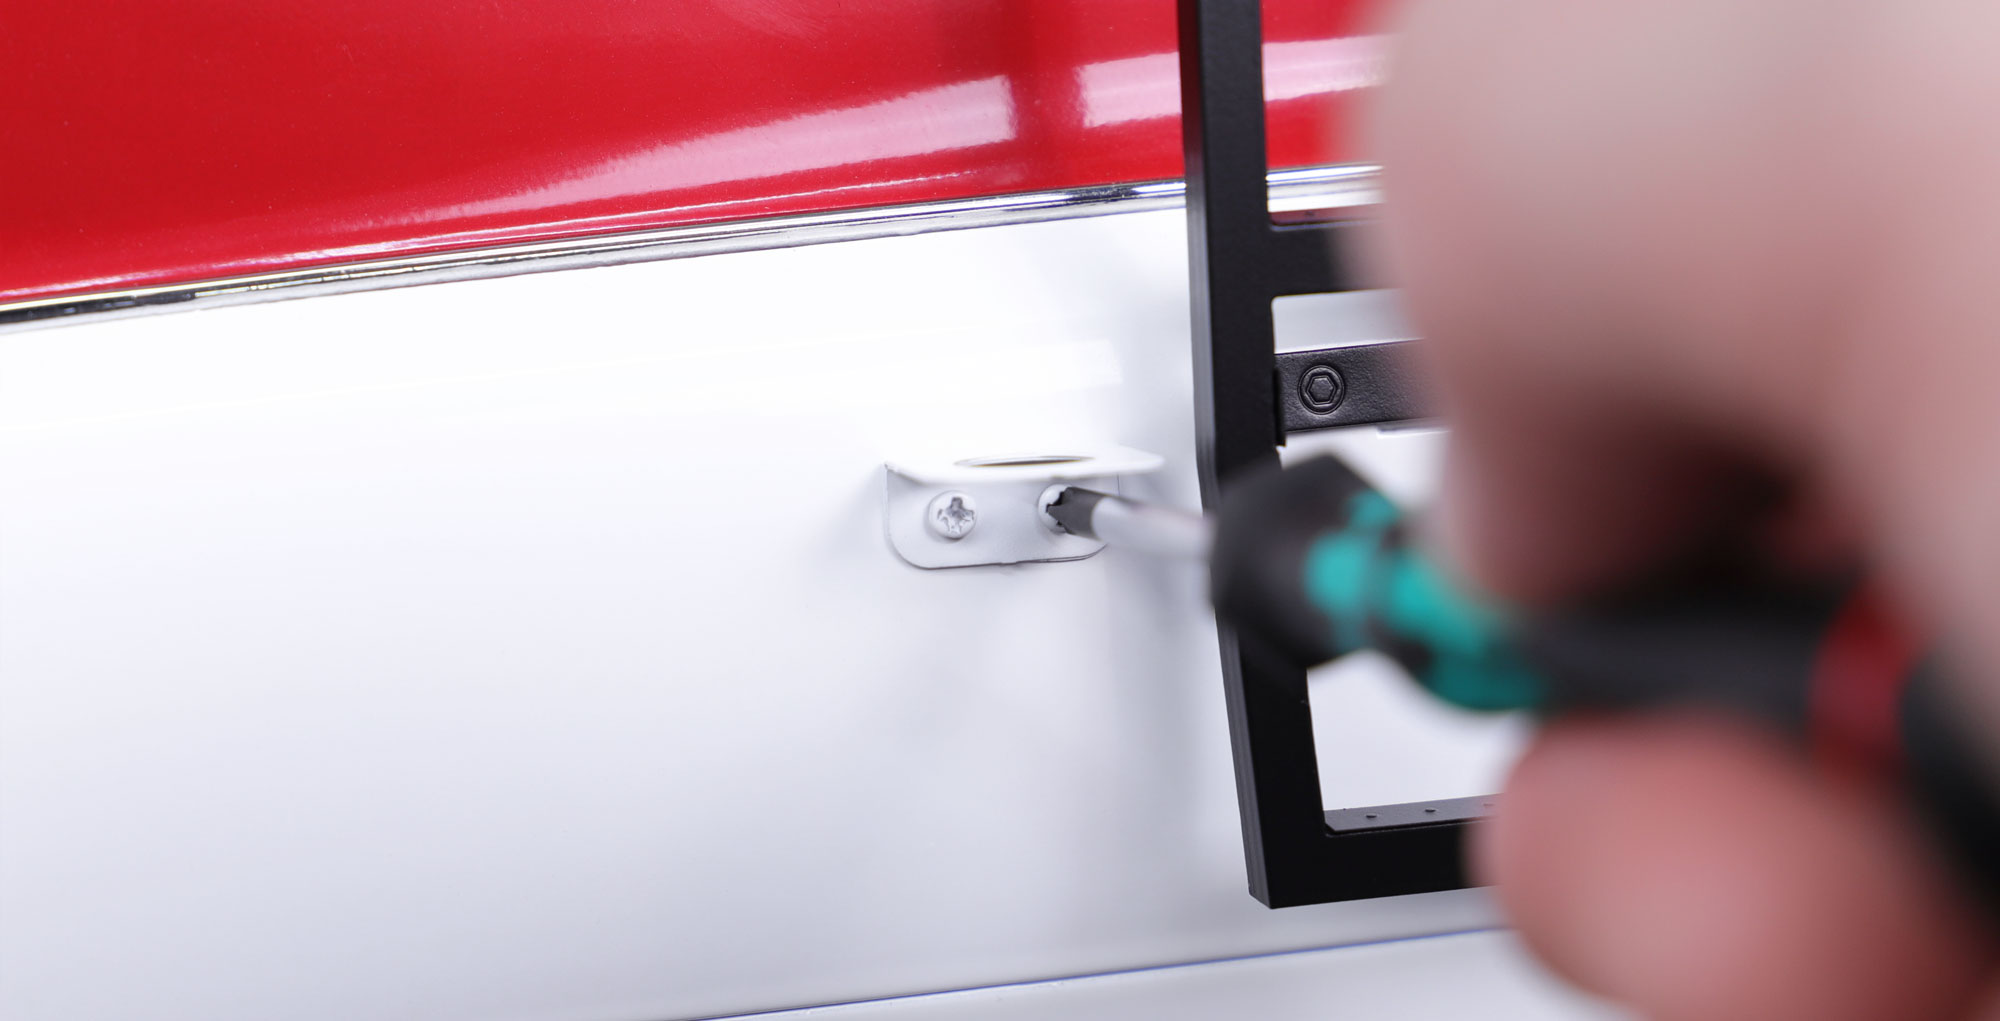
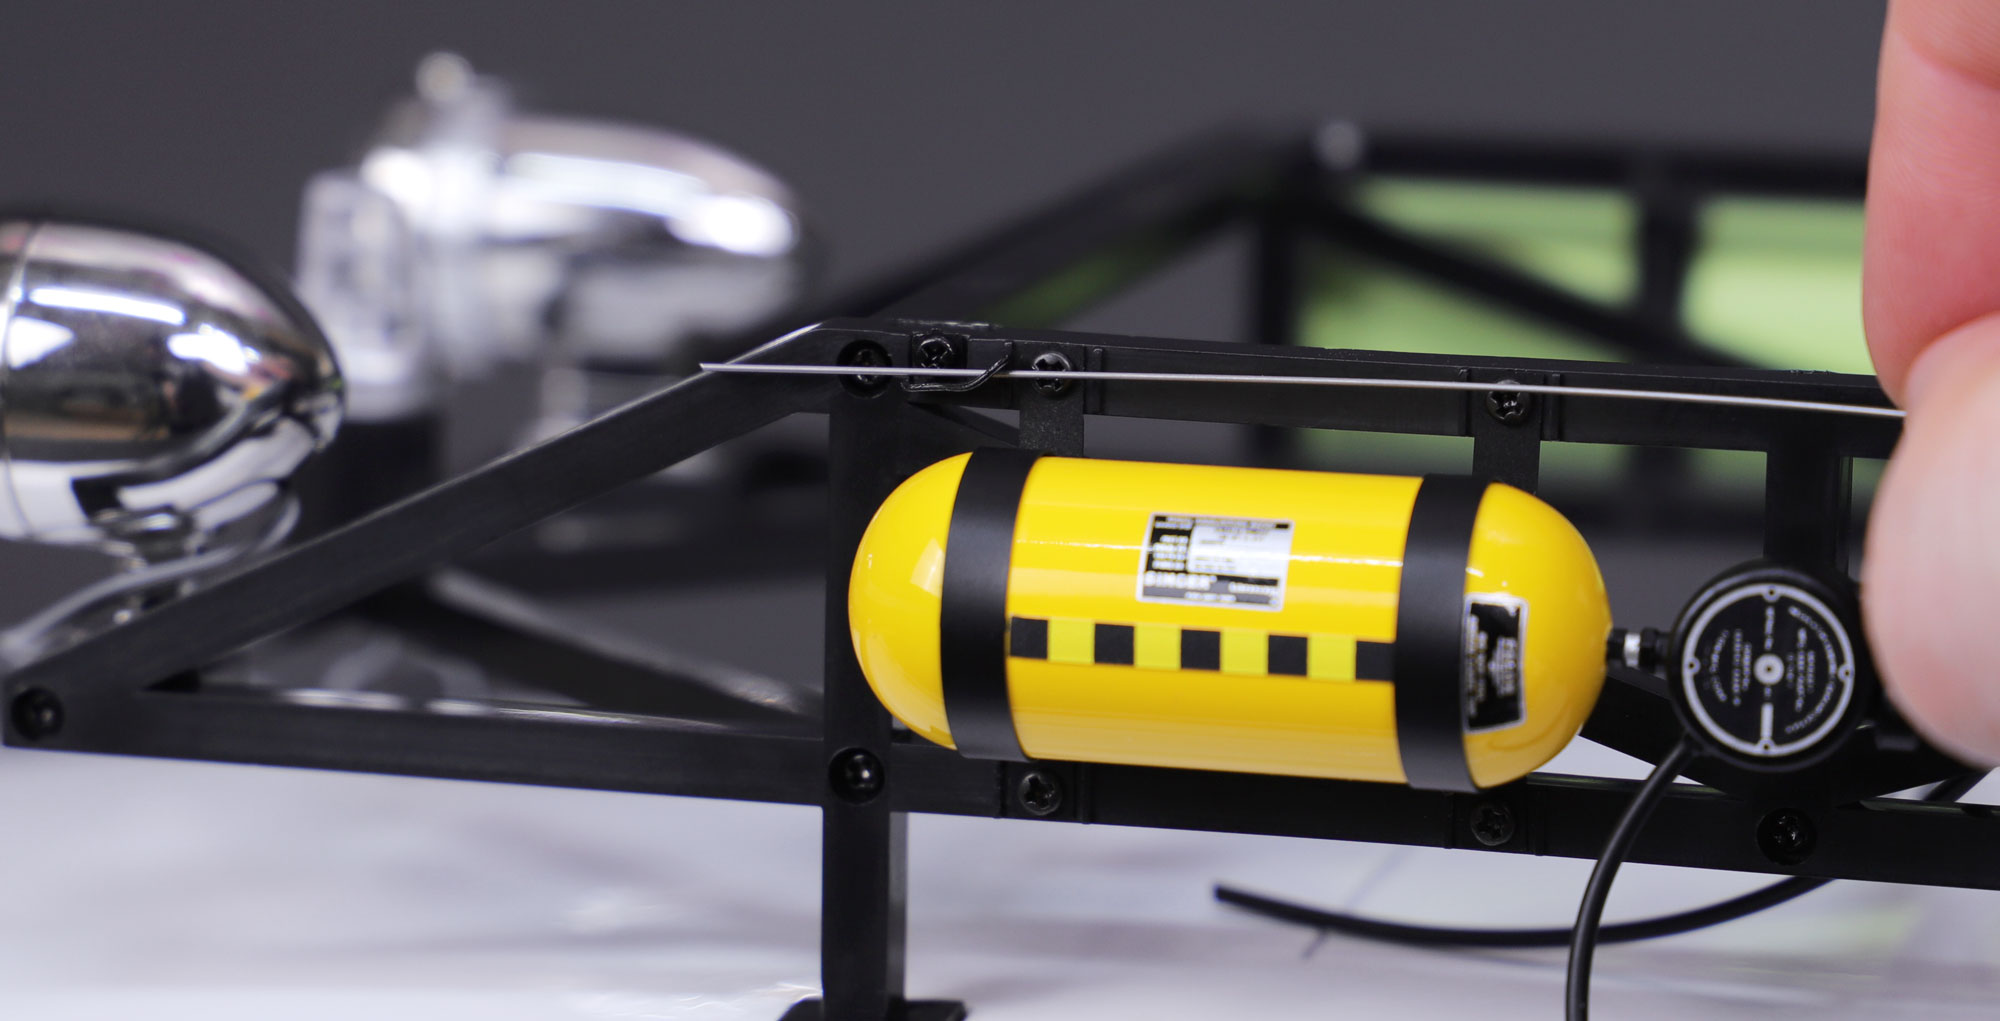
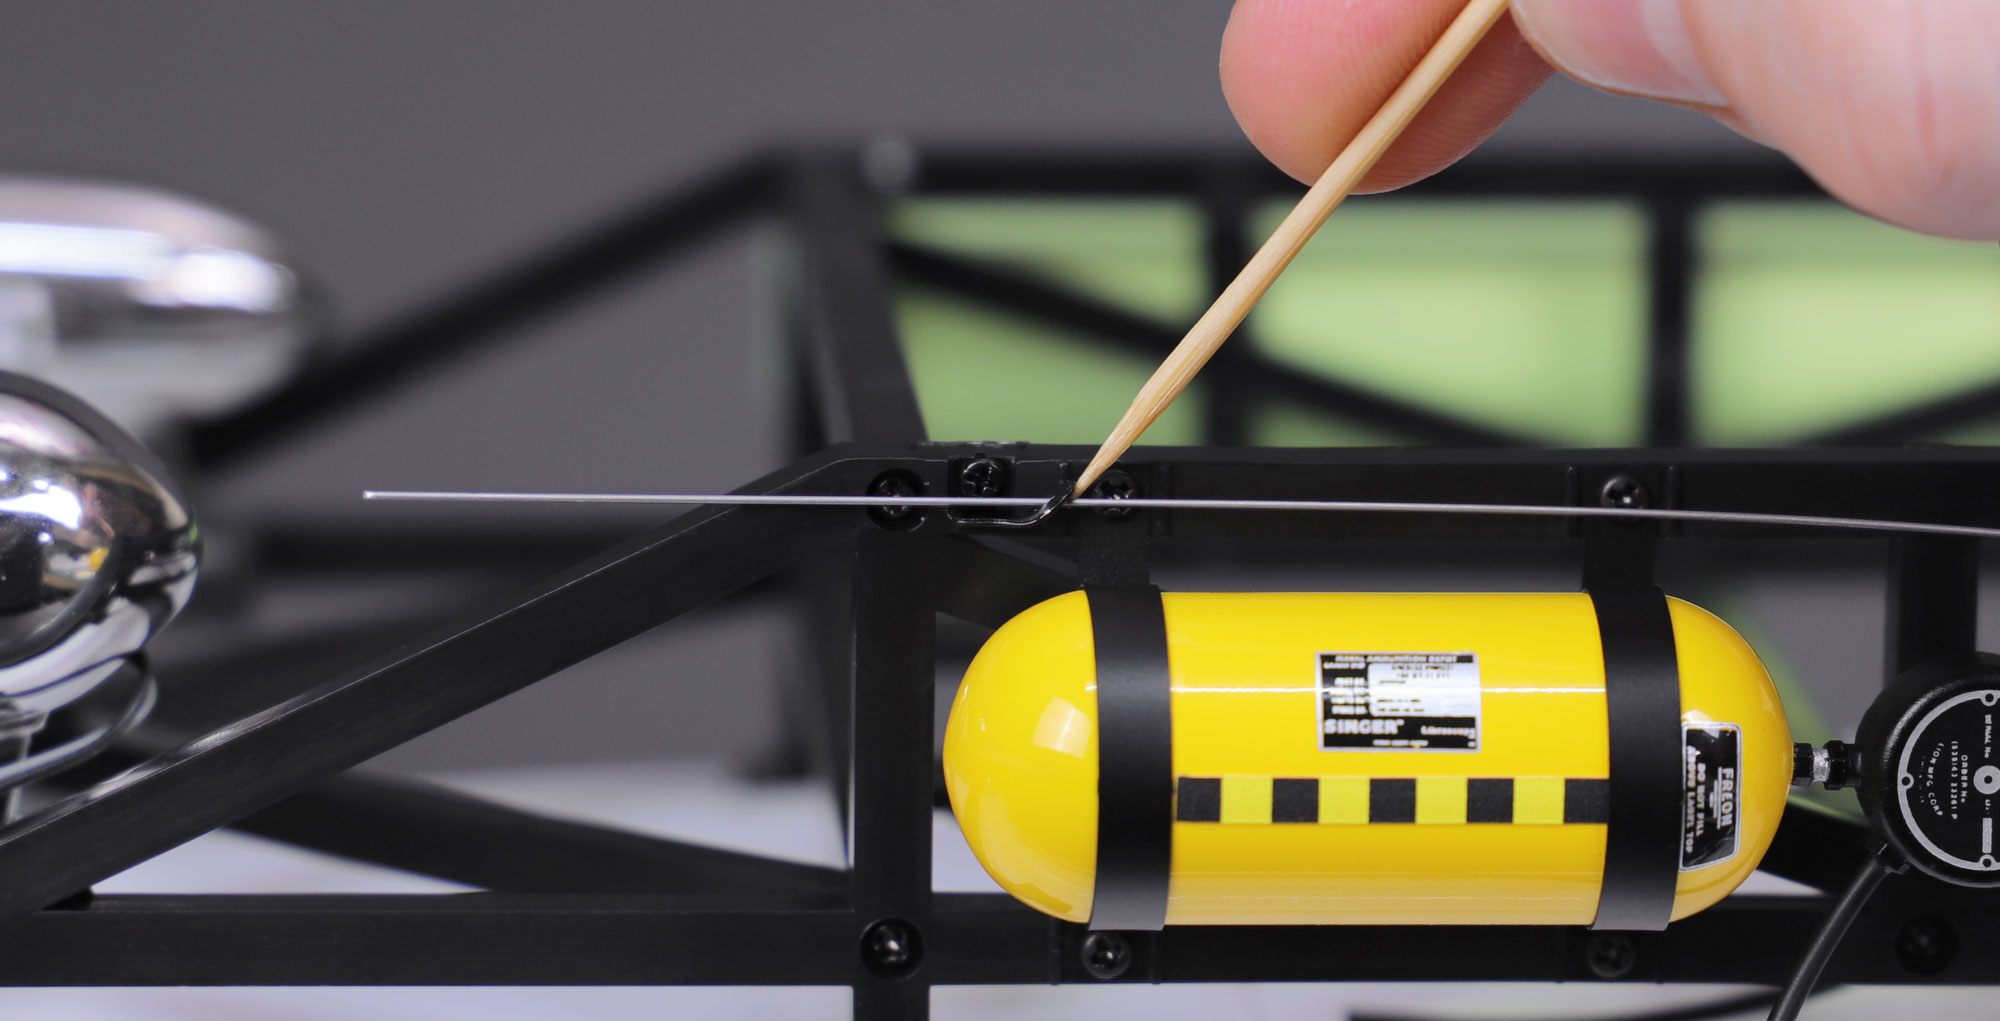
Using a PH0 screwdriver, take 2 x ML2 screws and attach the bottom mount for the grey hose.
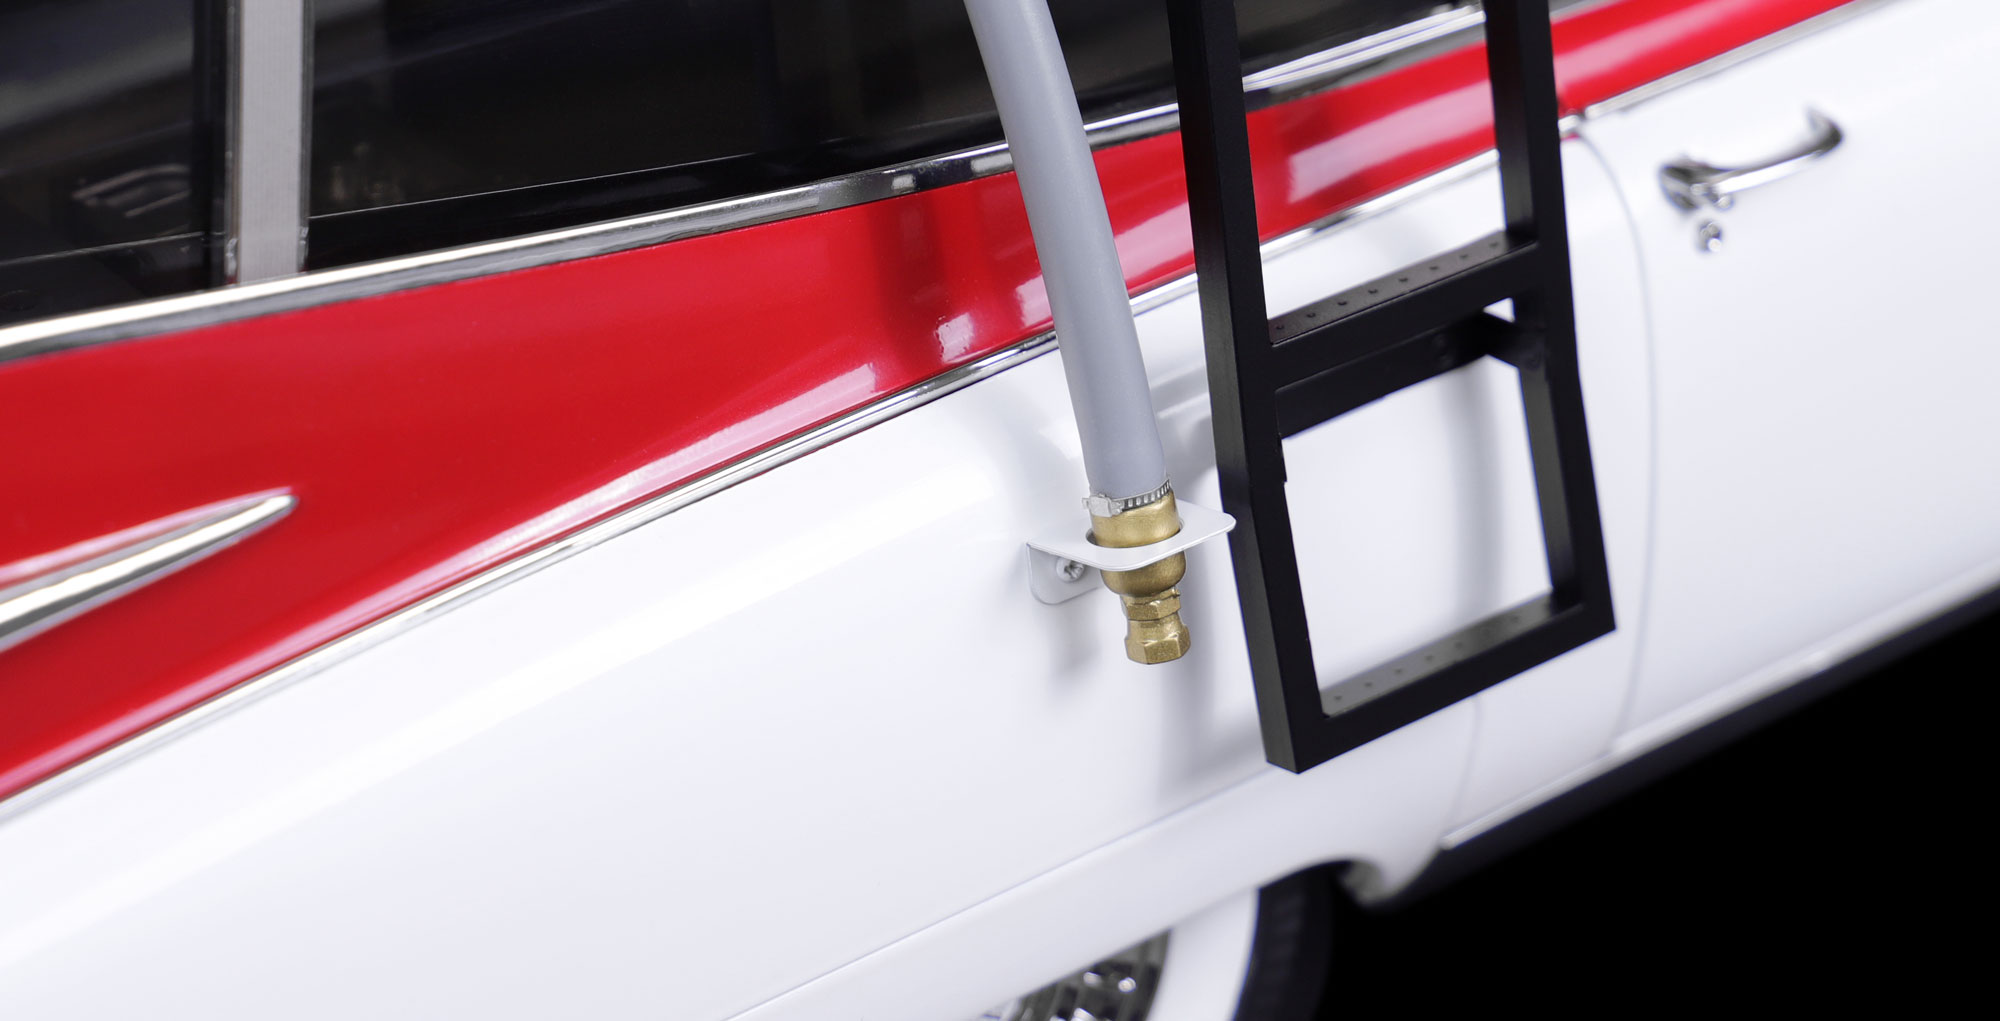
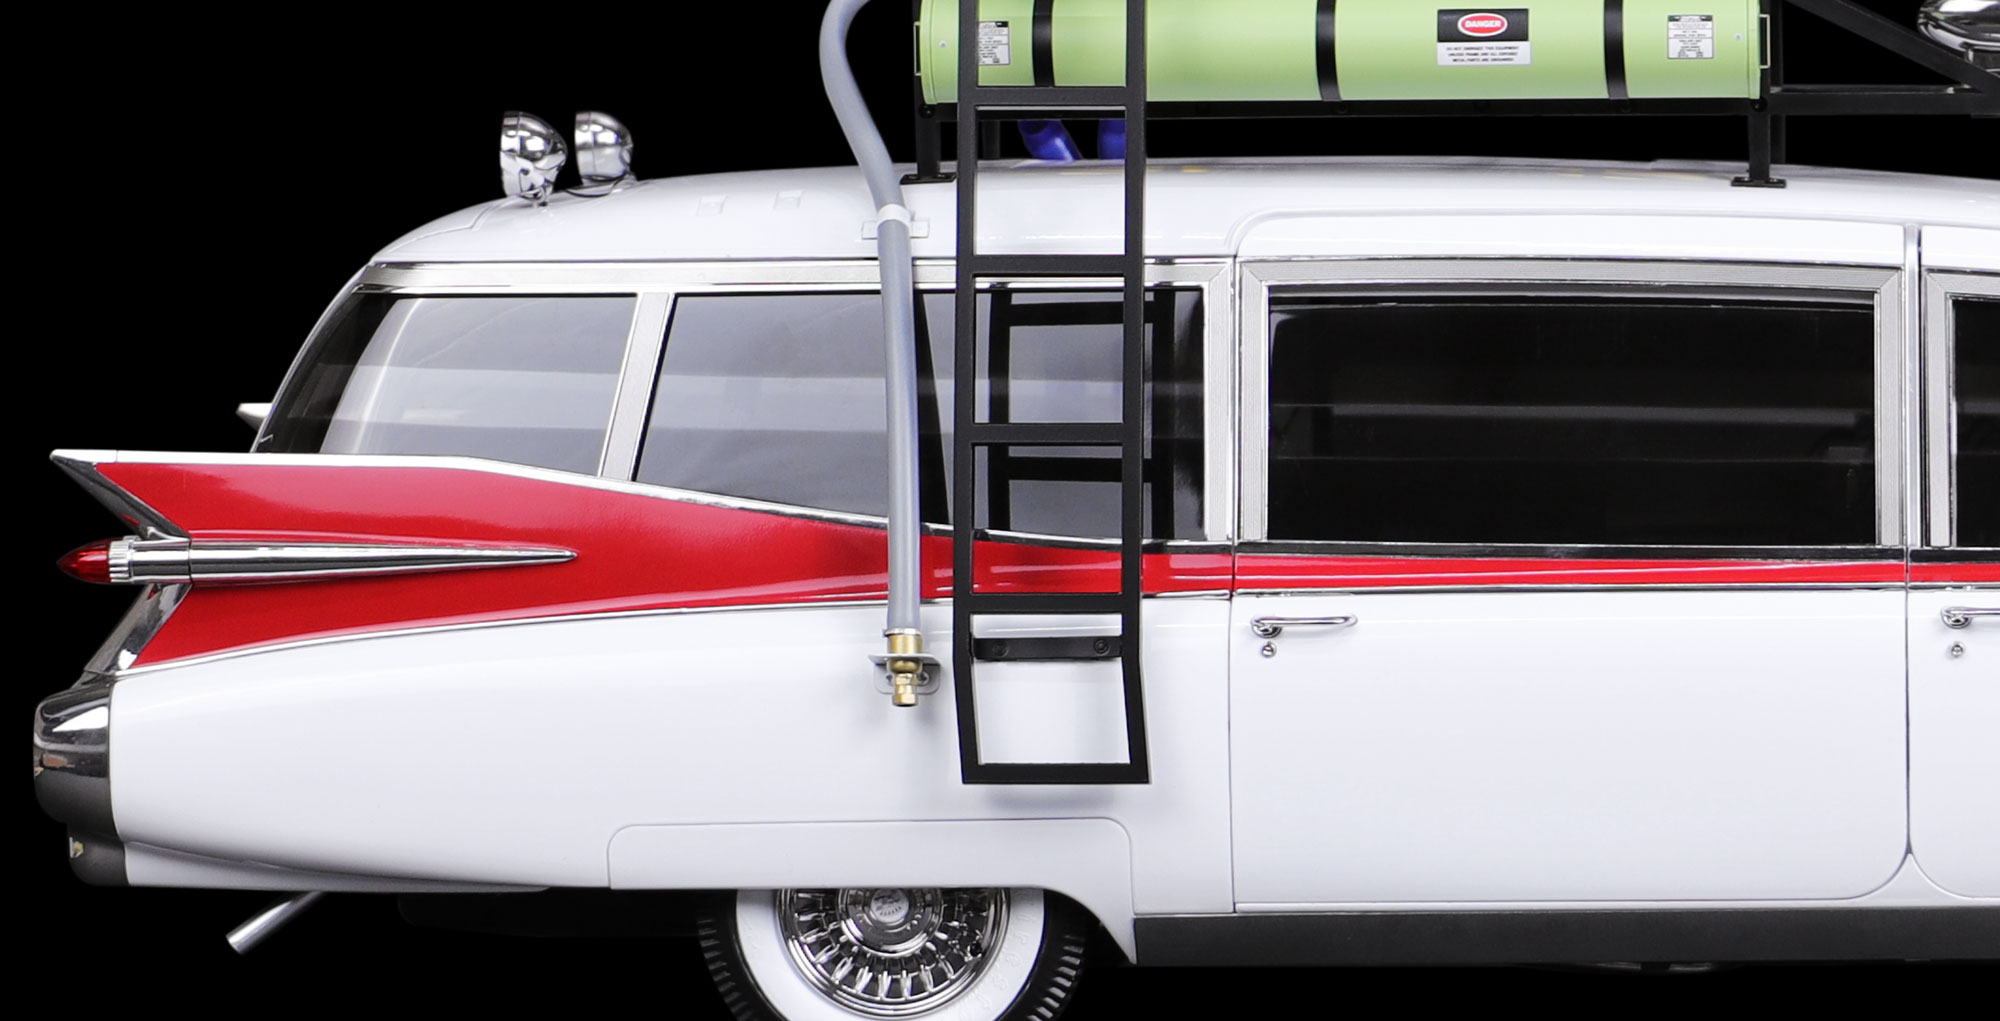
Feed the brass end of the hose halfway into the bracket opening.
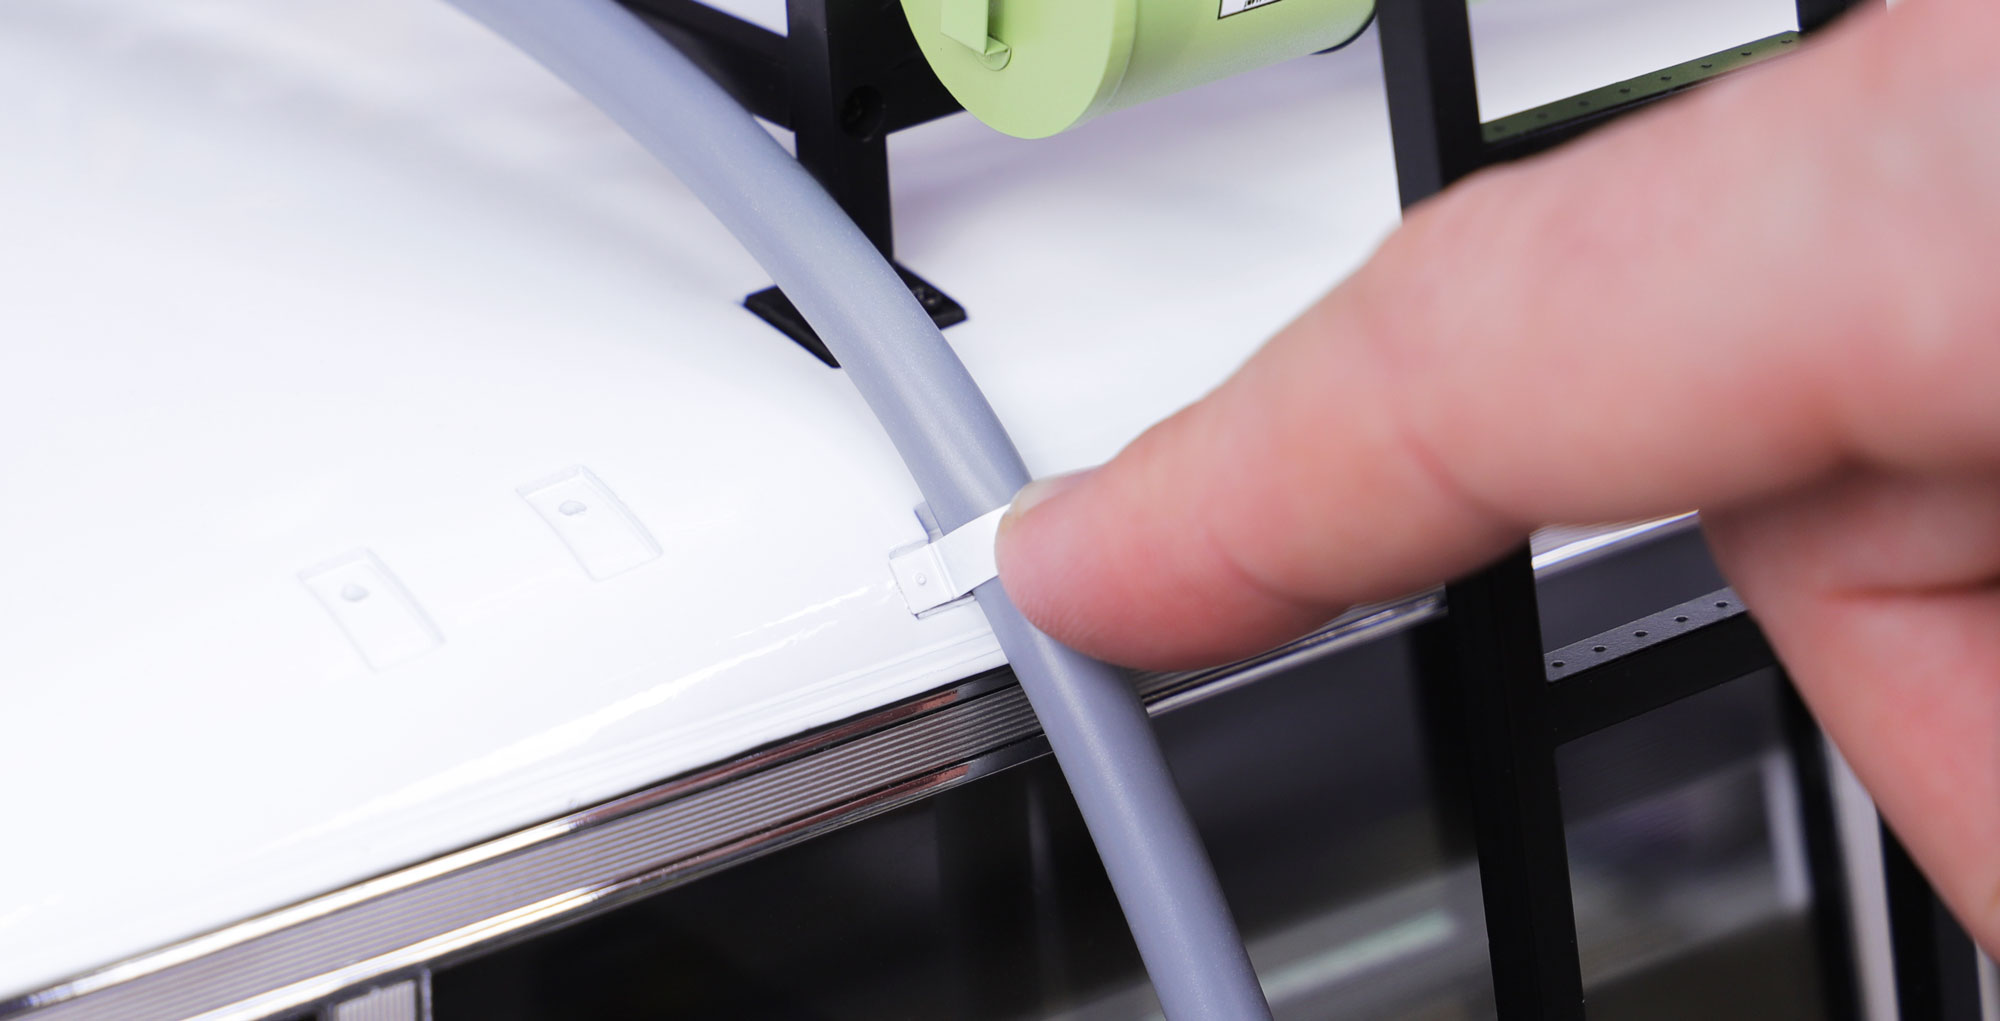
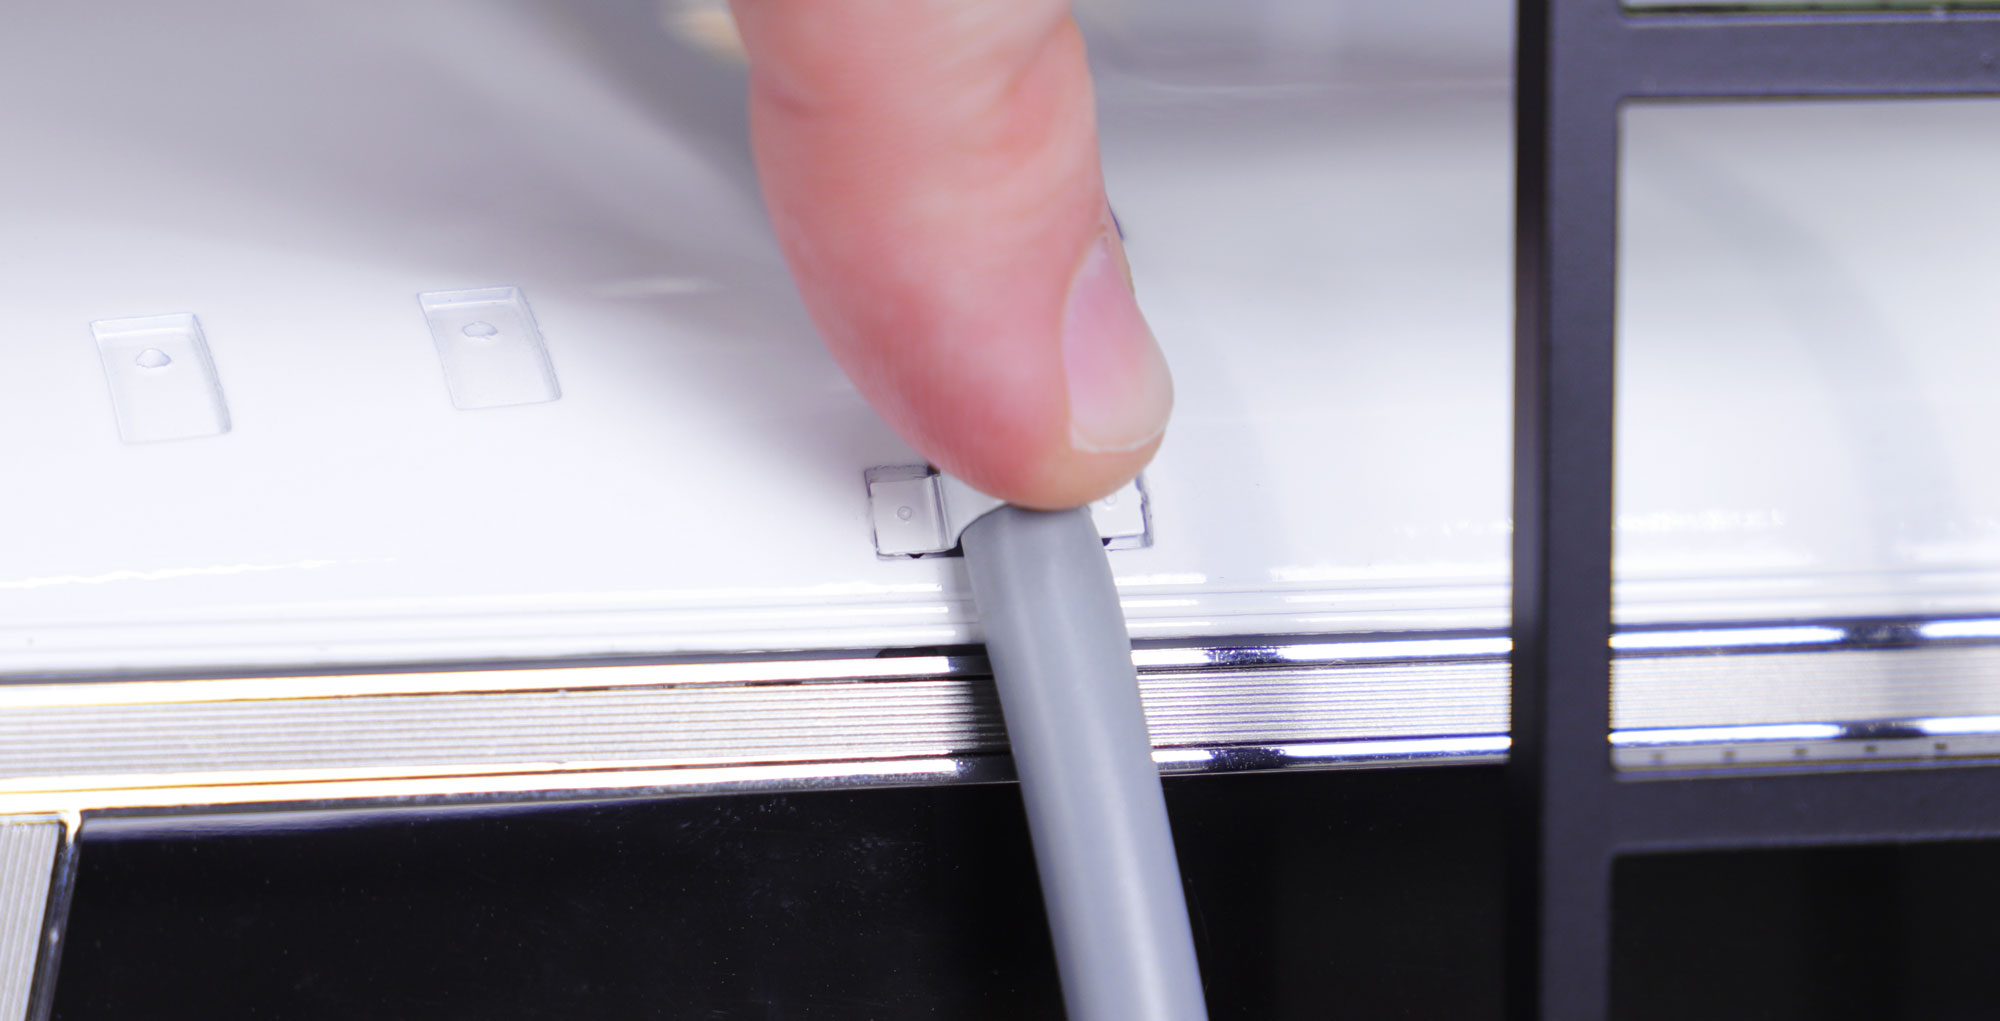
Before applying any glue, test fit the top bracket and if necessary bend and adjust slightly to better fit within the fixing location.
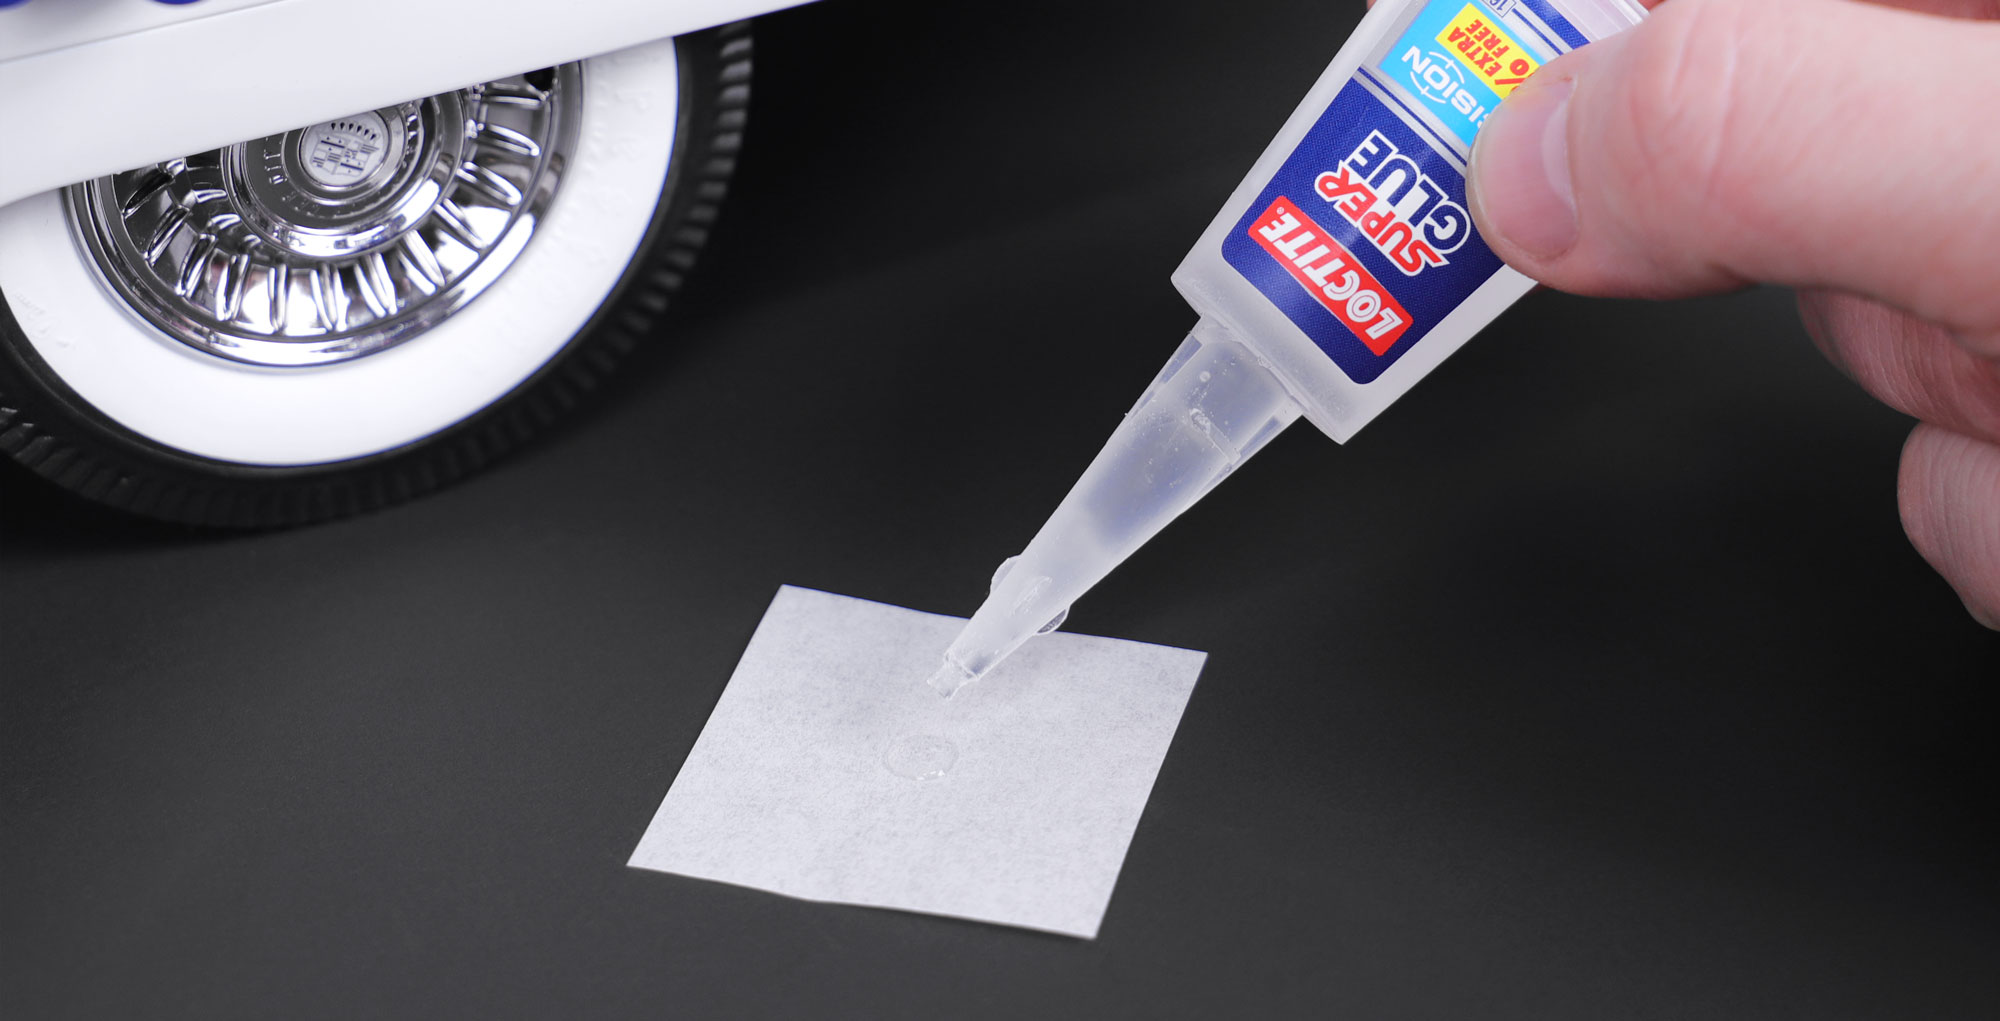
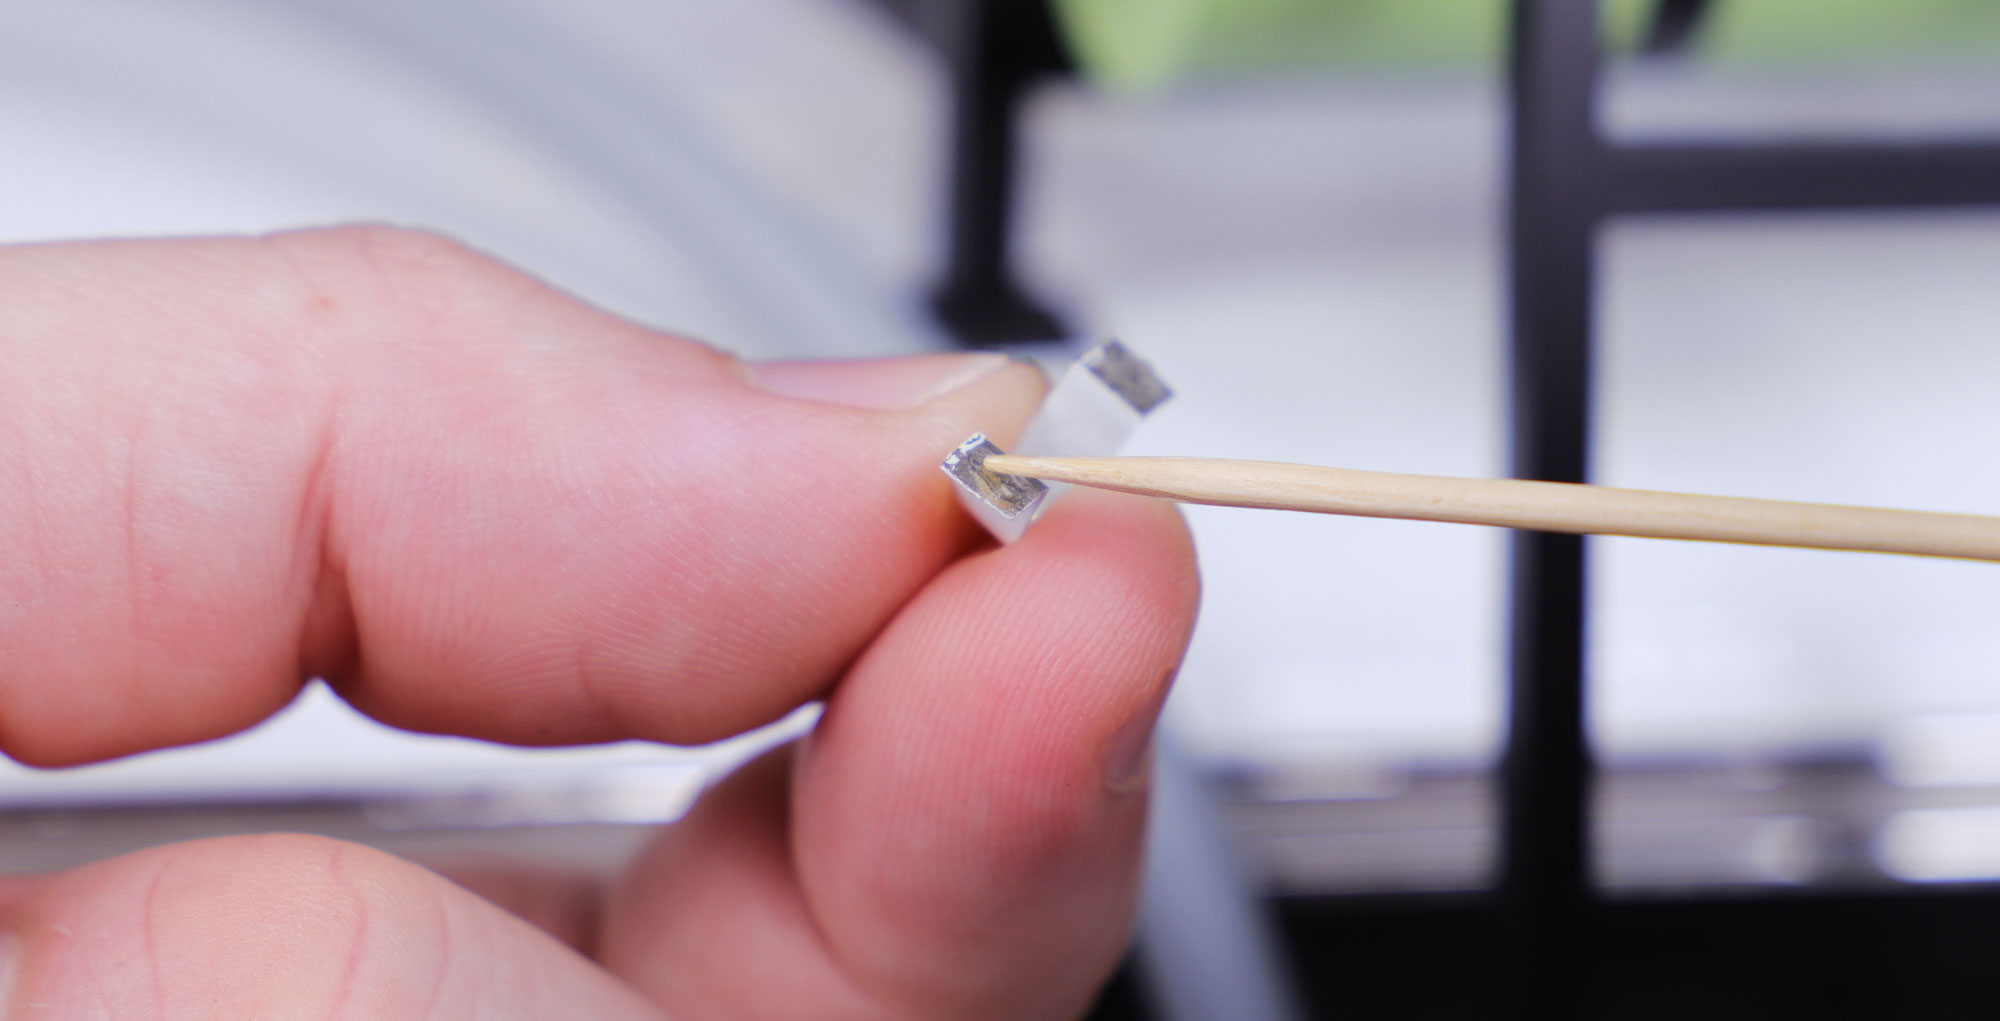
Place a small drop of Loctite Super Glue on the paper sheet provided, ensuring you keep it well away from your model and anything important.
Place a small amount of glue on the rear of the top hose bracket using the toothpick provided. Only a very small amount of glue is required – using less will reduce the risk of making a mess and any mistakes.
Carefully affix the top bracket into place, over the grey hose and giving the glue enough time to set and hold.
Check that you’re happy with the hose placement. The brass nozzle should be half inside the bottom bracket. The top part of the hose will feed into future parts within Kit 3.
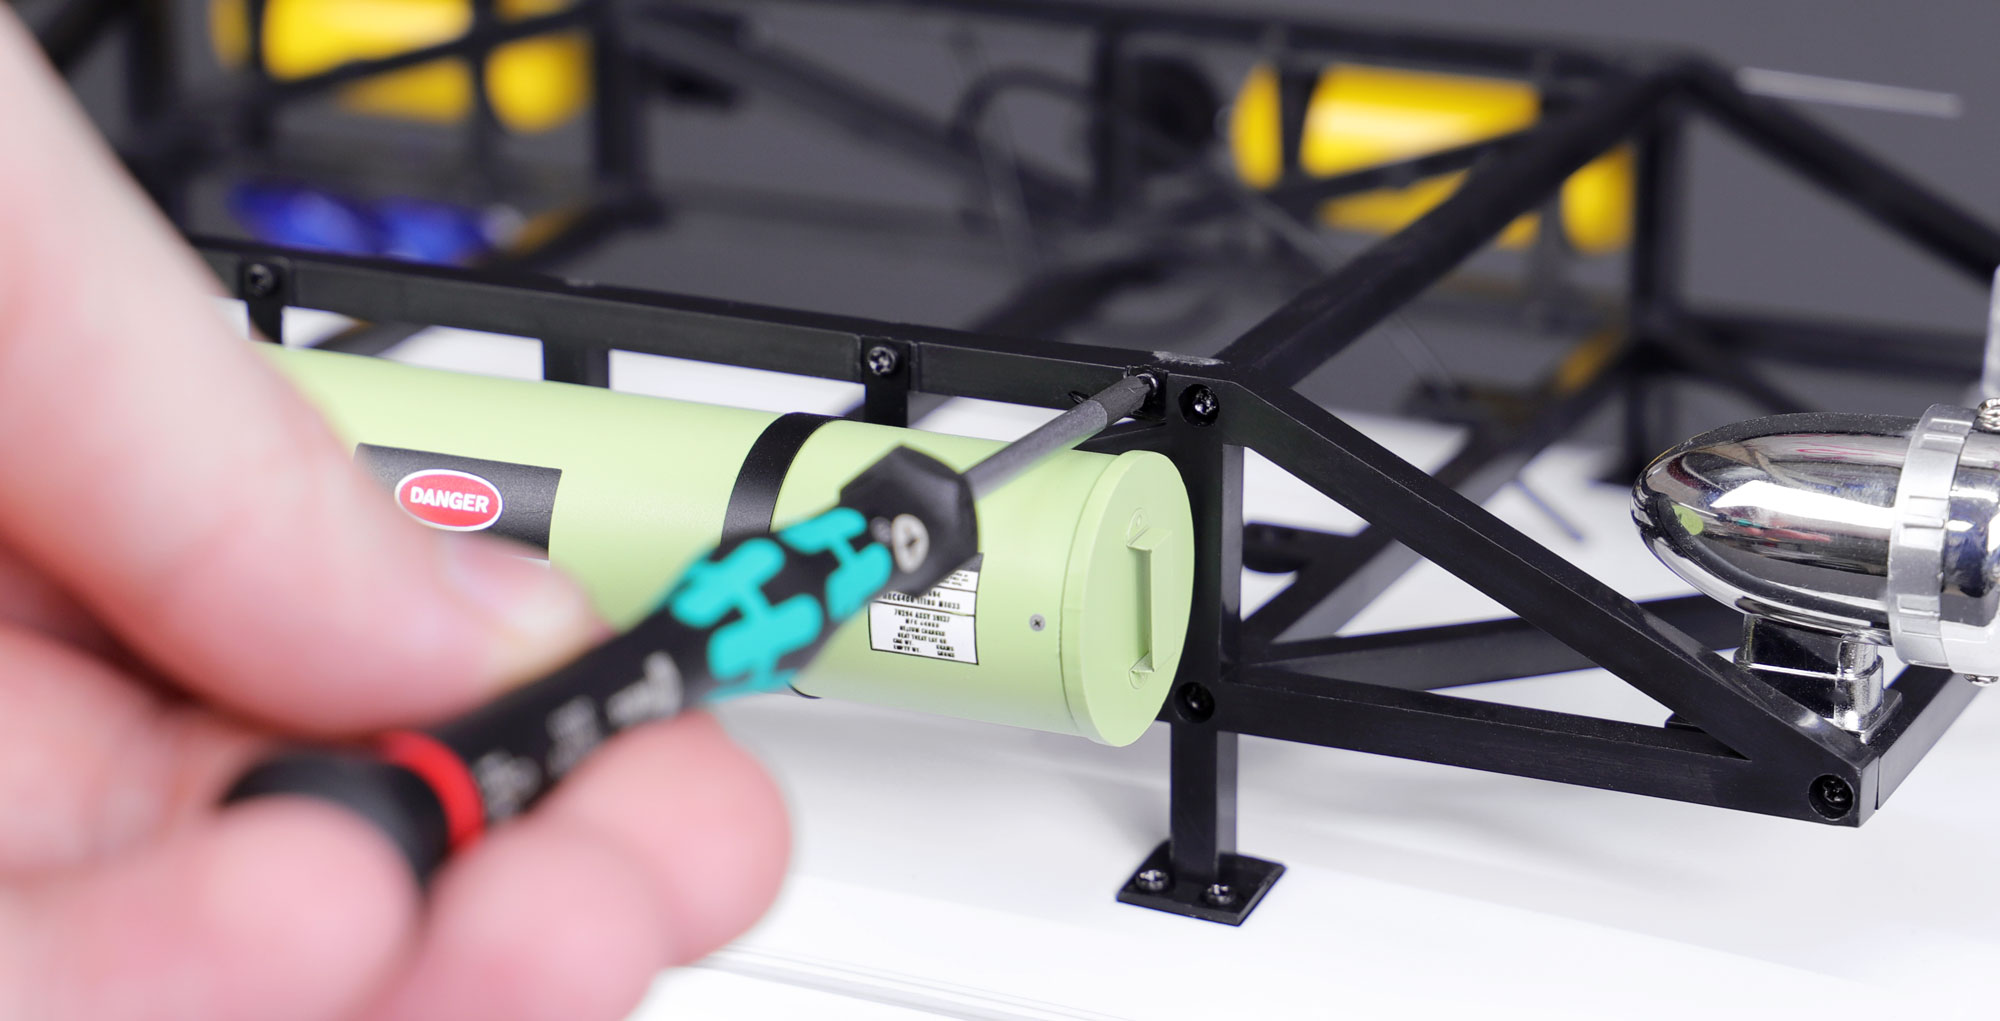
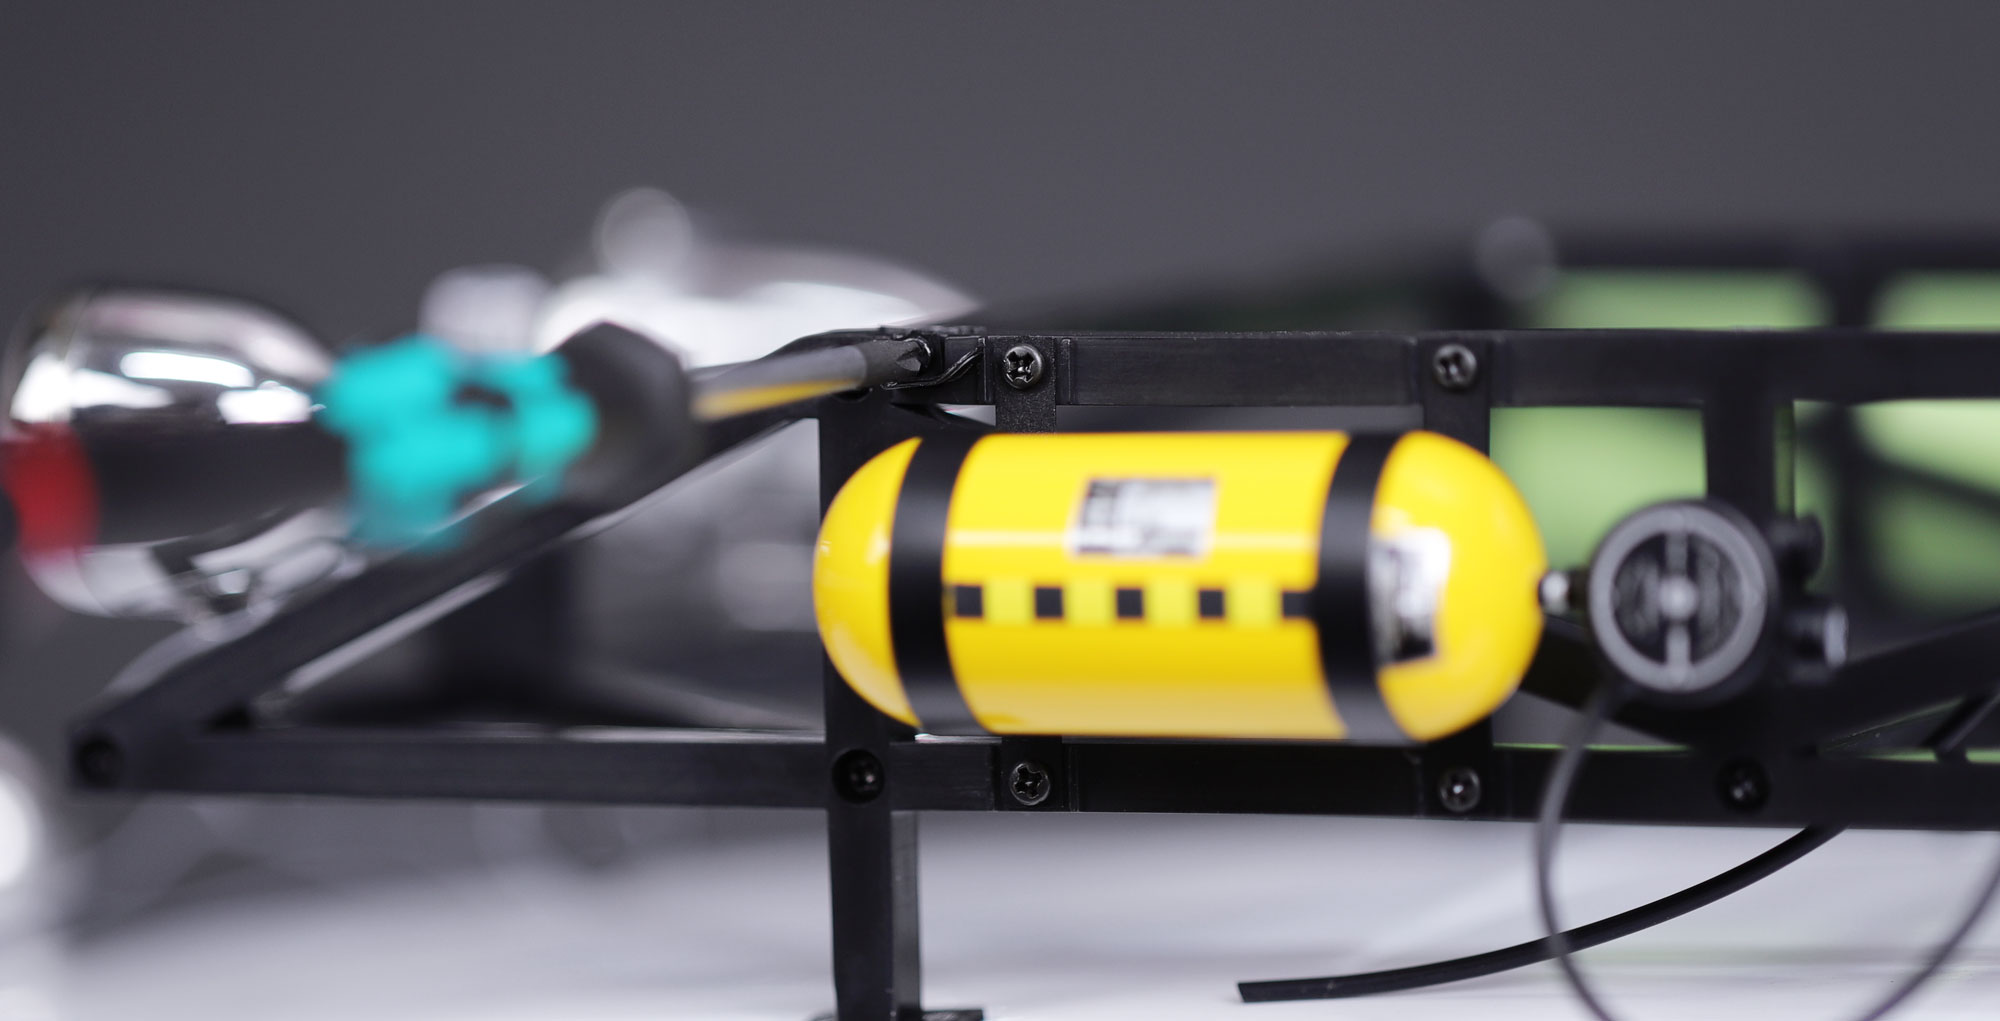
Attaching the Oxygen Tanks
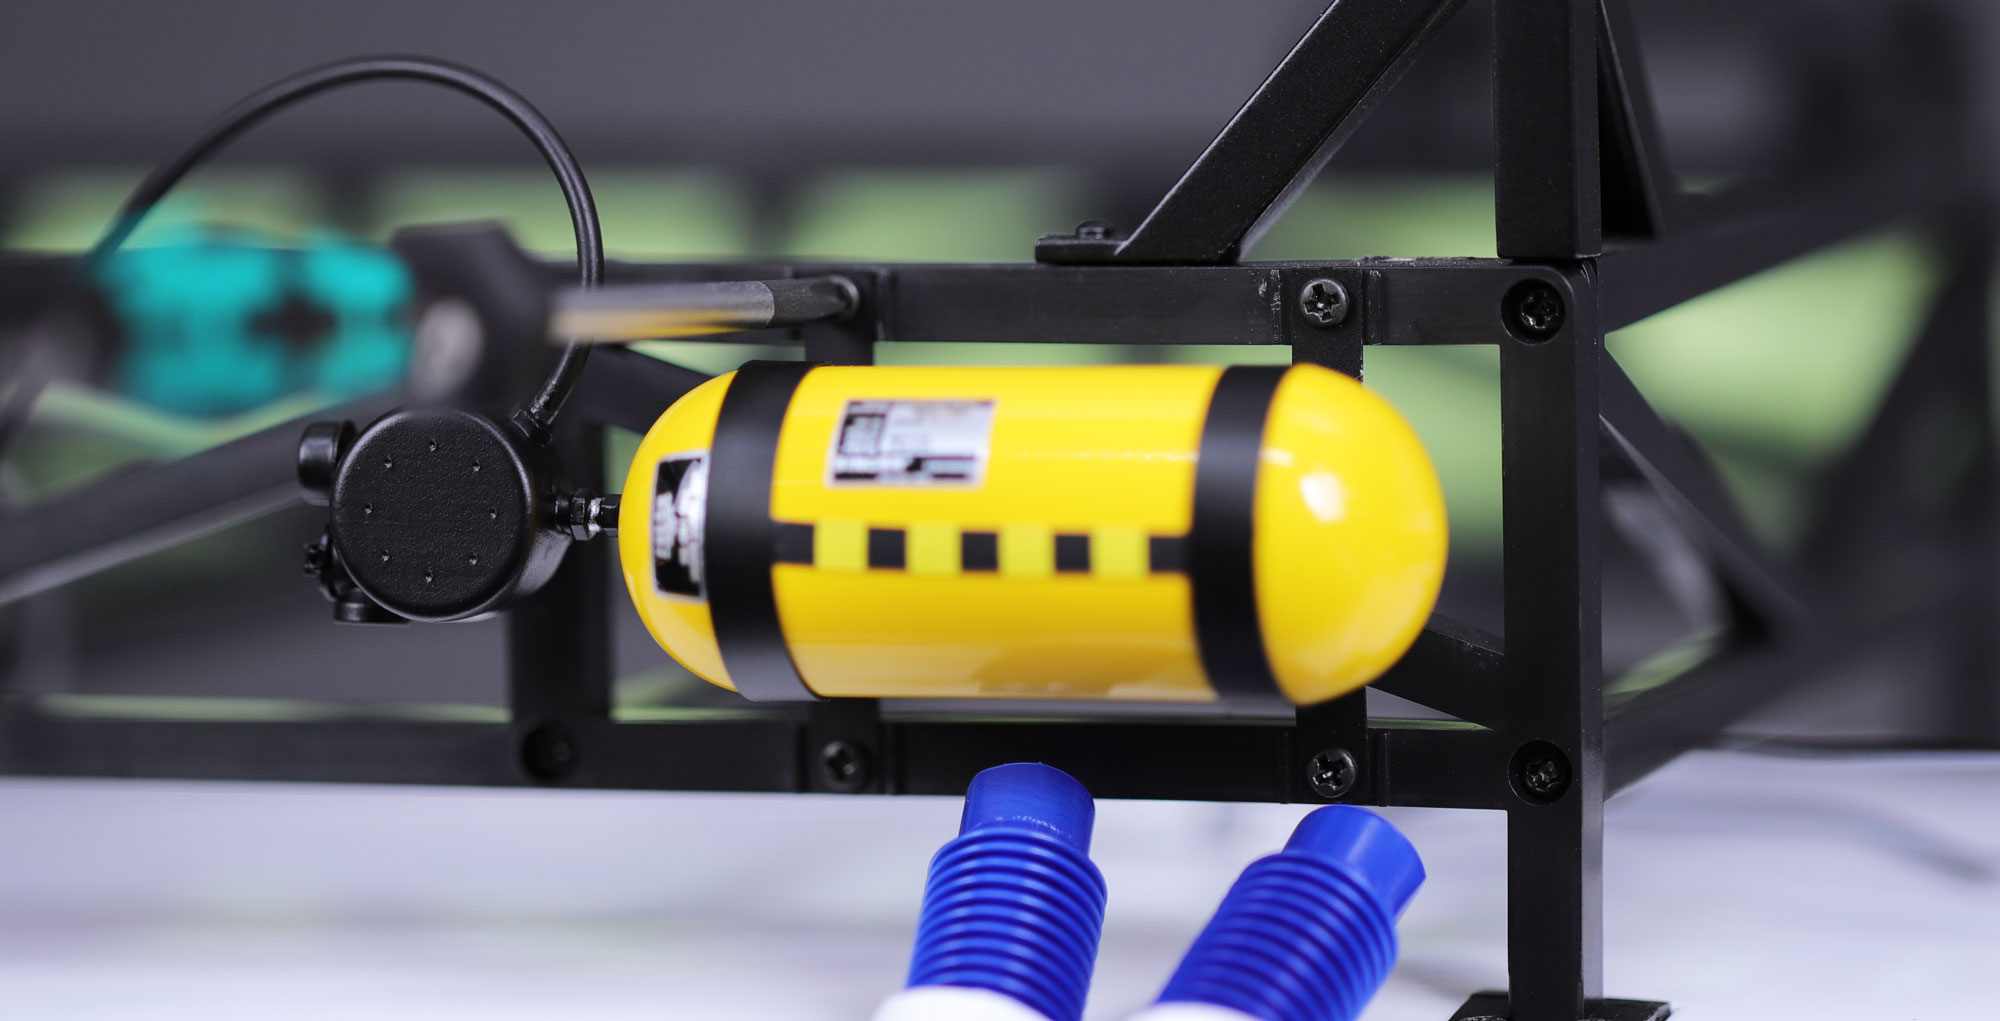
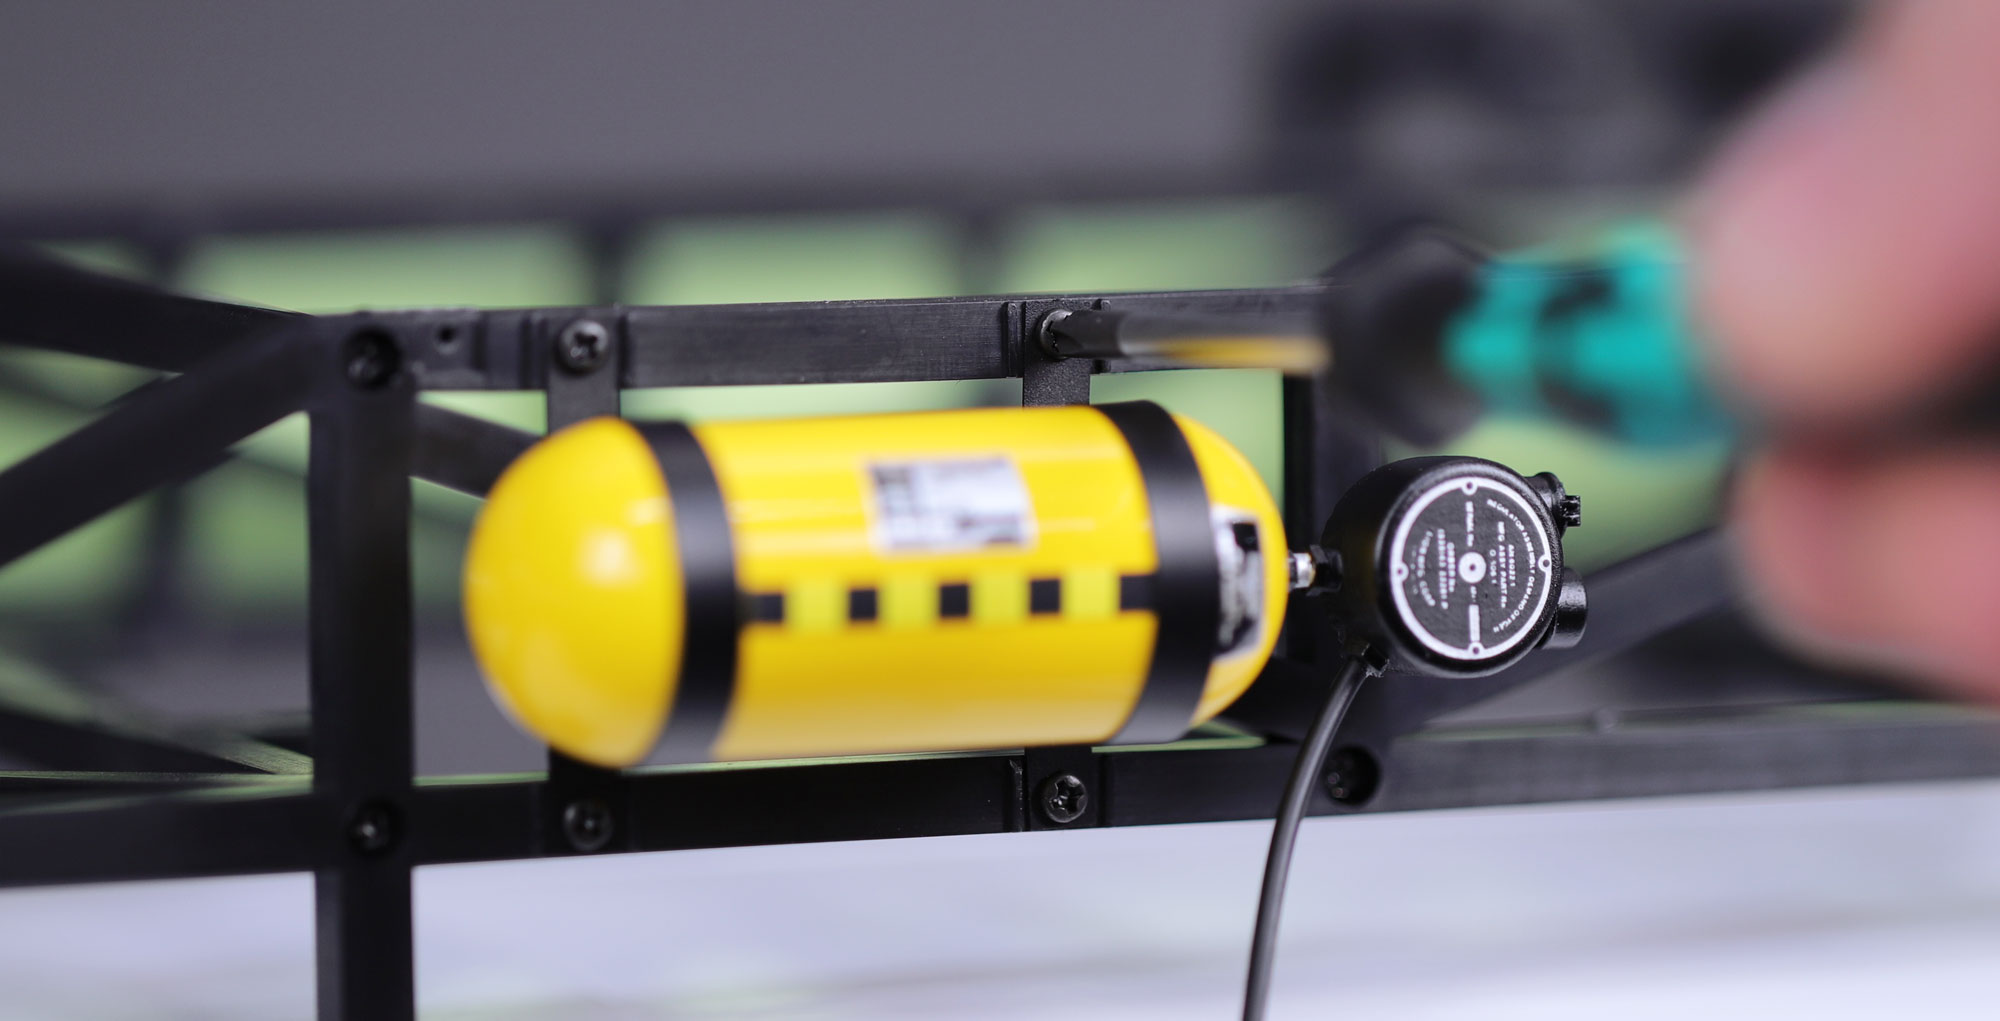
Using a PH0 screwdriver, take 4 x ML1 screws for each Oxygen Tank and affix the brackets to the roof rack.
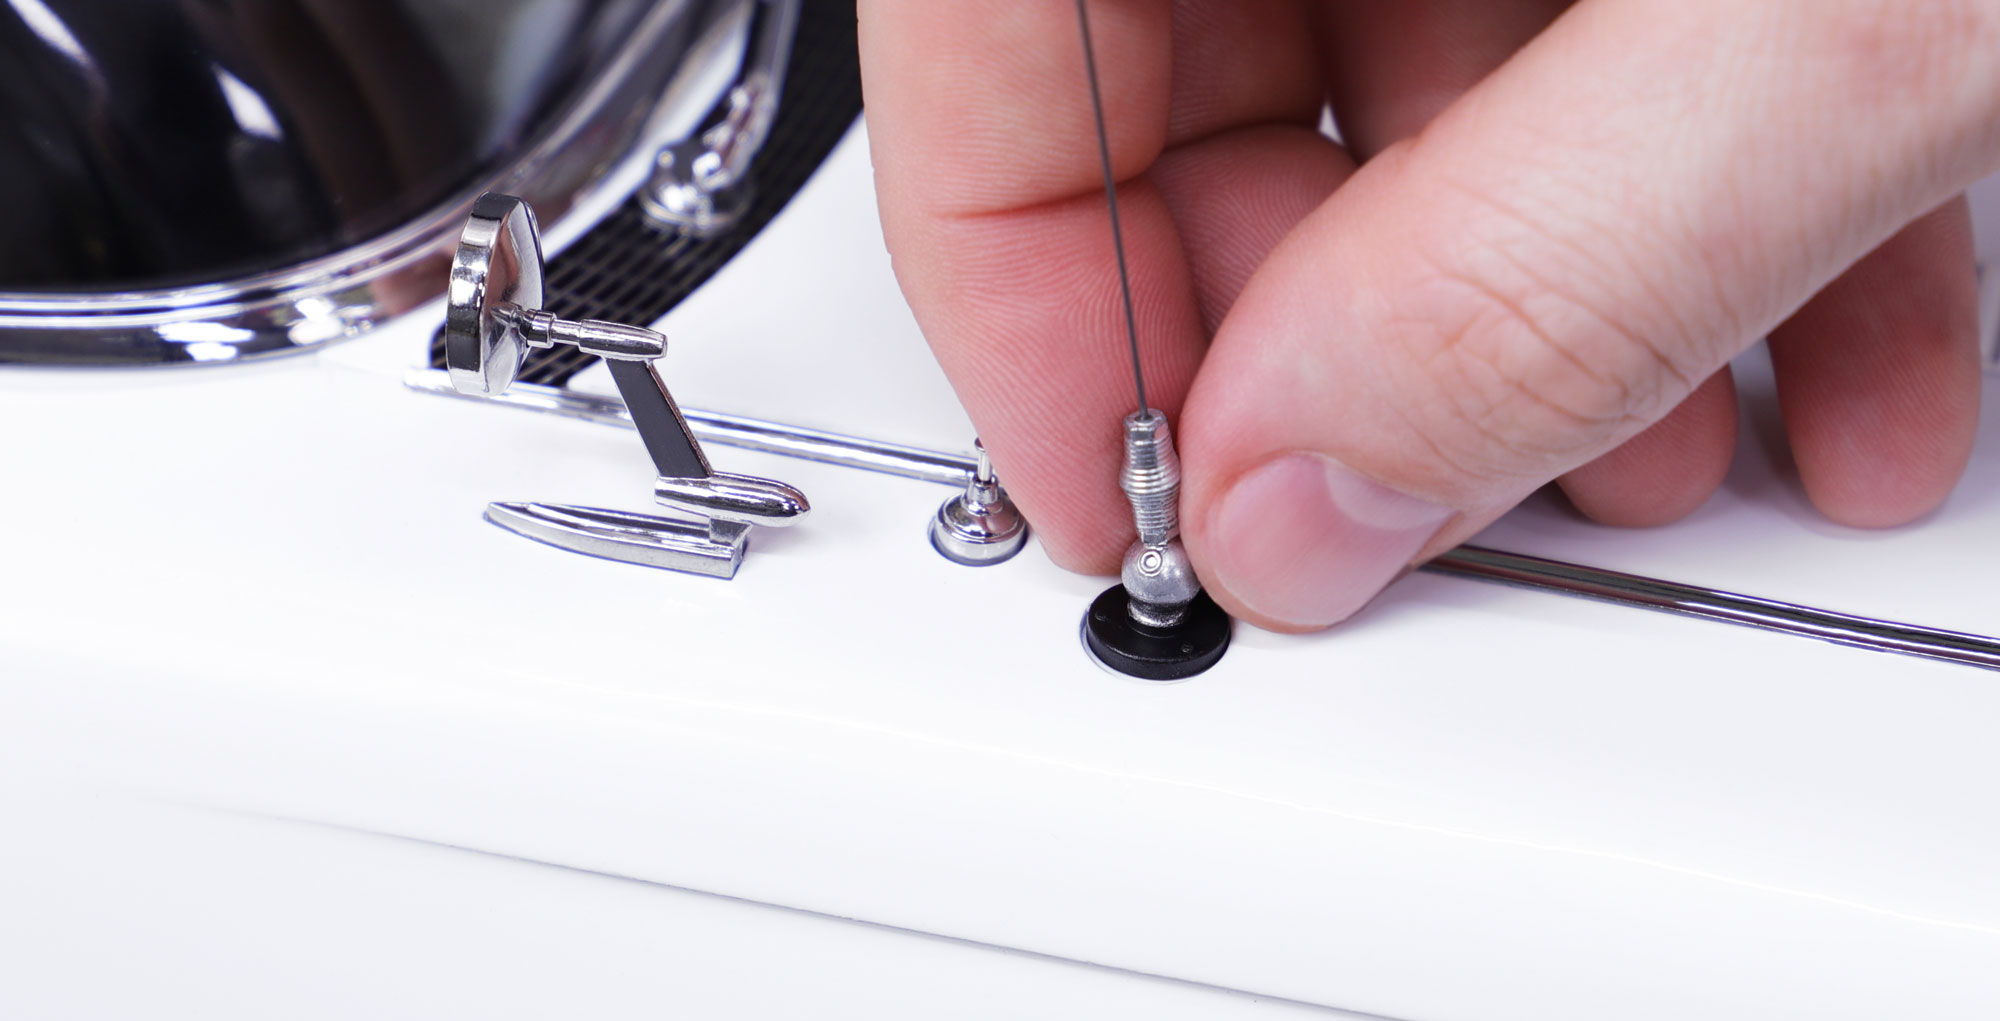
Attaching the Antenna Ball Mounts
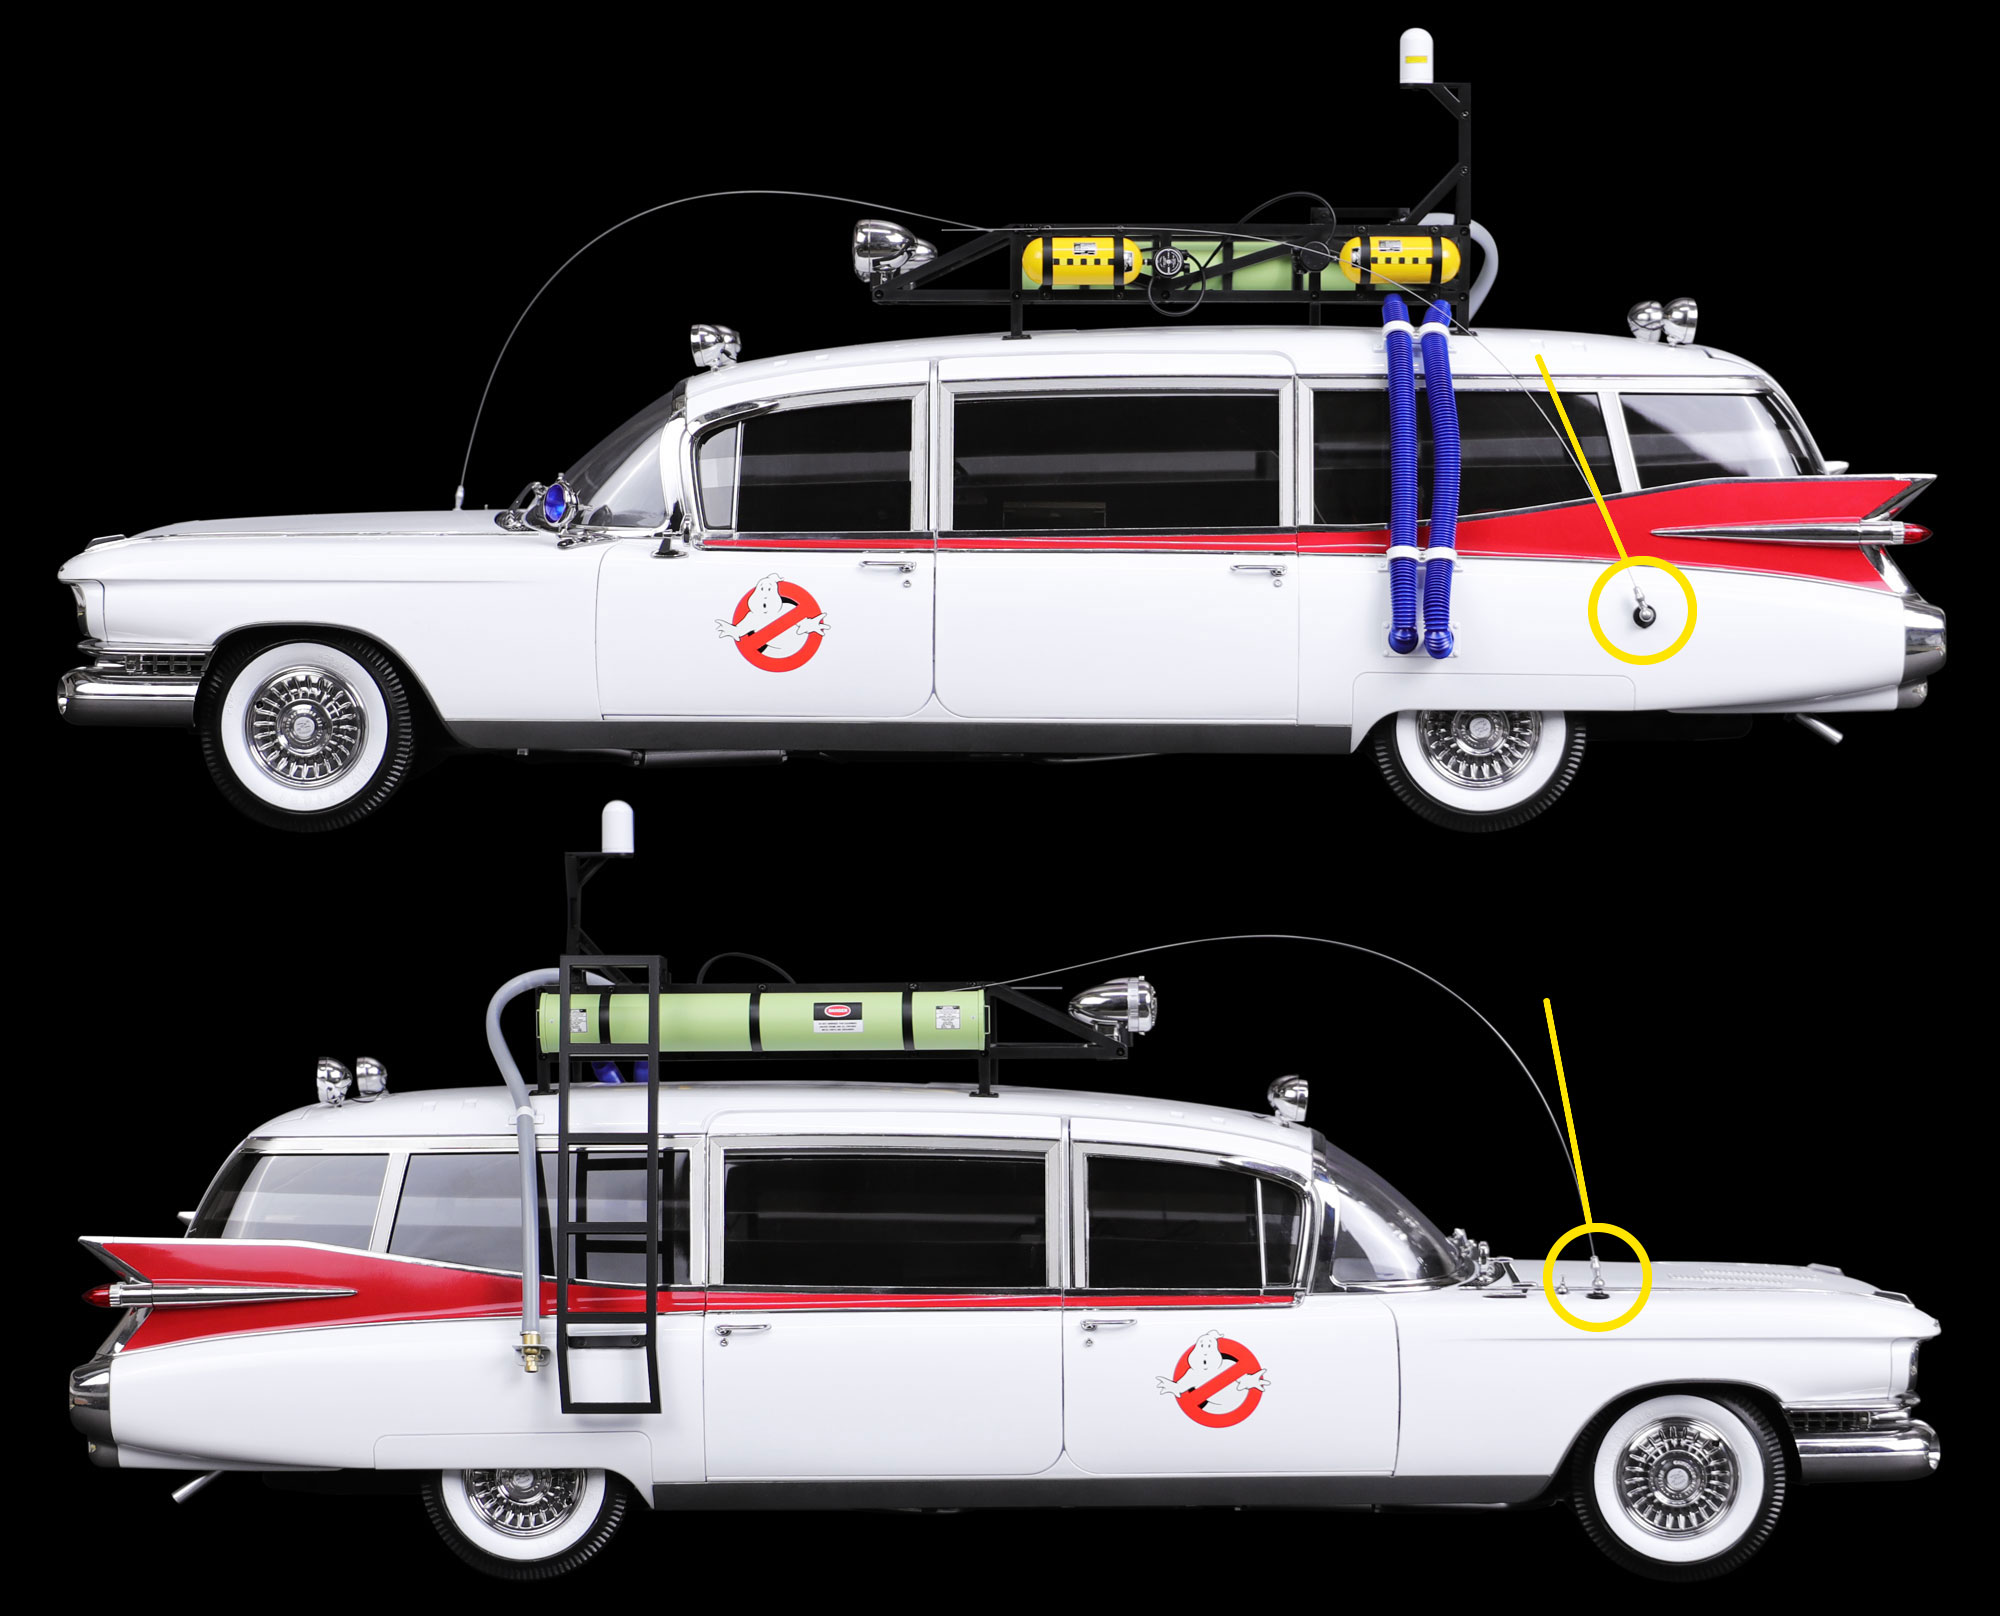
Before attaching the antennas, check and familiarise yourself with the required angles of the ball mount fixings for each antenna below:
Place a small drop of Loctite Super Glue on the paper sheet provided, ensuring you keep it well away from your model and anything important.
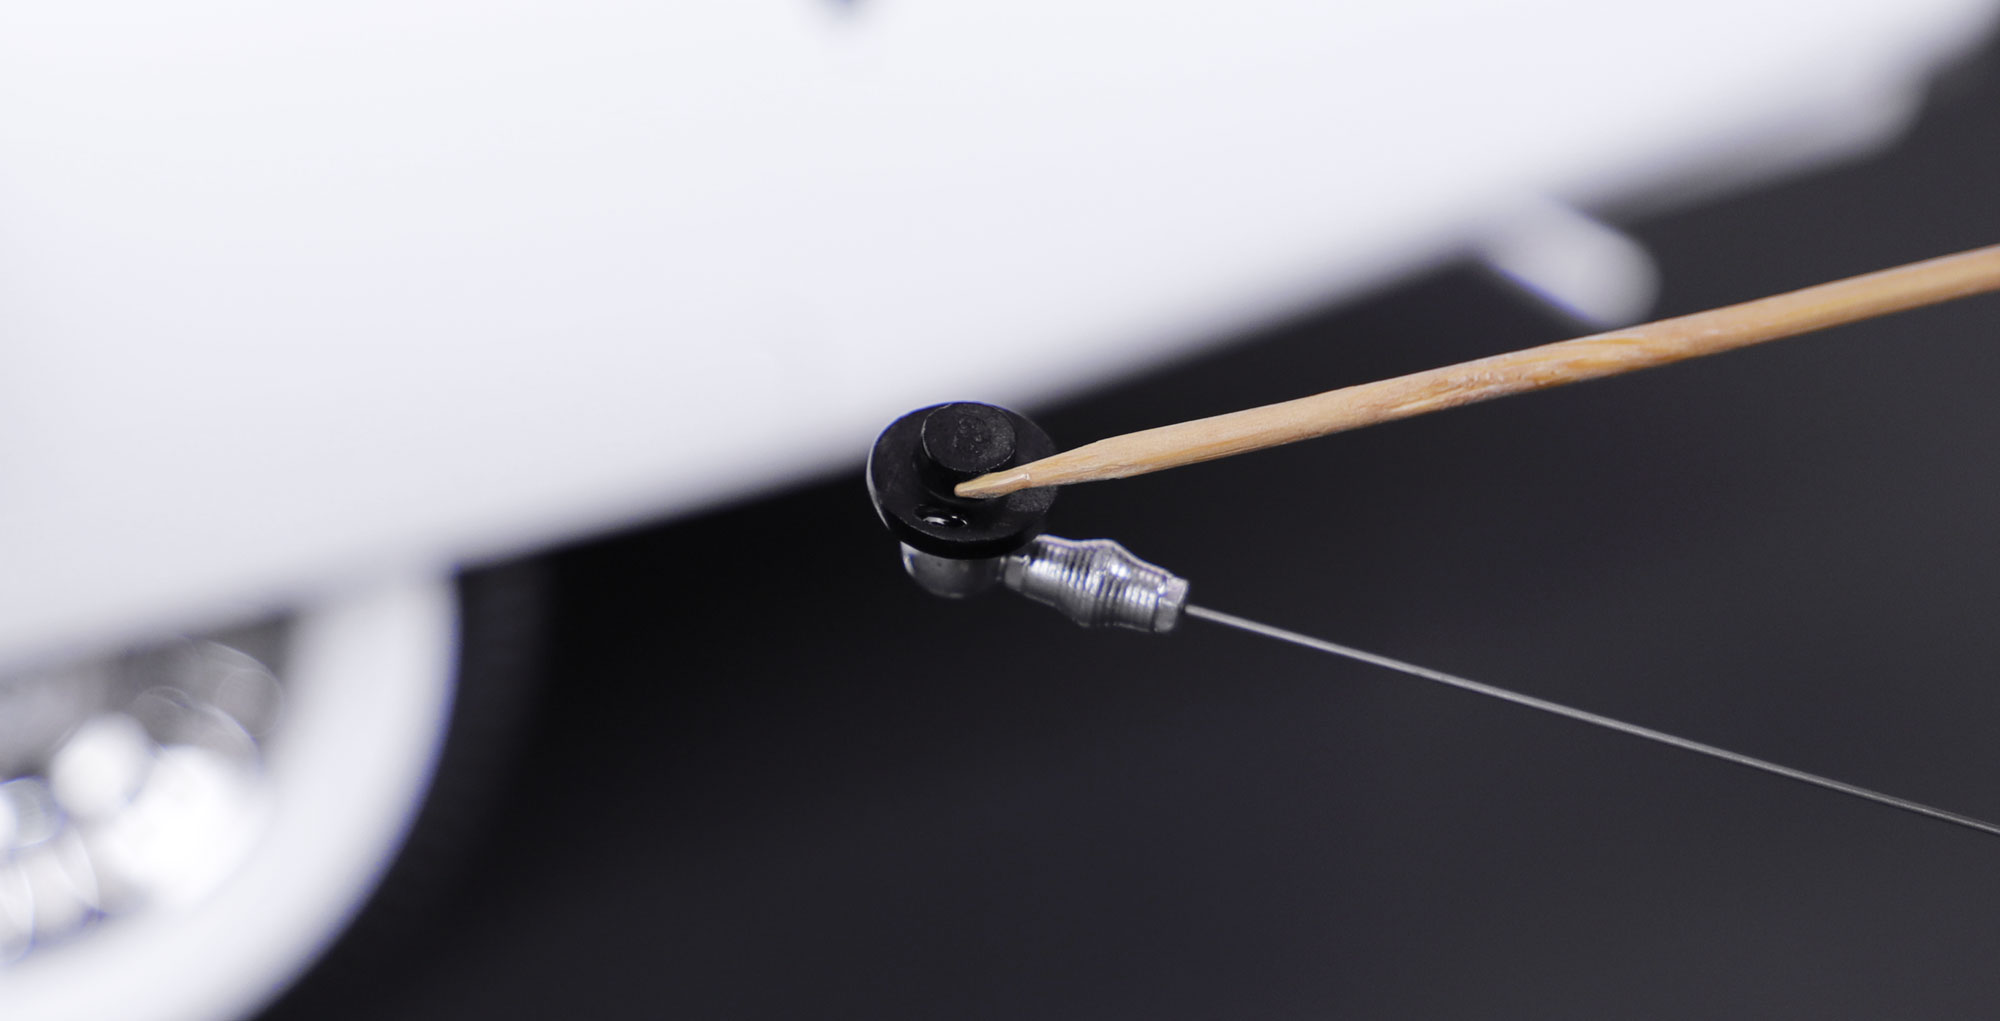
One antenna at a time, place a small amount of glue on the rear of each base using the toothpick provided. Only a very small amount of glue is required – using less will reduce the risk of making a mess and any mistakes.
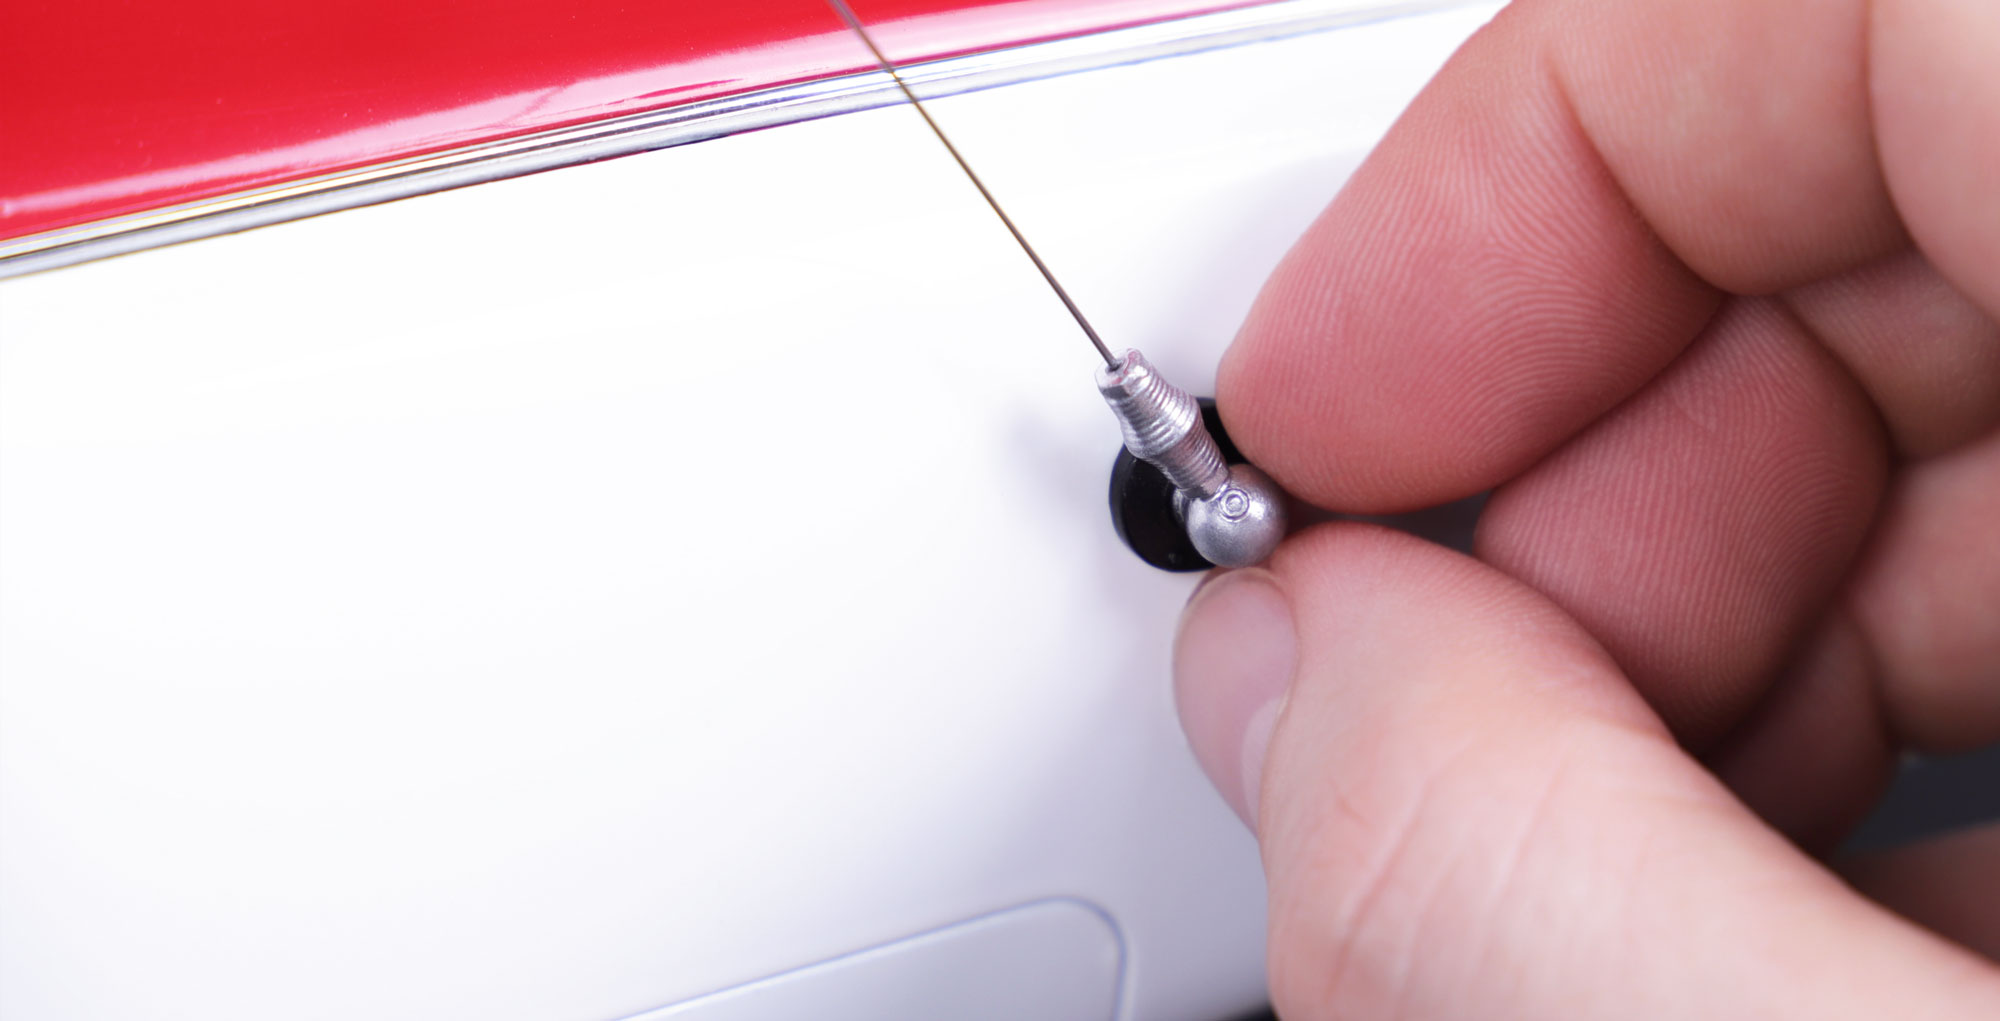
To protect the finish of the paint, avoid touching the chrome areas of the antenna ball mounts when handling and affixing the antennas.
Carefully press and hold each antenna into place, giving the glue enough time to set and hold.
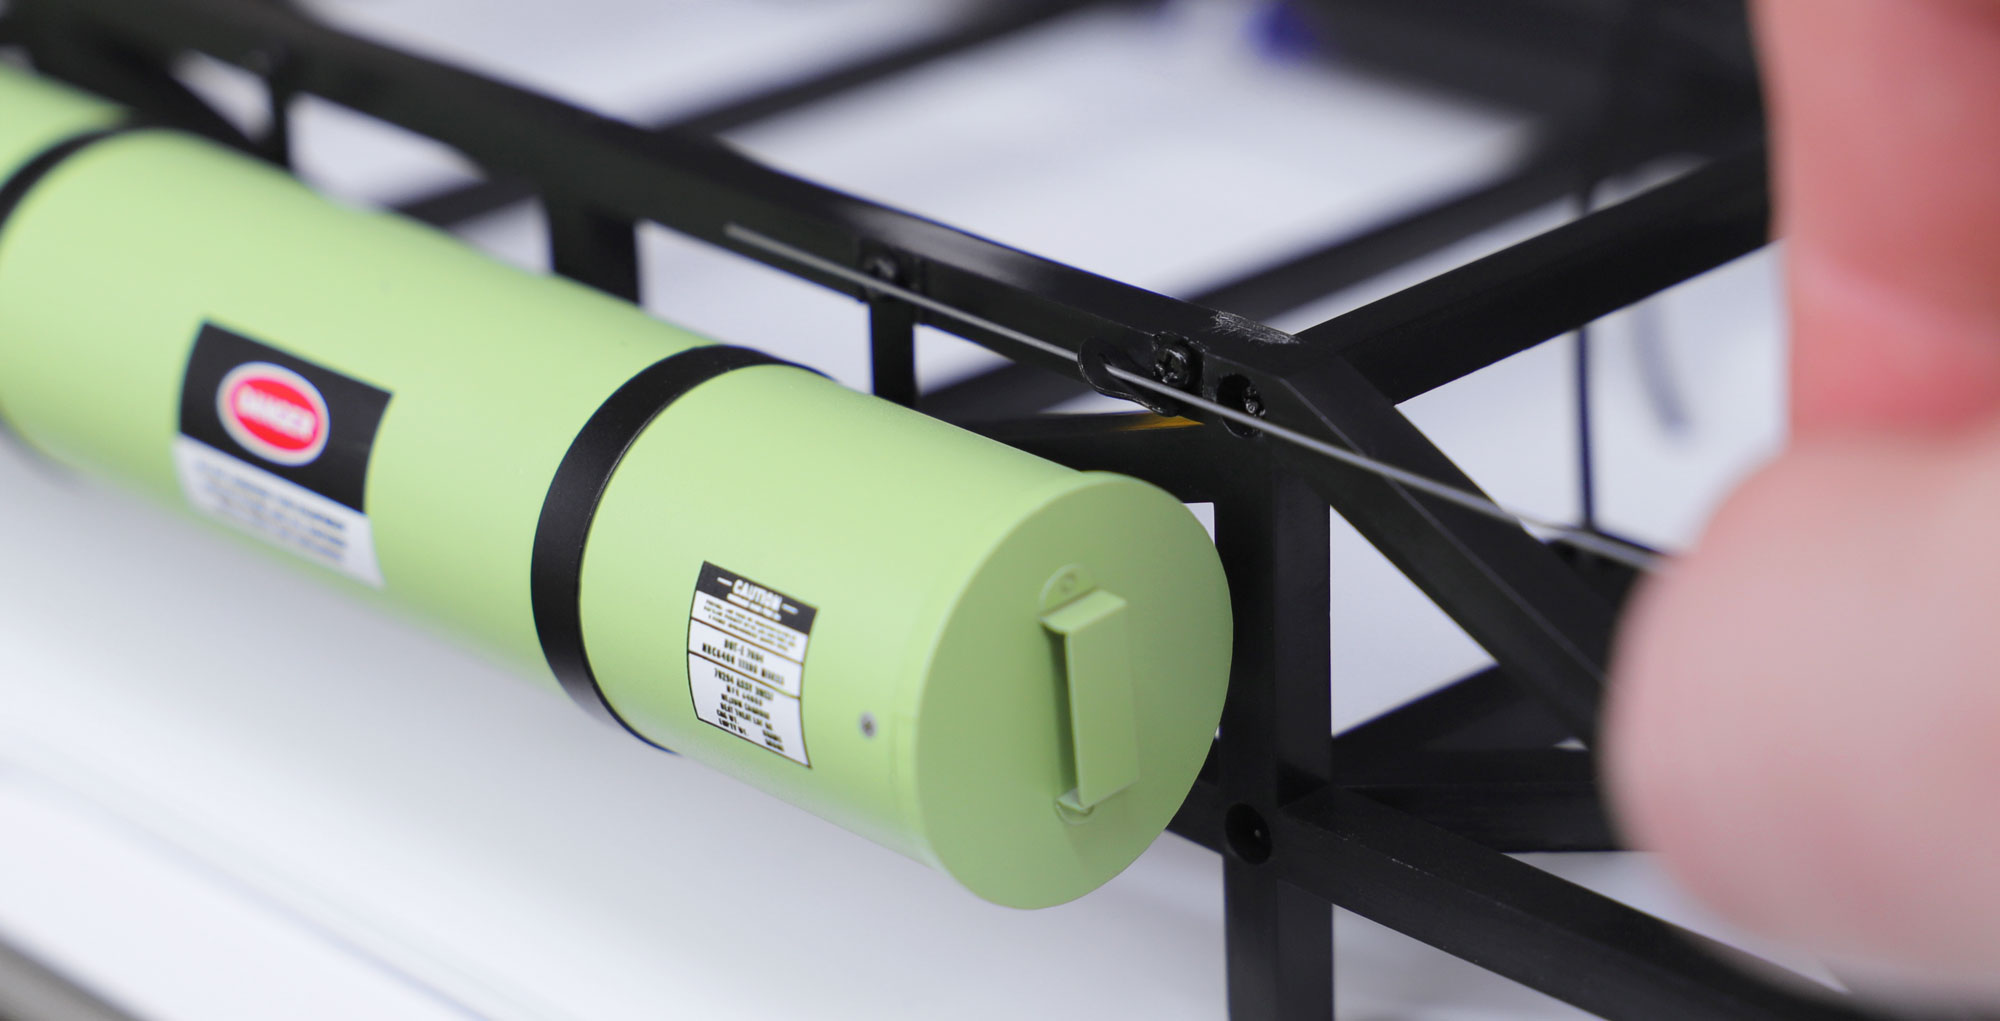
Attaching the Antenna Fixings to the Roof Rack
Using a PH0 screwdriver and 2 x ML3 screws, attach both antenna fixings to the roof rack in the pre-moulded fixing points. Both fixings point backwards.
Feed each antenna through the fixings to secure them into place.
Optional – To permanently hold the antennas in the perfect position, you can place a small dot of glue on the antenna behind each fixing.


