Tips for a smooth assembly
Work in a clean area
This will minimise the chance of debris getting inside the case or scratching the acrylic.
Handle with care
Acrylic is relatively durable, but it can still be scratched or broken if not handled with care.
Consult instructions
For the best results and to avoid damaging your case, please refer to the following instructions before and during assembly.
Assembly instructions
As featured on Will’s Workshop
In this video, Will does a fantastic job demonstrating the assembly and care of the KITT Comlink watch display case.
We recommend watching this ahead of your installation.


- Prepare your workspace
- Choose a clean, flat surface covered with a soft cloth or towel to prevent scratching the panels.
- Ensure all parts are present and undamaged before starting.
- Wear nitrile gloves (recommended)
- To avoid leaving fingerprints or smudges on the acrylic panels, wear clean nitrile gloves during assembly.
- This also helps prevent oil transfer from your hands, which can be hard to clean off.
- Peel off protective film (if present)
- Carefully remove the protective film from each acrylic panel.
- Etched panels will only have film present on the opposite side of the etched face.
- Peel slowly to avoid sudden static buildup or potential damage to the panel.
- Identify panel orientation
- Lay out all the panels in their intended orientation (top, bottom, sides, front, back).
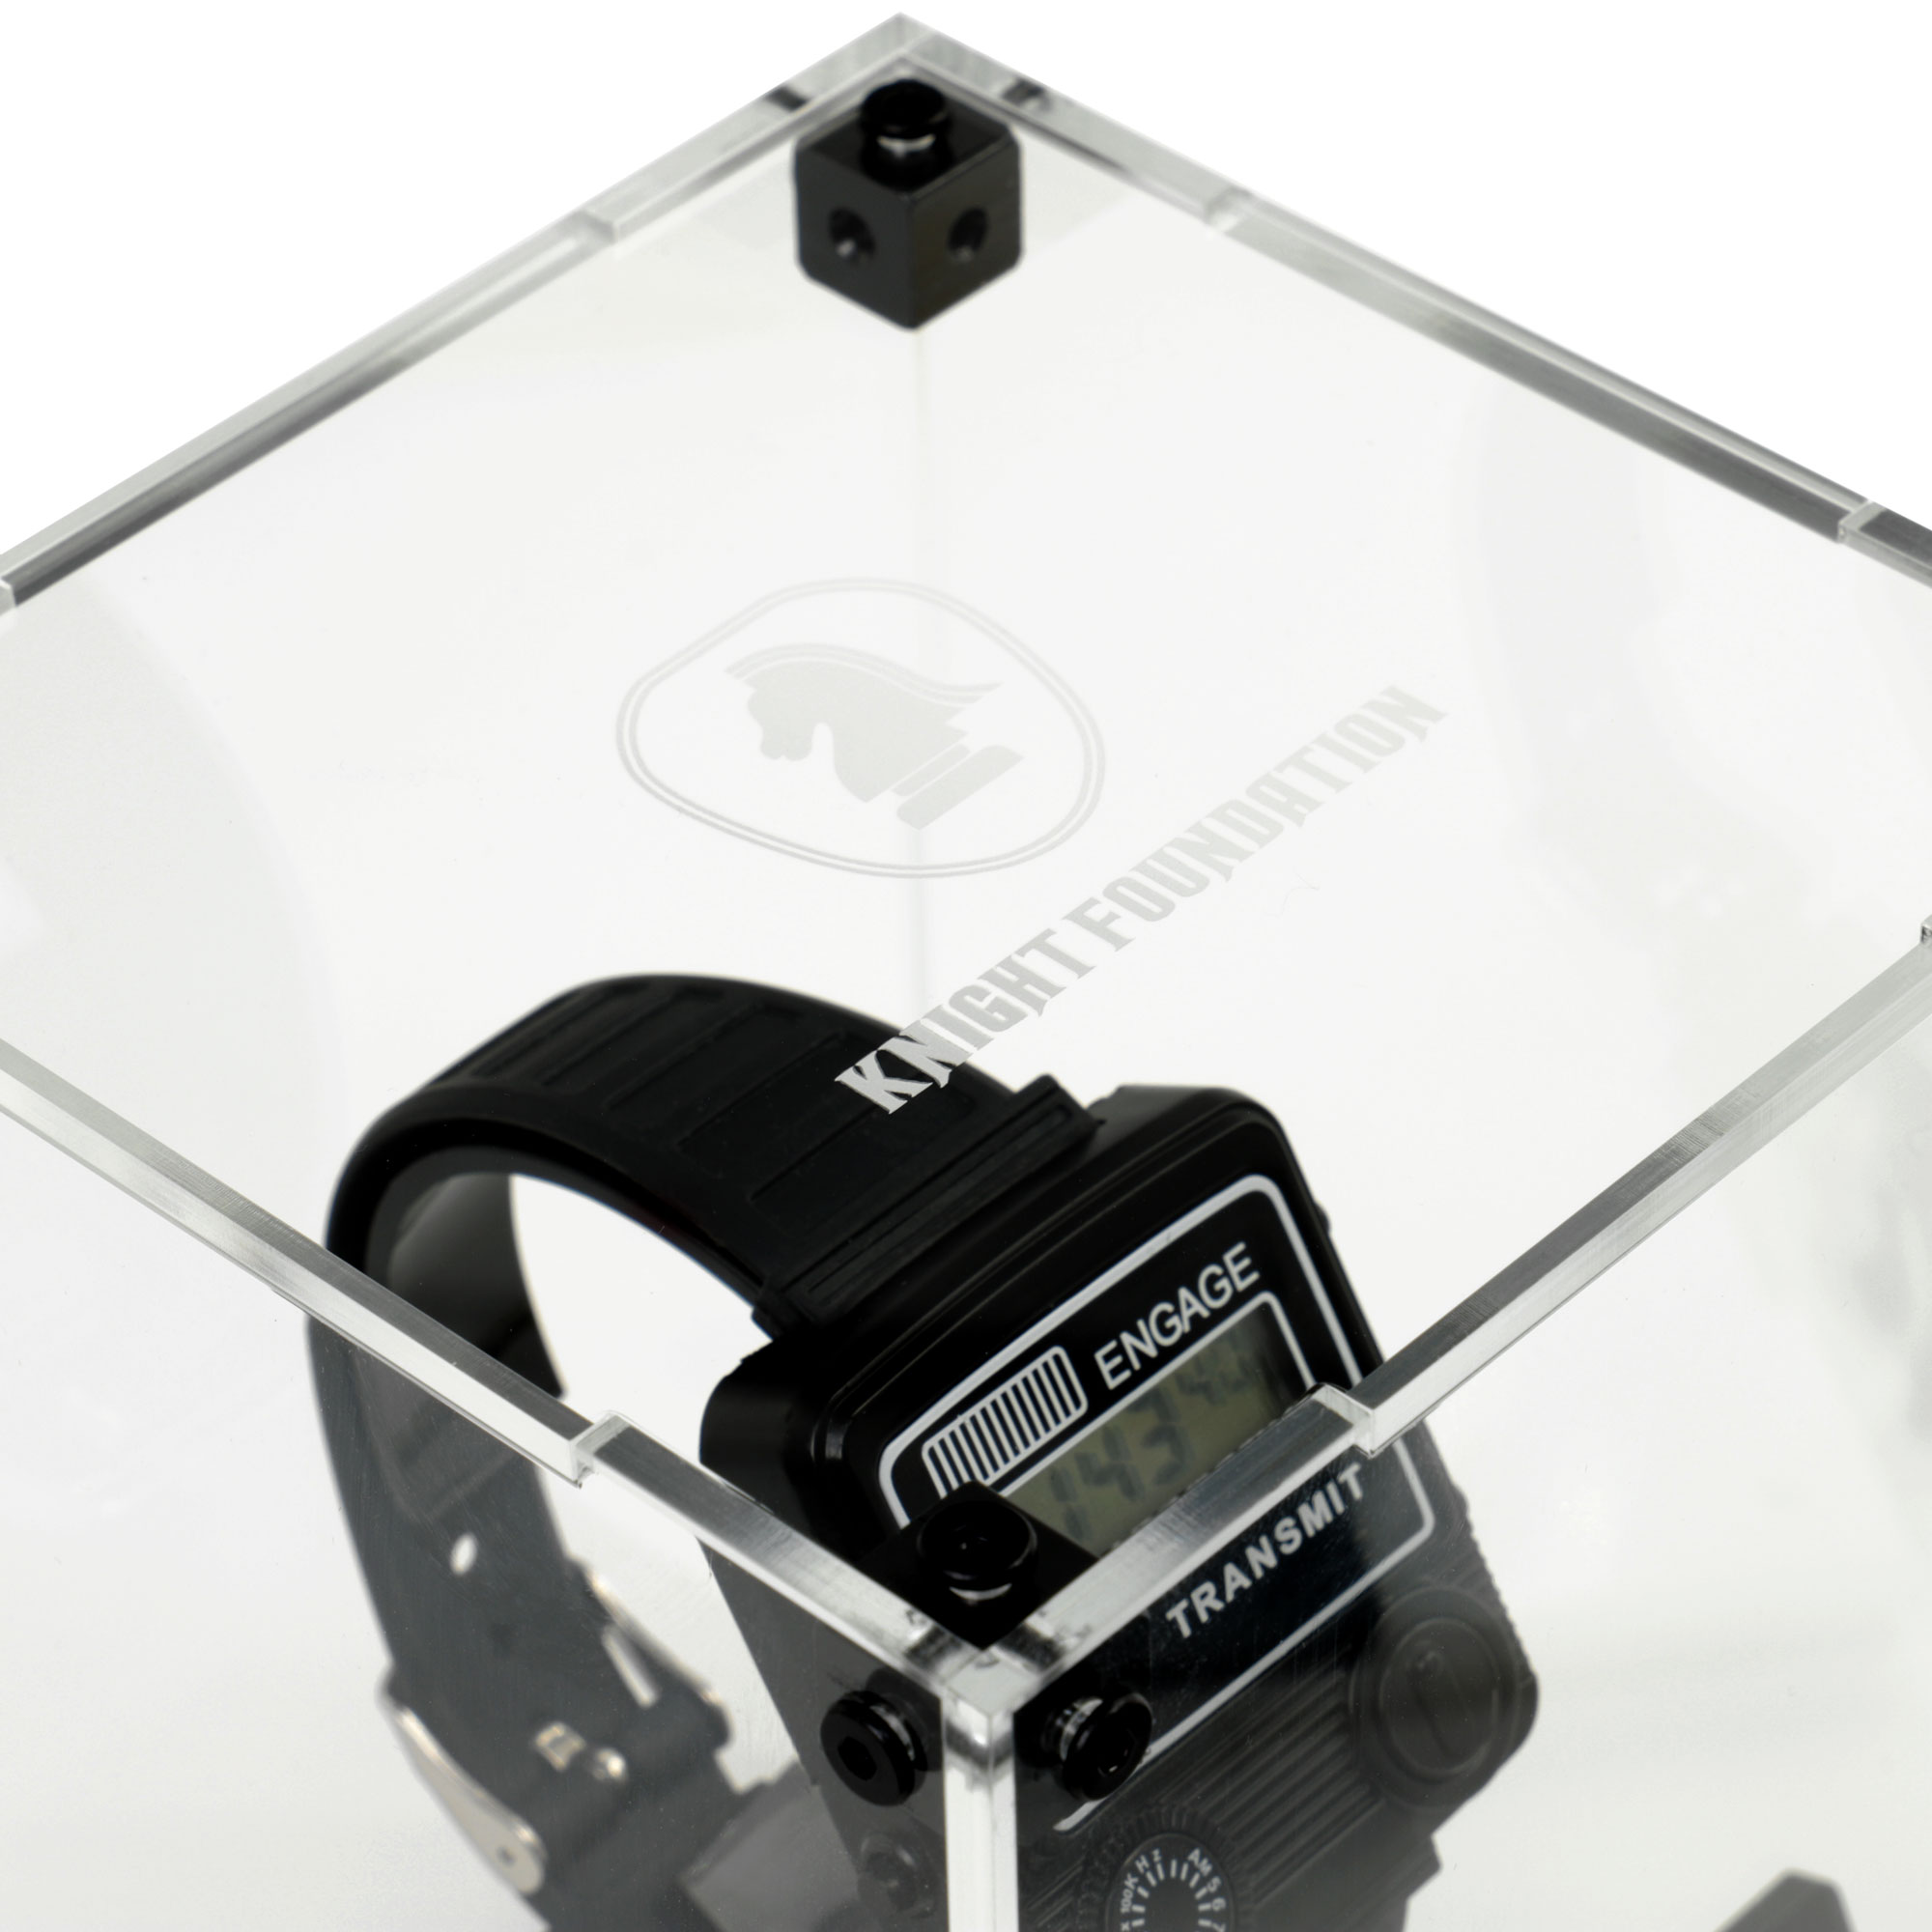
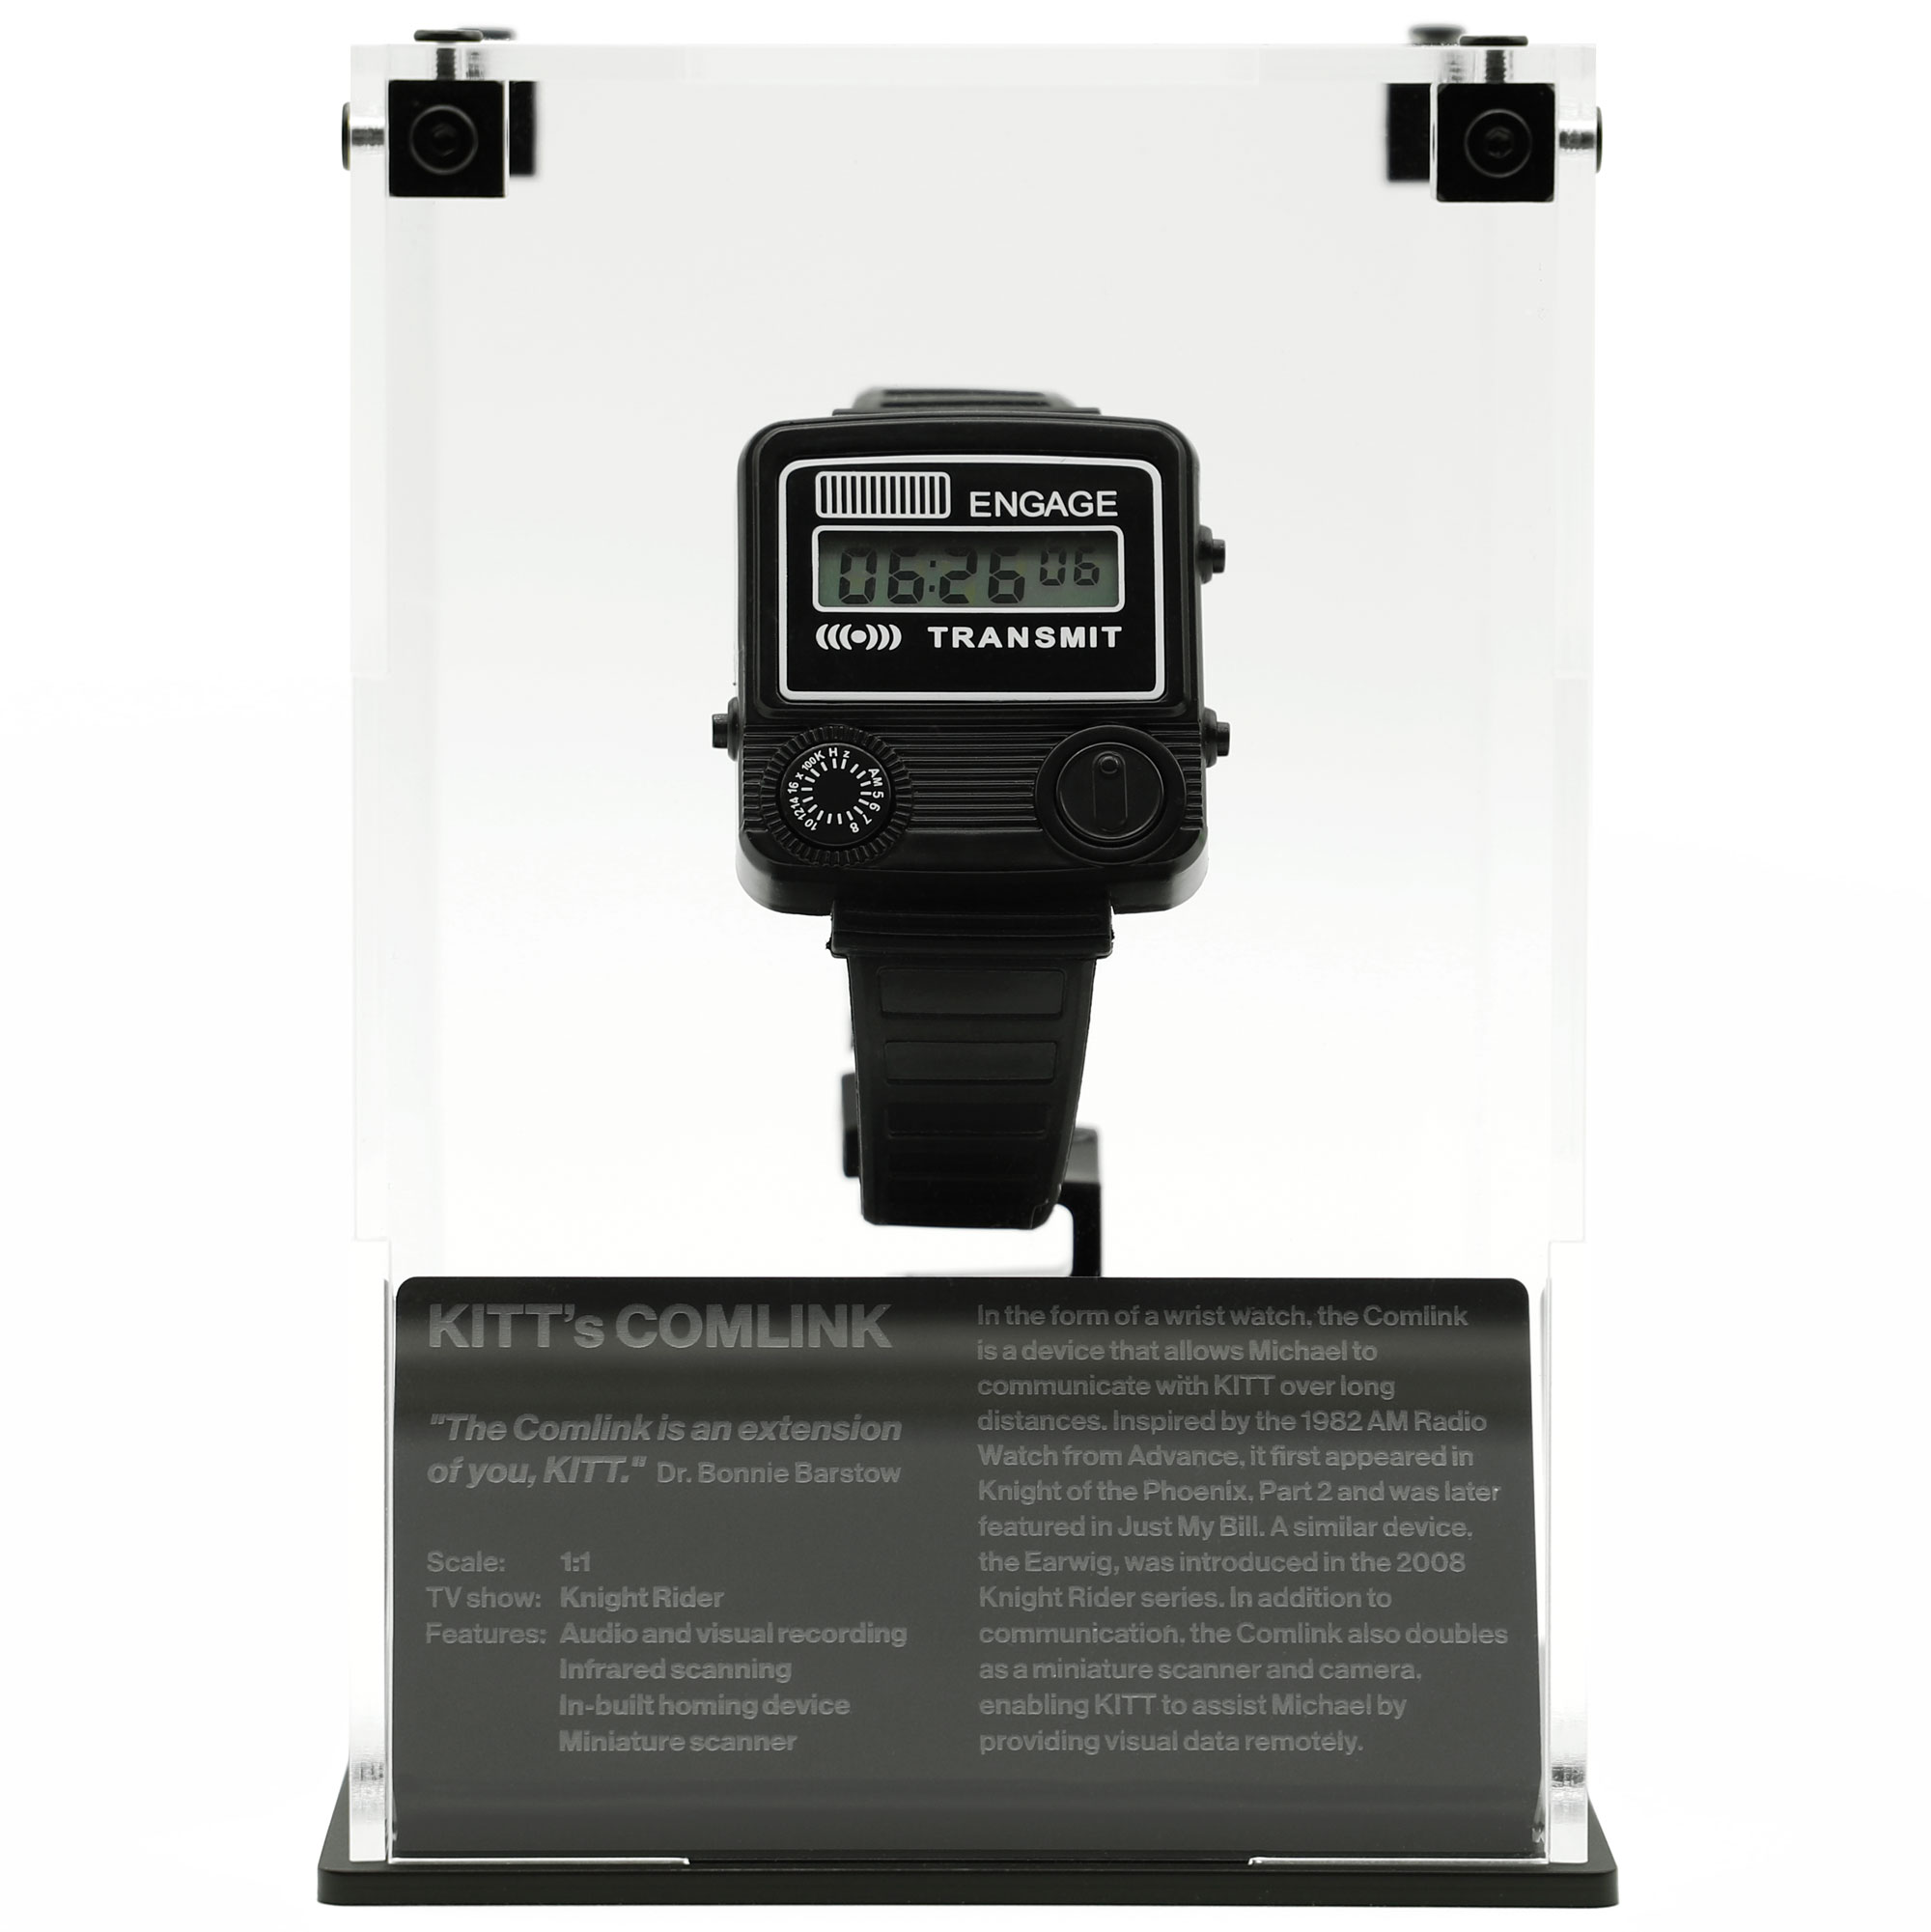
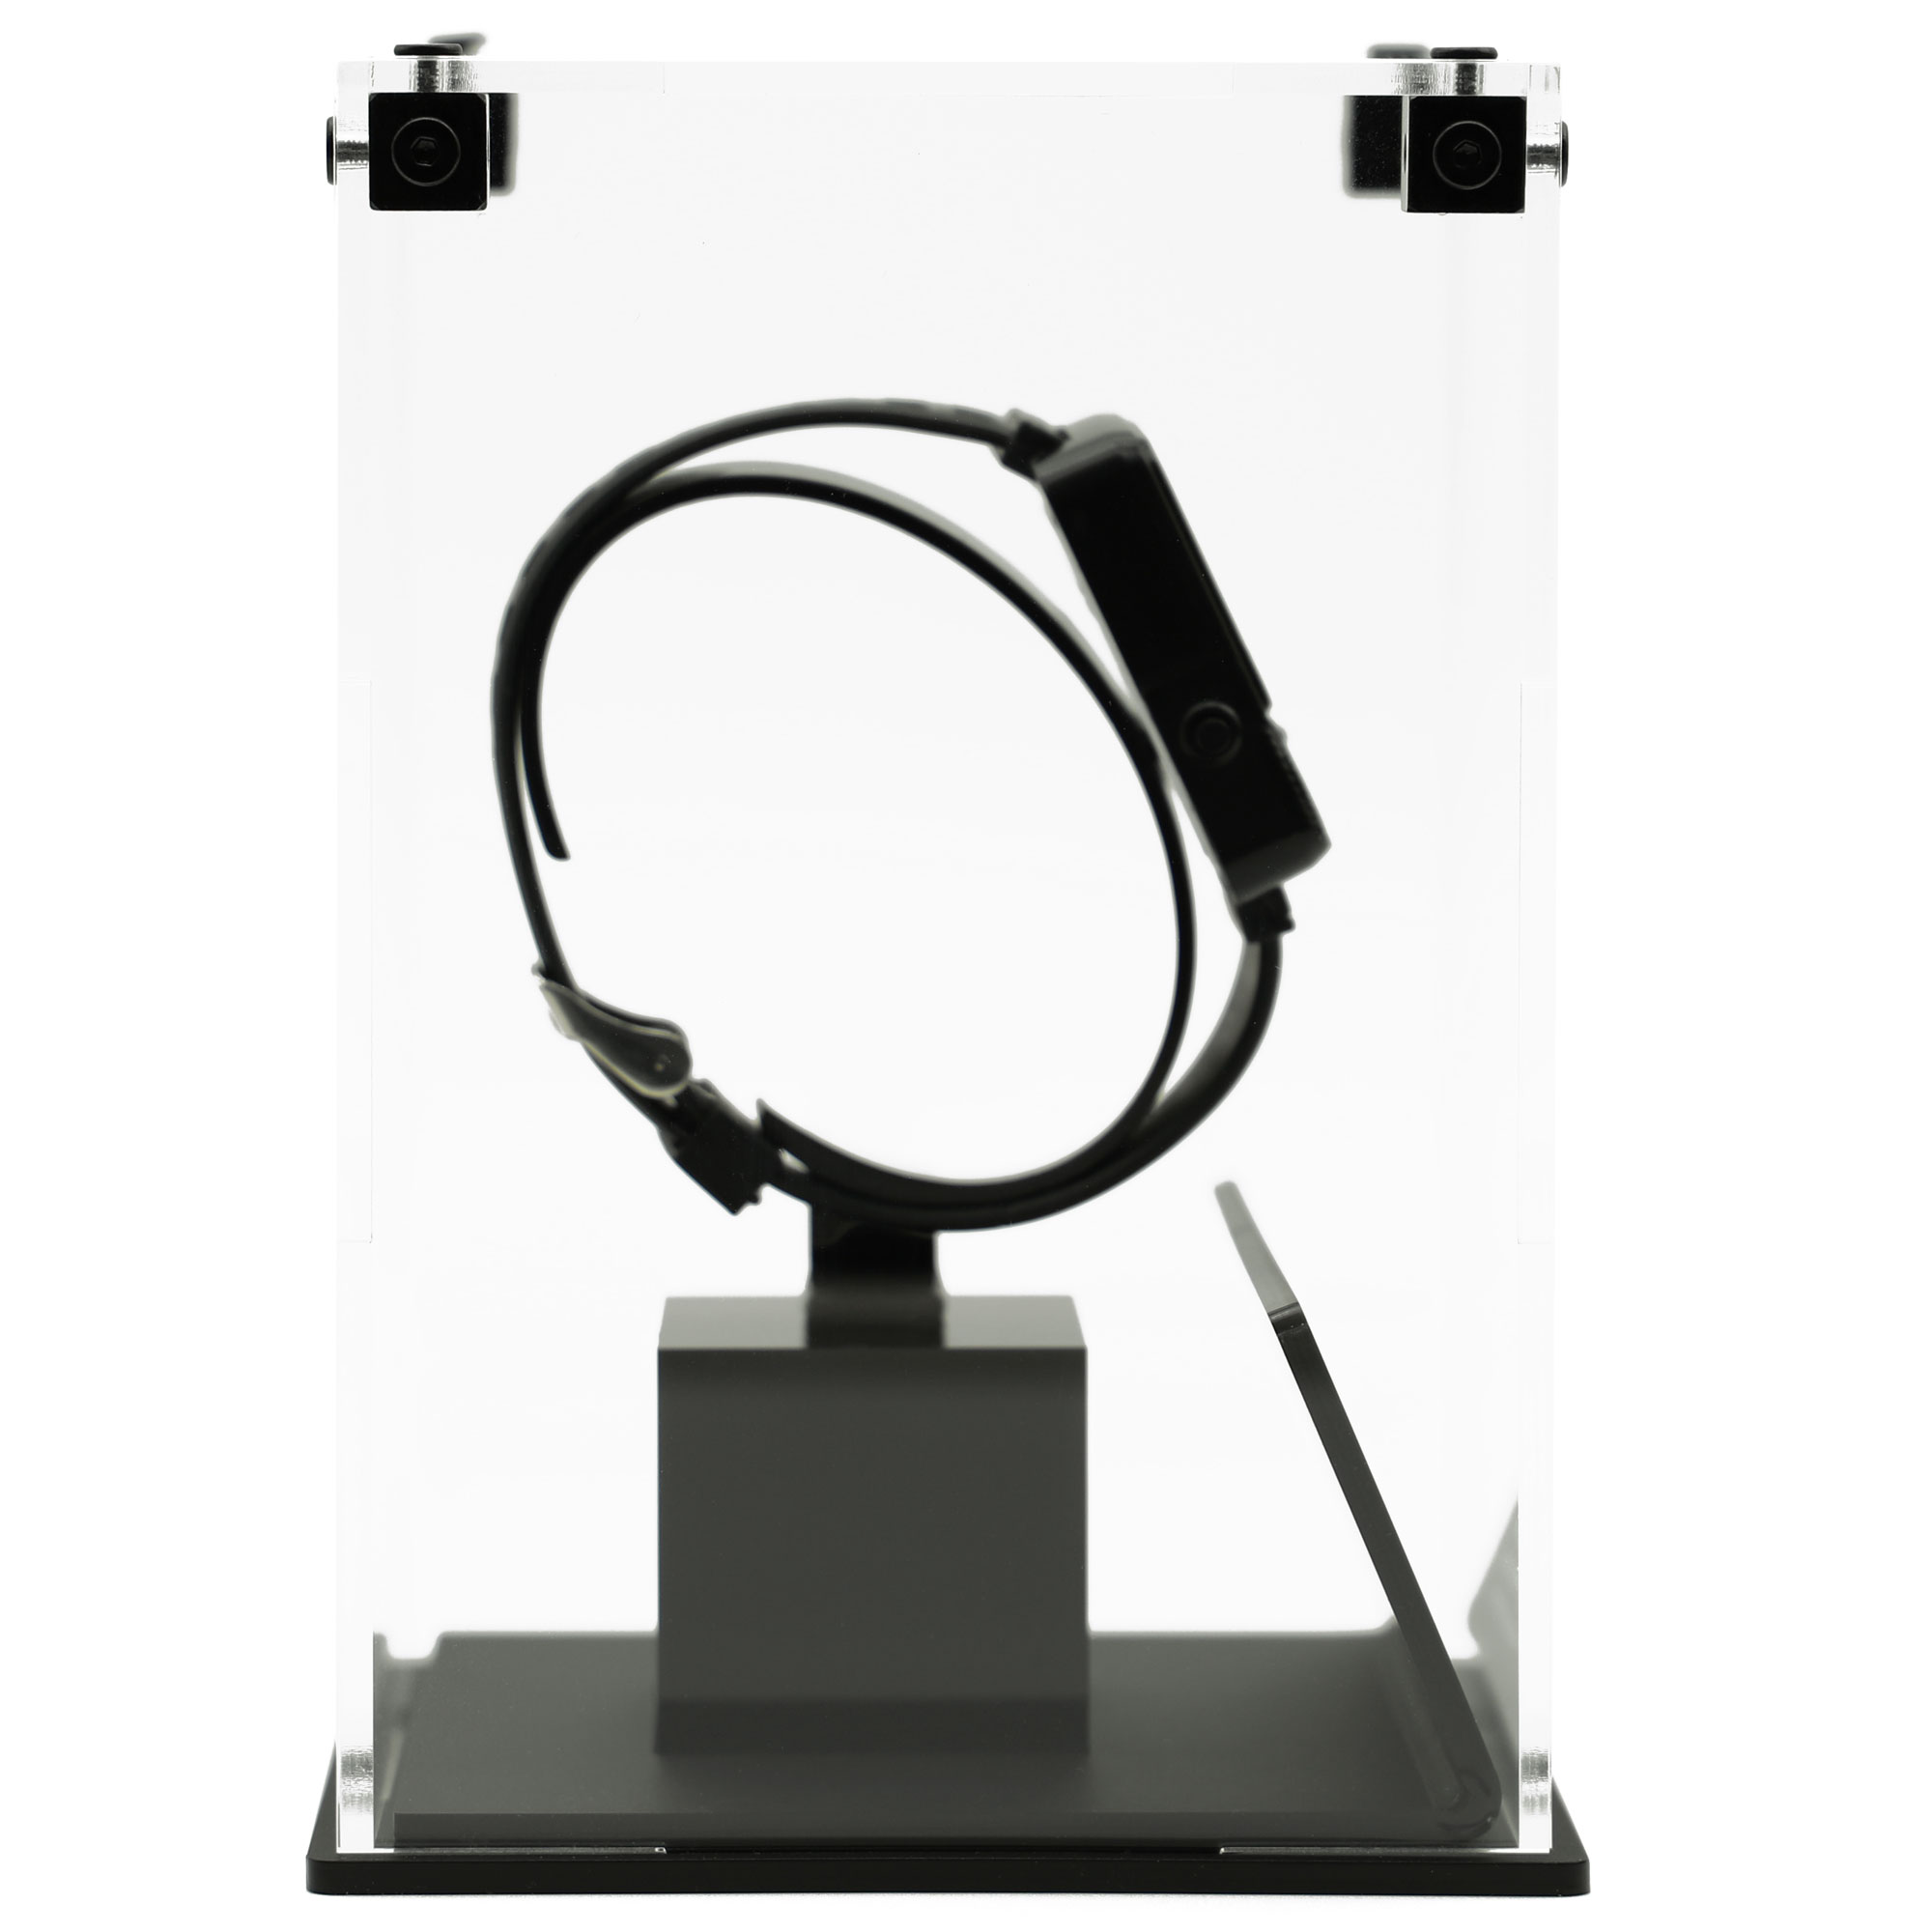
- Refer to the product photos and check for features like cutouts, etchings and fixing points that indicate orientation.
- Install mounting blocks on the top panel
- Take a mounting block and screw for each corner and/or, for larger cases, a triangular block for the edges.
- One at a time, position the mounting blocks under each designated corner of the top panel and loosely insert the screws by hand to hold the blocks in place.
- Gently tighten each screw using the included Wera Hex tool, but not to final tightness.
- Attach the front and side panels
- With the blocks loosely fixed, fit the front and side panels into position against the blocks.
- Align them carefully – acrylic can chip or crack under pressure if misaligned.
- Insert screws through the mounting blocks into the front and side panels. Tighten gently.
- Support the panels as needed to prevent stress while tightening.
- Install over the base
- With your top and side panels assembled, position your display piece on the base, and carefully lift your case over and onto the base.
- Align the holes in the base with the rectangular cutouts on the bottom of each panel.
- Insert and gently push into place to secure the case in place.
- Final tightening
- Once all panels are in place, go around and tighten each screw a bit more to ensure the structure is firm.
- Do not overtighten, as acrylic is brittle and can crack.
- Inspect the assembly
- Check all edges and corners for alignment.
- Wipe down the exterior with a soft, lint-free cloth to remove any dust or smudges – see cleaning instructions below beforehand.
Cleaning instructions
Important cleaning and maintenance tips
NEVER use solvent based cleaners, or window/glass cleaners
Solvent-based cleaners such as Windex, acetone, alcohol-based cleaners, or ammonia-containing products can cause cloudiness or the acrylic to crack.
ALWAYS use gentle cleaning materials
Acrylic-friendly cleaners include Novus Plastic Polish (recommended), Mr Sheen Furniture Polish or a mild soap and warm water solution. Clean regularly to prevent buildup of dust and oils.
NEVER use paper towels
Never use abrasive sponges or paper towels — these will scratch the acrylic. Only use clean, soft microfiber cloths and use a second dry microfiber cloth for buffing. Store microfiber cloths in a clean, dry place — avoid using cloths that have been used on other surfaces with harsh chemicals.
- Put on nitrile gloves (optional)
- Wearing nitrile gloves will prevent skin oils and fingerprints from transferring onto the surface while cleaning.
- Dust off the surface
- Gently wipe down the acrylic with a dry microfiber cloth to remove loose dust and debris.
- Avoid using paper towels or rough fabrics, which can scratch the surface.
- Apply the cleaner
- If using Novus Plastic Polish or Mr Sheen: Spray or apply a small amount directly to the cloth — not directly onto the acrylic.
- If using soap and water: Dampen the microfiber cloth with a warm, soapy solution (a drop of dish soap in water is enough). Wring out excess moisture.
- Gently wipe the acrylic
- Using light pressure, wipe in a straight or circular motion across the surface.
- For stubborn smudges, apply a little more cleaner and let it sit for a few seconds before wiping.
- Buff the surface
- Use a clean, dry microfiber cloth to gently buff and dry the acrylic, restoring its clear finish.
- Inspect for missed spots
- Look at the acrylic under good lighting and re-wipe any spots or streaks as needed.
