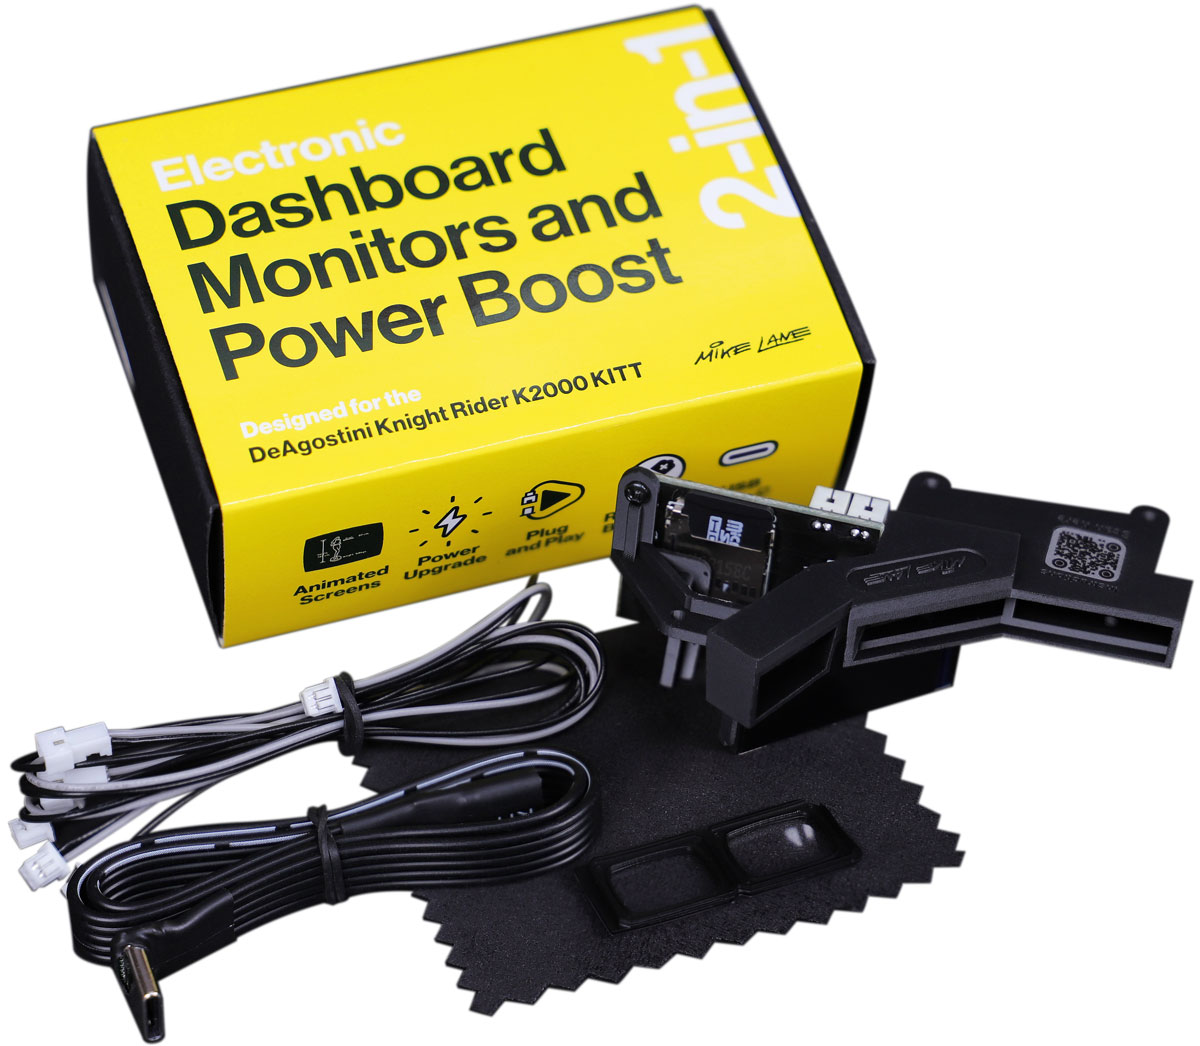
The following step-by-step guide explains how to update the firmware on the Mike Lane ‘Dashboard Monitors and Power Boost‘ mod for KITT. Firmware updates can include new product features and additional support for future mods.
This update needs to be run from a PC with an en-US Windows installation. We’ll cover how to download and install the updater and how to upload the new firmware safely to the Dashboard Monitors controller.
Disclaimer: Only use firmware files obtained via the official Mike Lane website that are confirmed compatible with your devices controller. Uploading incorrect firmware to your controller will damage the device.
- First, connect your Dashboard Monitors to a Windows PC via the USB-C port on the side of the device. You should see a green LED on the controller indicating that there is power to the device.
- Next, download the latest updater and firmware files using the links provided below:
Please note: This updater currently only supports en-US Windows installations. Support for additional languages/regions are planned for future releases.
- Unzip the ControllerUpdater (App) and MikeLaneKittDashColV2 (Firmware) zip files. Run the Mike Lane Updater setup.exe file within the ControllerUpdater folder.

- On the initial pop-up window, click ‘Install‘.

- Click ‘OK‘ to acknowledge the safety warning. This message reminds you that you should only use firmware files obtained via the official Mike Lane website that are confirmed compatible with your devices controller. Uploading incorrect firmware to your controller will damage the device.

- Click ‘OK‘ to acknowledge the safety warning. This message advises that you should remove all other connected COM devices, such as USB drives etc from the computer before using this software.

- Click the Firmware file button, browse to the downloaded folder and select the MikeLaneKITTDashMonitorsFirmwareV2.bin file. The path of the firmware file will be displayed beside the button when successful.

- Next, click the ‘Refresh device list‘ button. This should load the Dashboard Monitors controller into the COM list if connected successfully. In this example it loads as COM7, but it may load as a different COM device depending on your setup.

- Click the ‘Update‘ button. It should then indicate that it’s updating beneath.

- Click ‘OK‘ to acknowledge that you must not disconnect the device during the update process.

- The updater will begin updating the firmware on the Dashboard Monitors. The process will only take a few seconds and will be indicated with the ‘Updating…..‘ message beneath the update button.

- Once the process has finished, the updater will report that the update is successfully complete – indicated by the ‘Completed‘ message beneath the button.

- As the final step of updating your Dashboard Monitors to the latest version, you will need to check that you have the latest configuration settings. Remove the MicroSD card from the device and insert into a PC. Open config.txt from the MicroSD card.
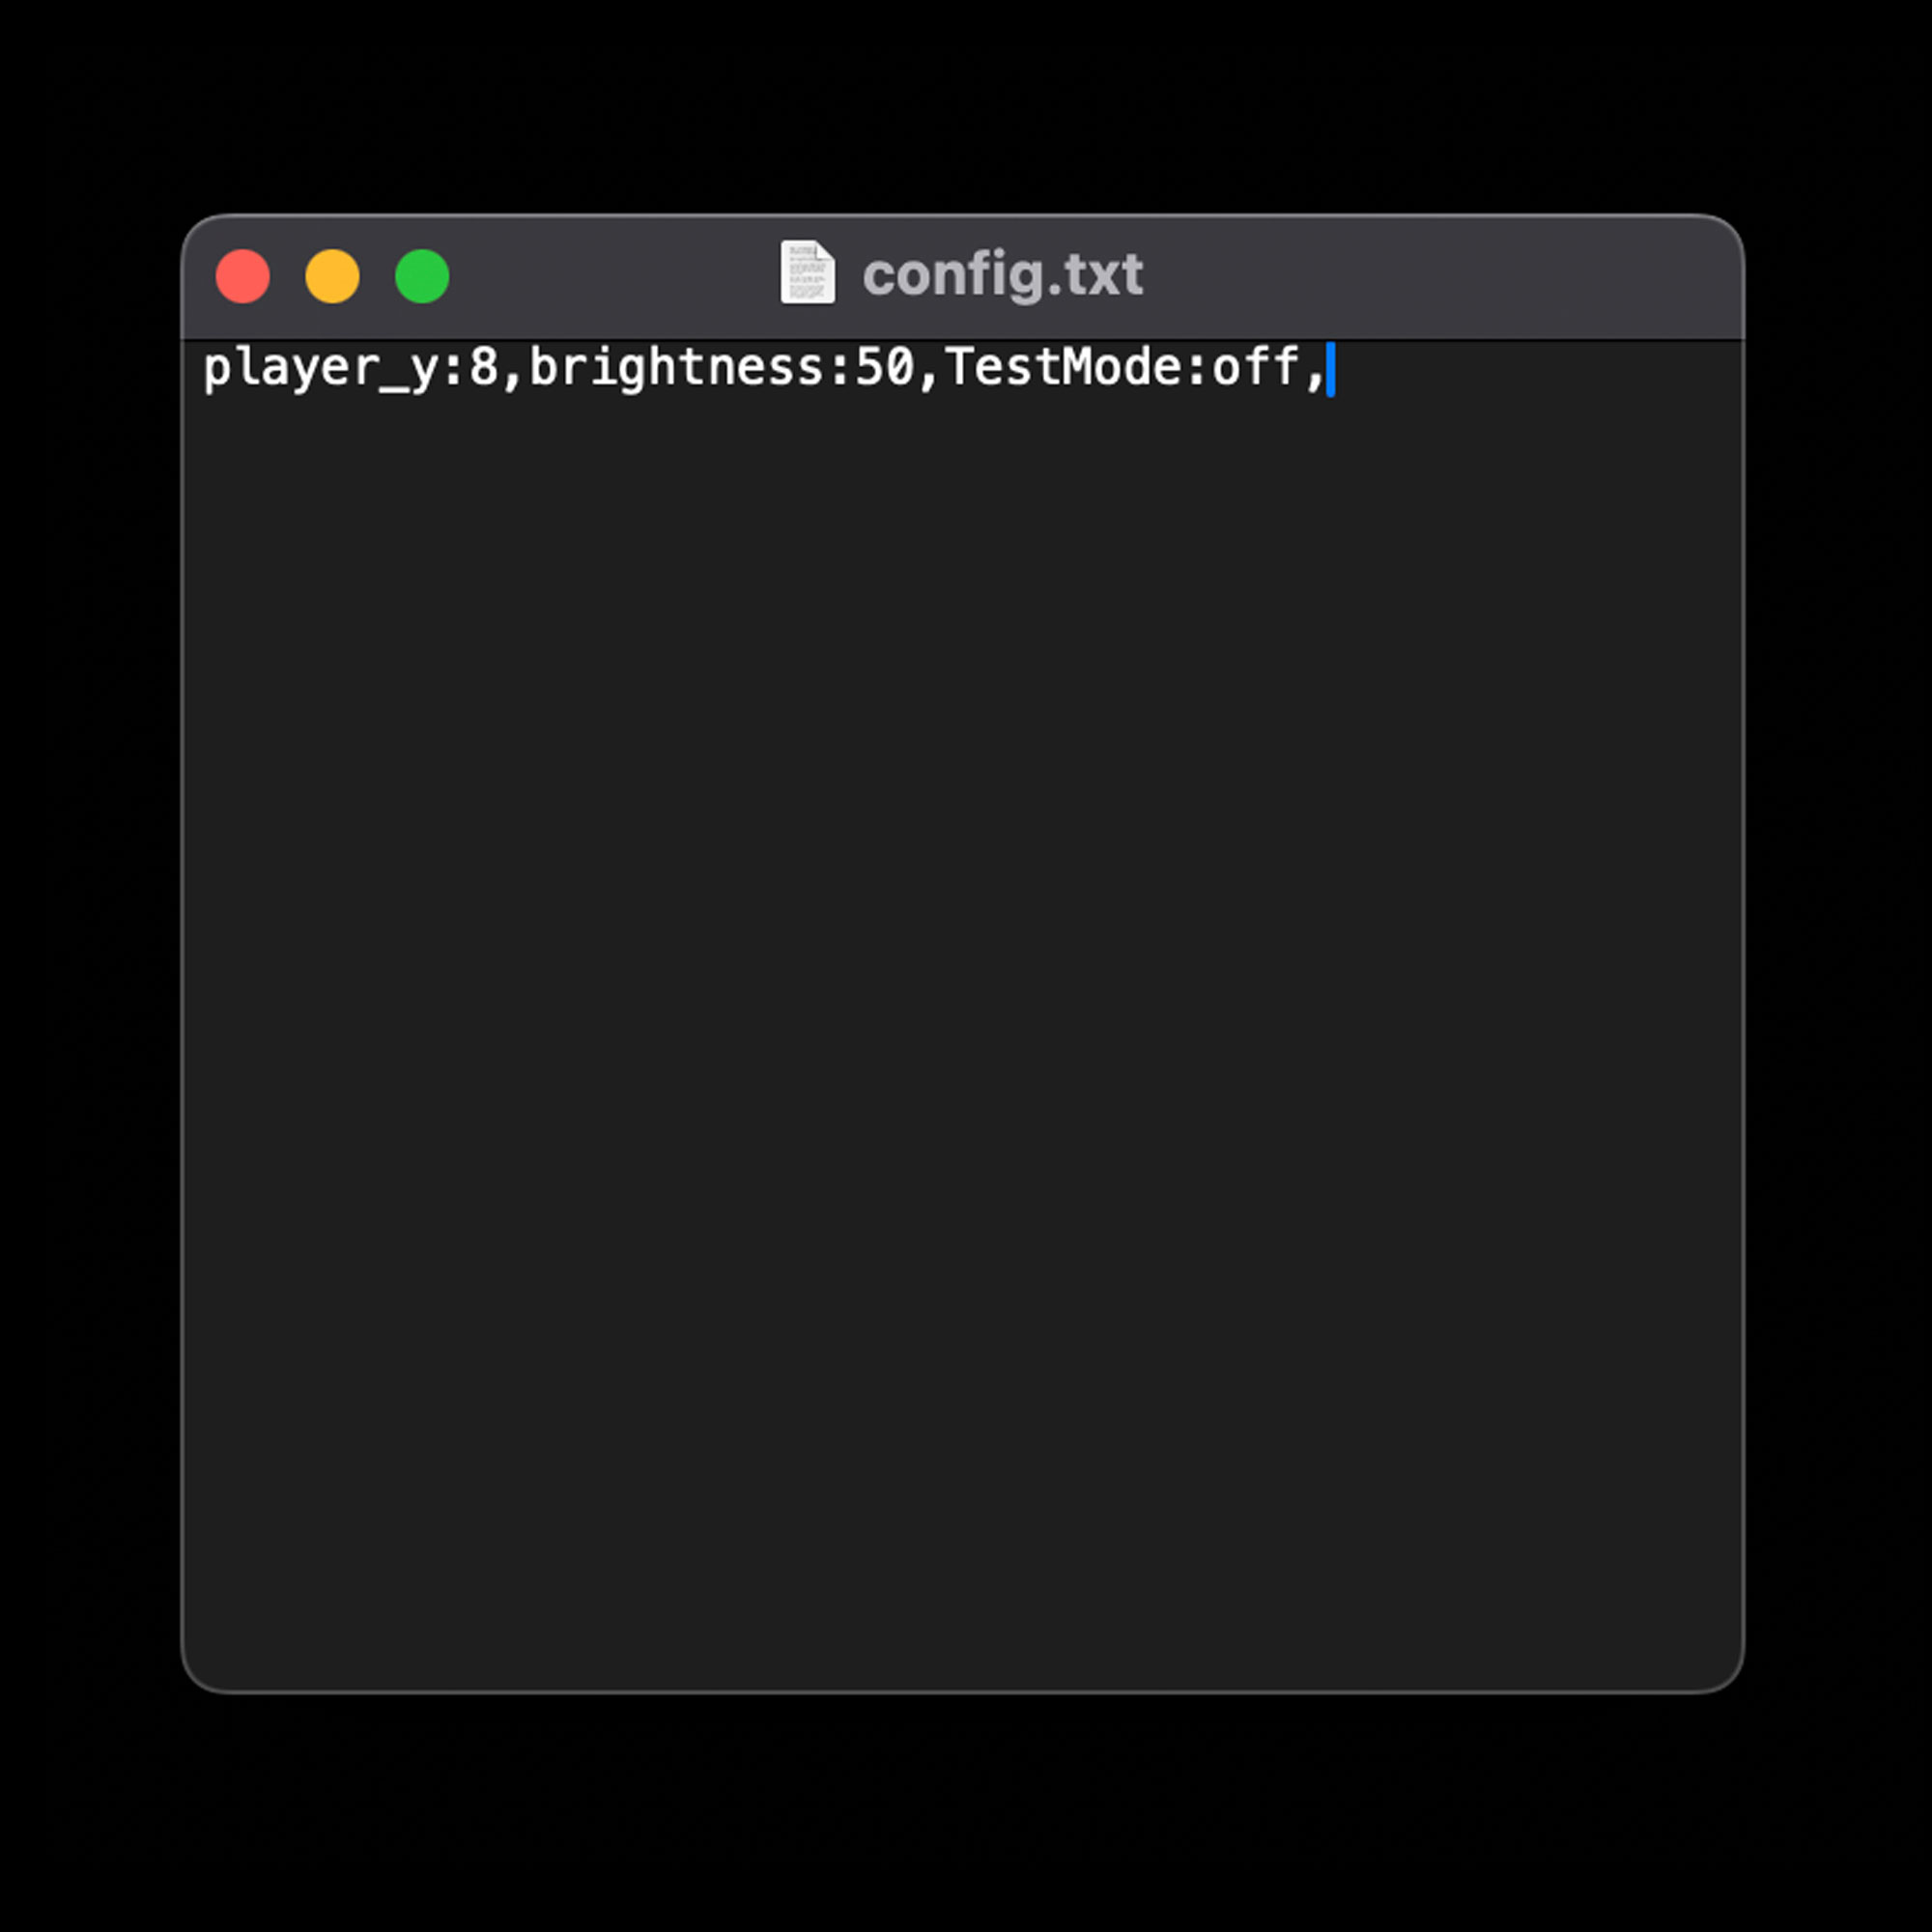
The most up-to-date config file should contain the following default settings. If you’re missing any of these settings you can now add them to your MicroSD card:
player_y:8,brightness:50,TestMode:off,
Once you have updated the settings, you can safely disconnect the device and MicroSD from the Windows PC.


