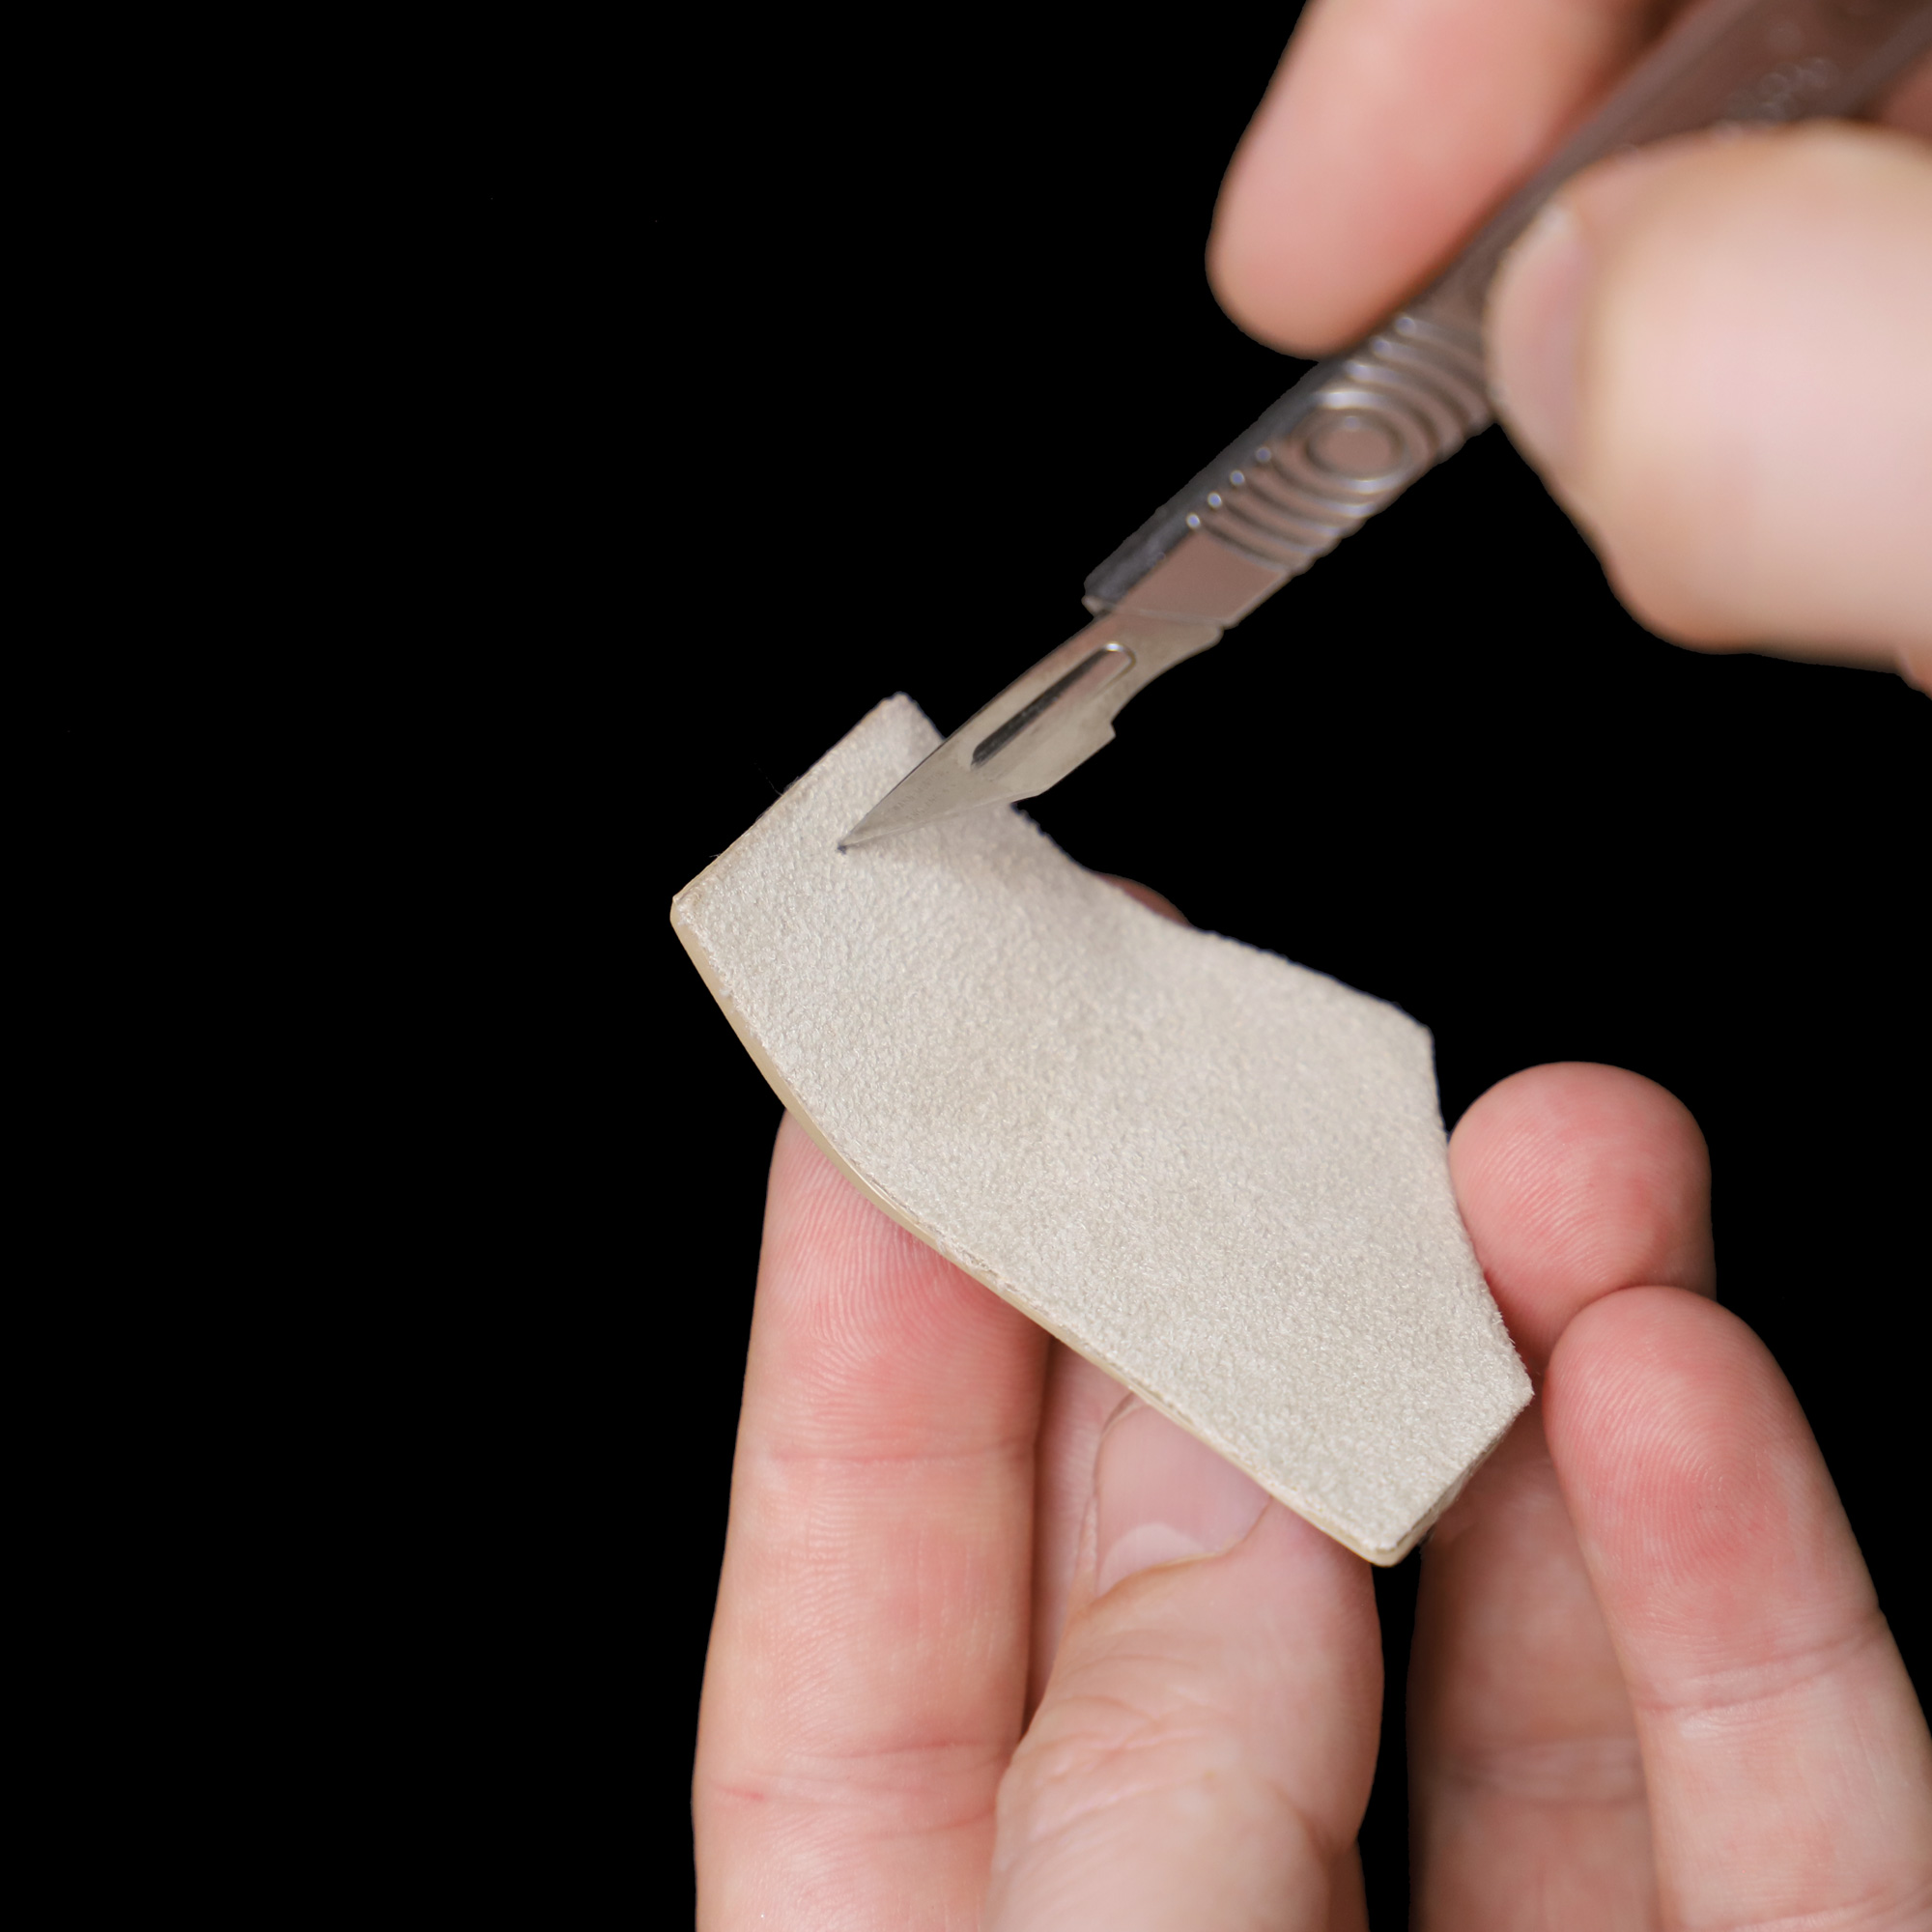
The painting steps within these instructions are completely optional, but will greatly increase the accuracy of your model.
If you’re uncomfortable with painting your model, or perhaps you are too far into the build to do so, you can skip to ‘Step 6 – Applying the door carpets’ and work from there. The carpet and badge upgrades alone will still vastly improve the appearance of your model and come at zero risk to your model.
Step 1 Masking the door panels
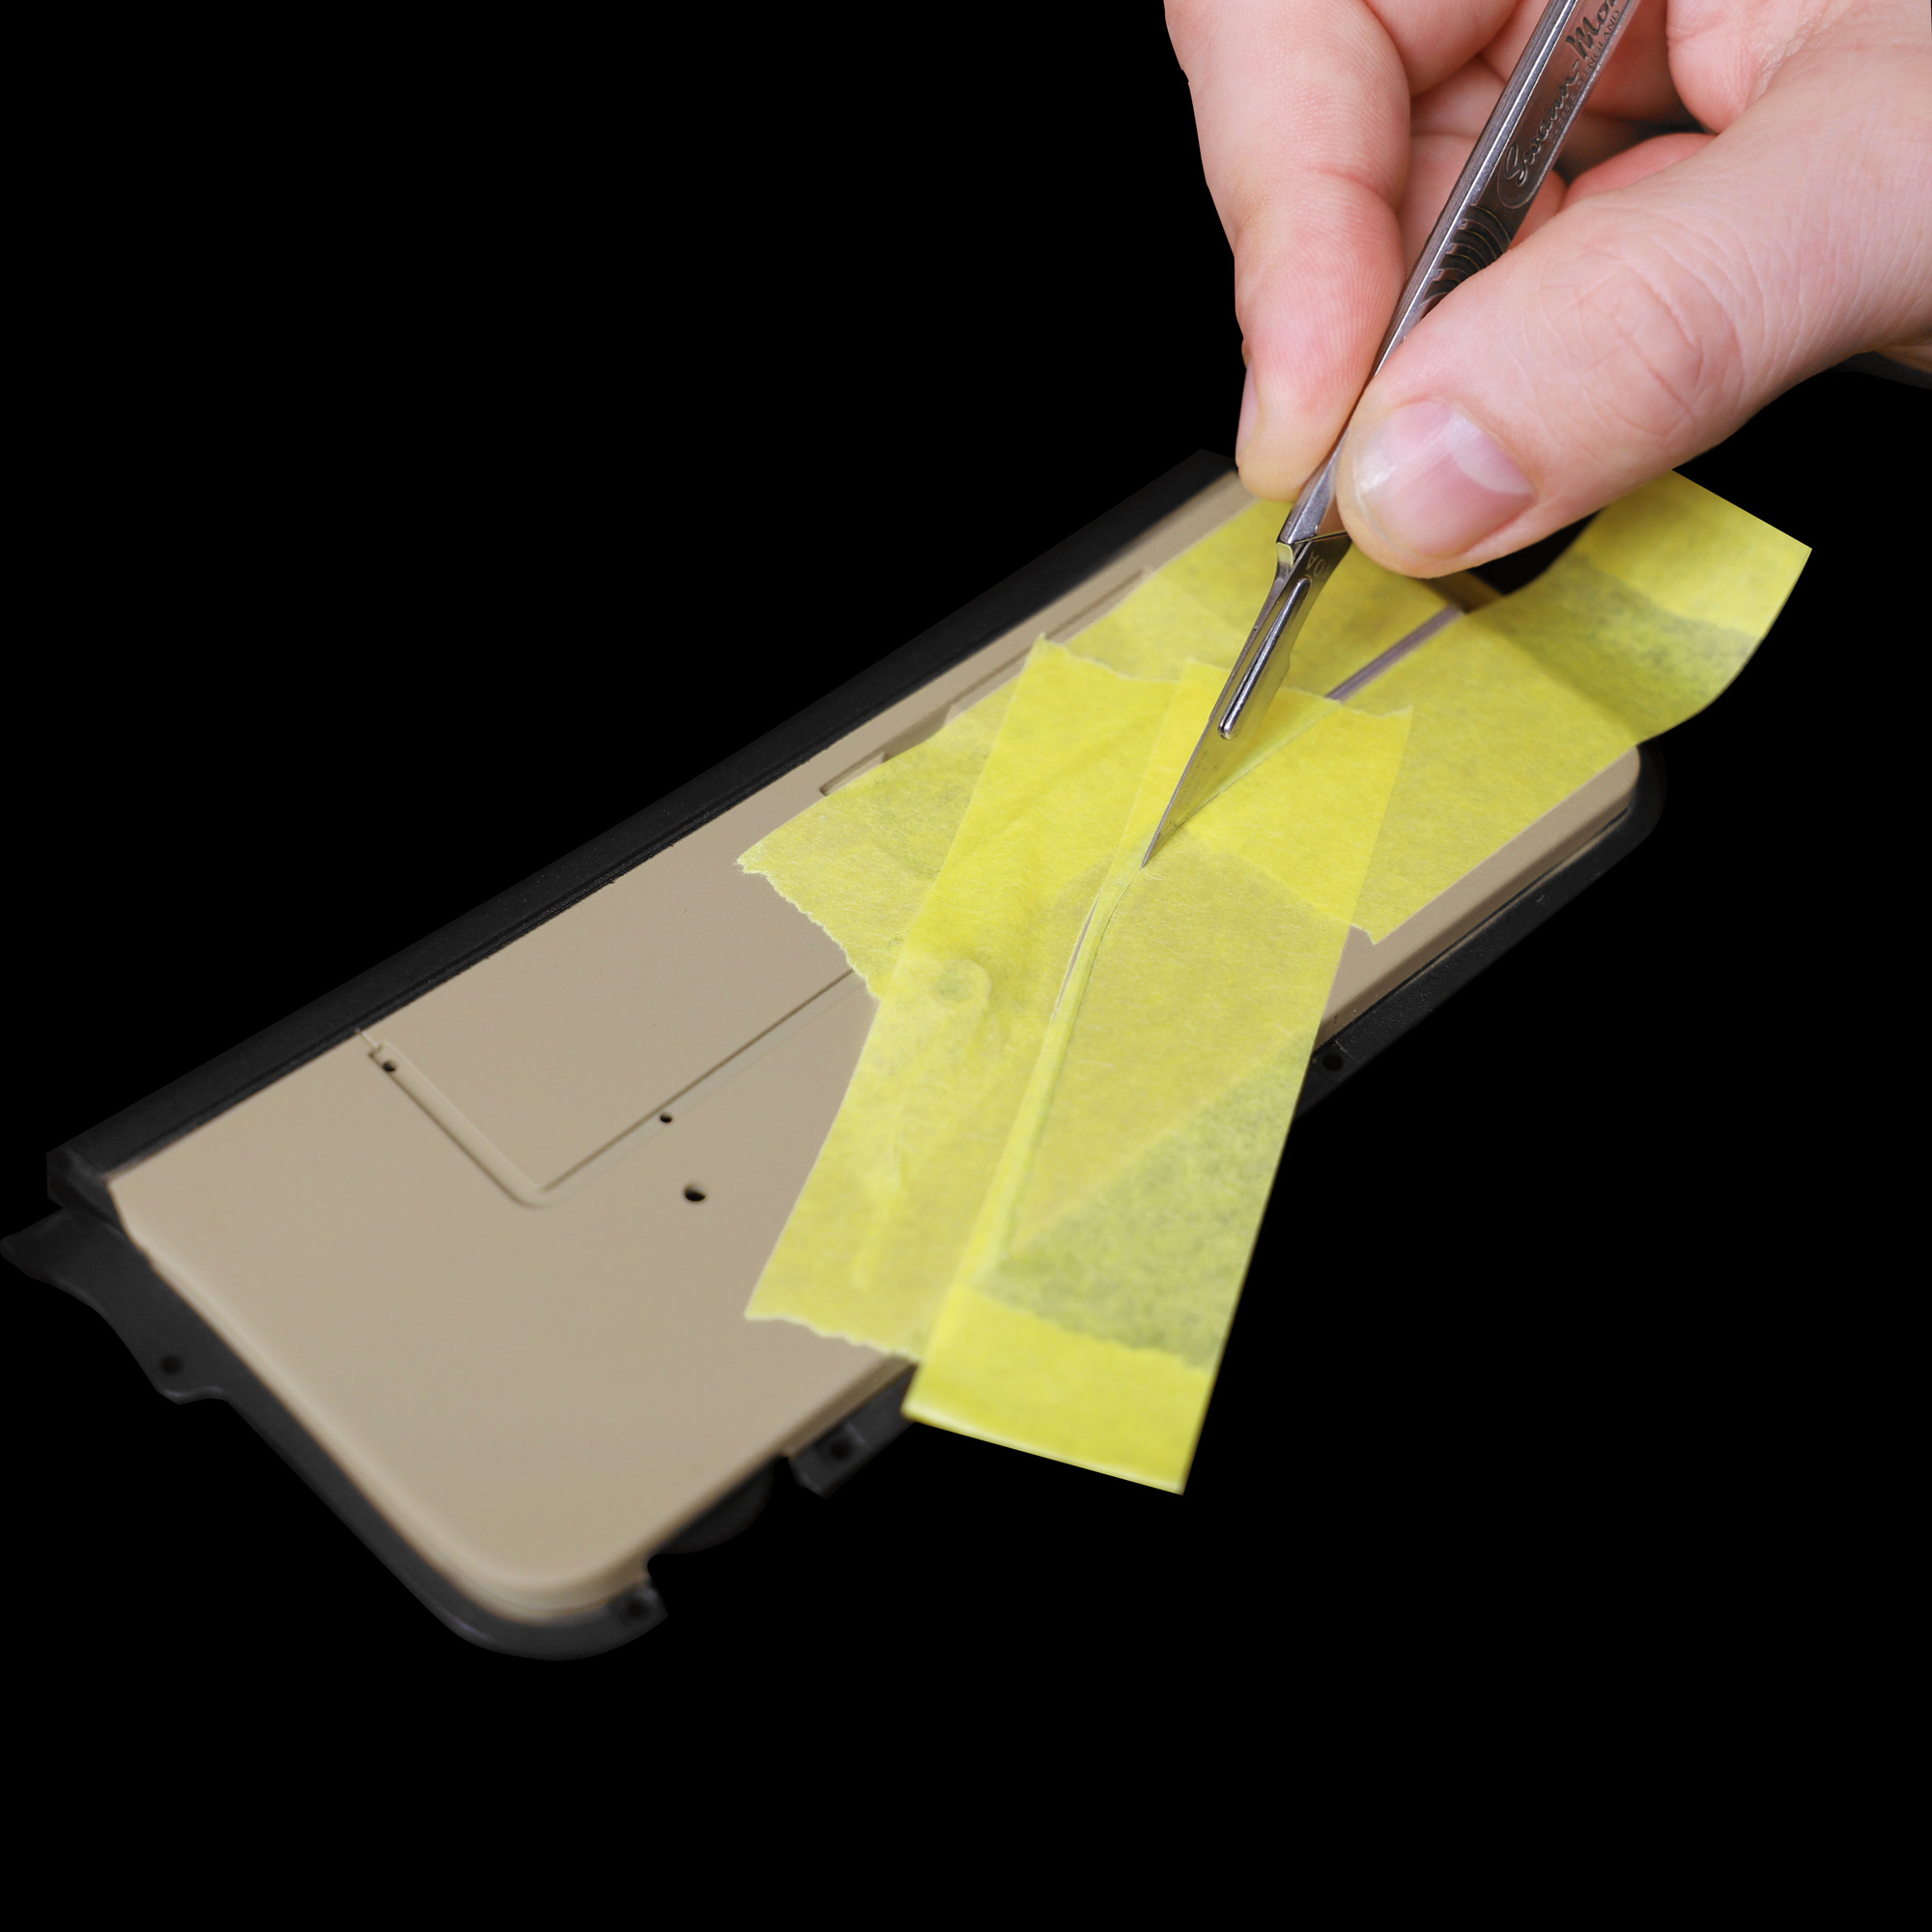
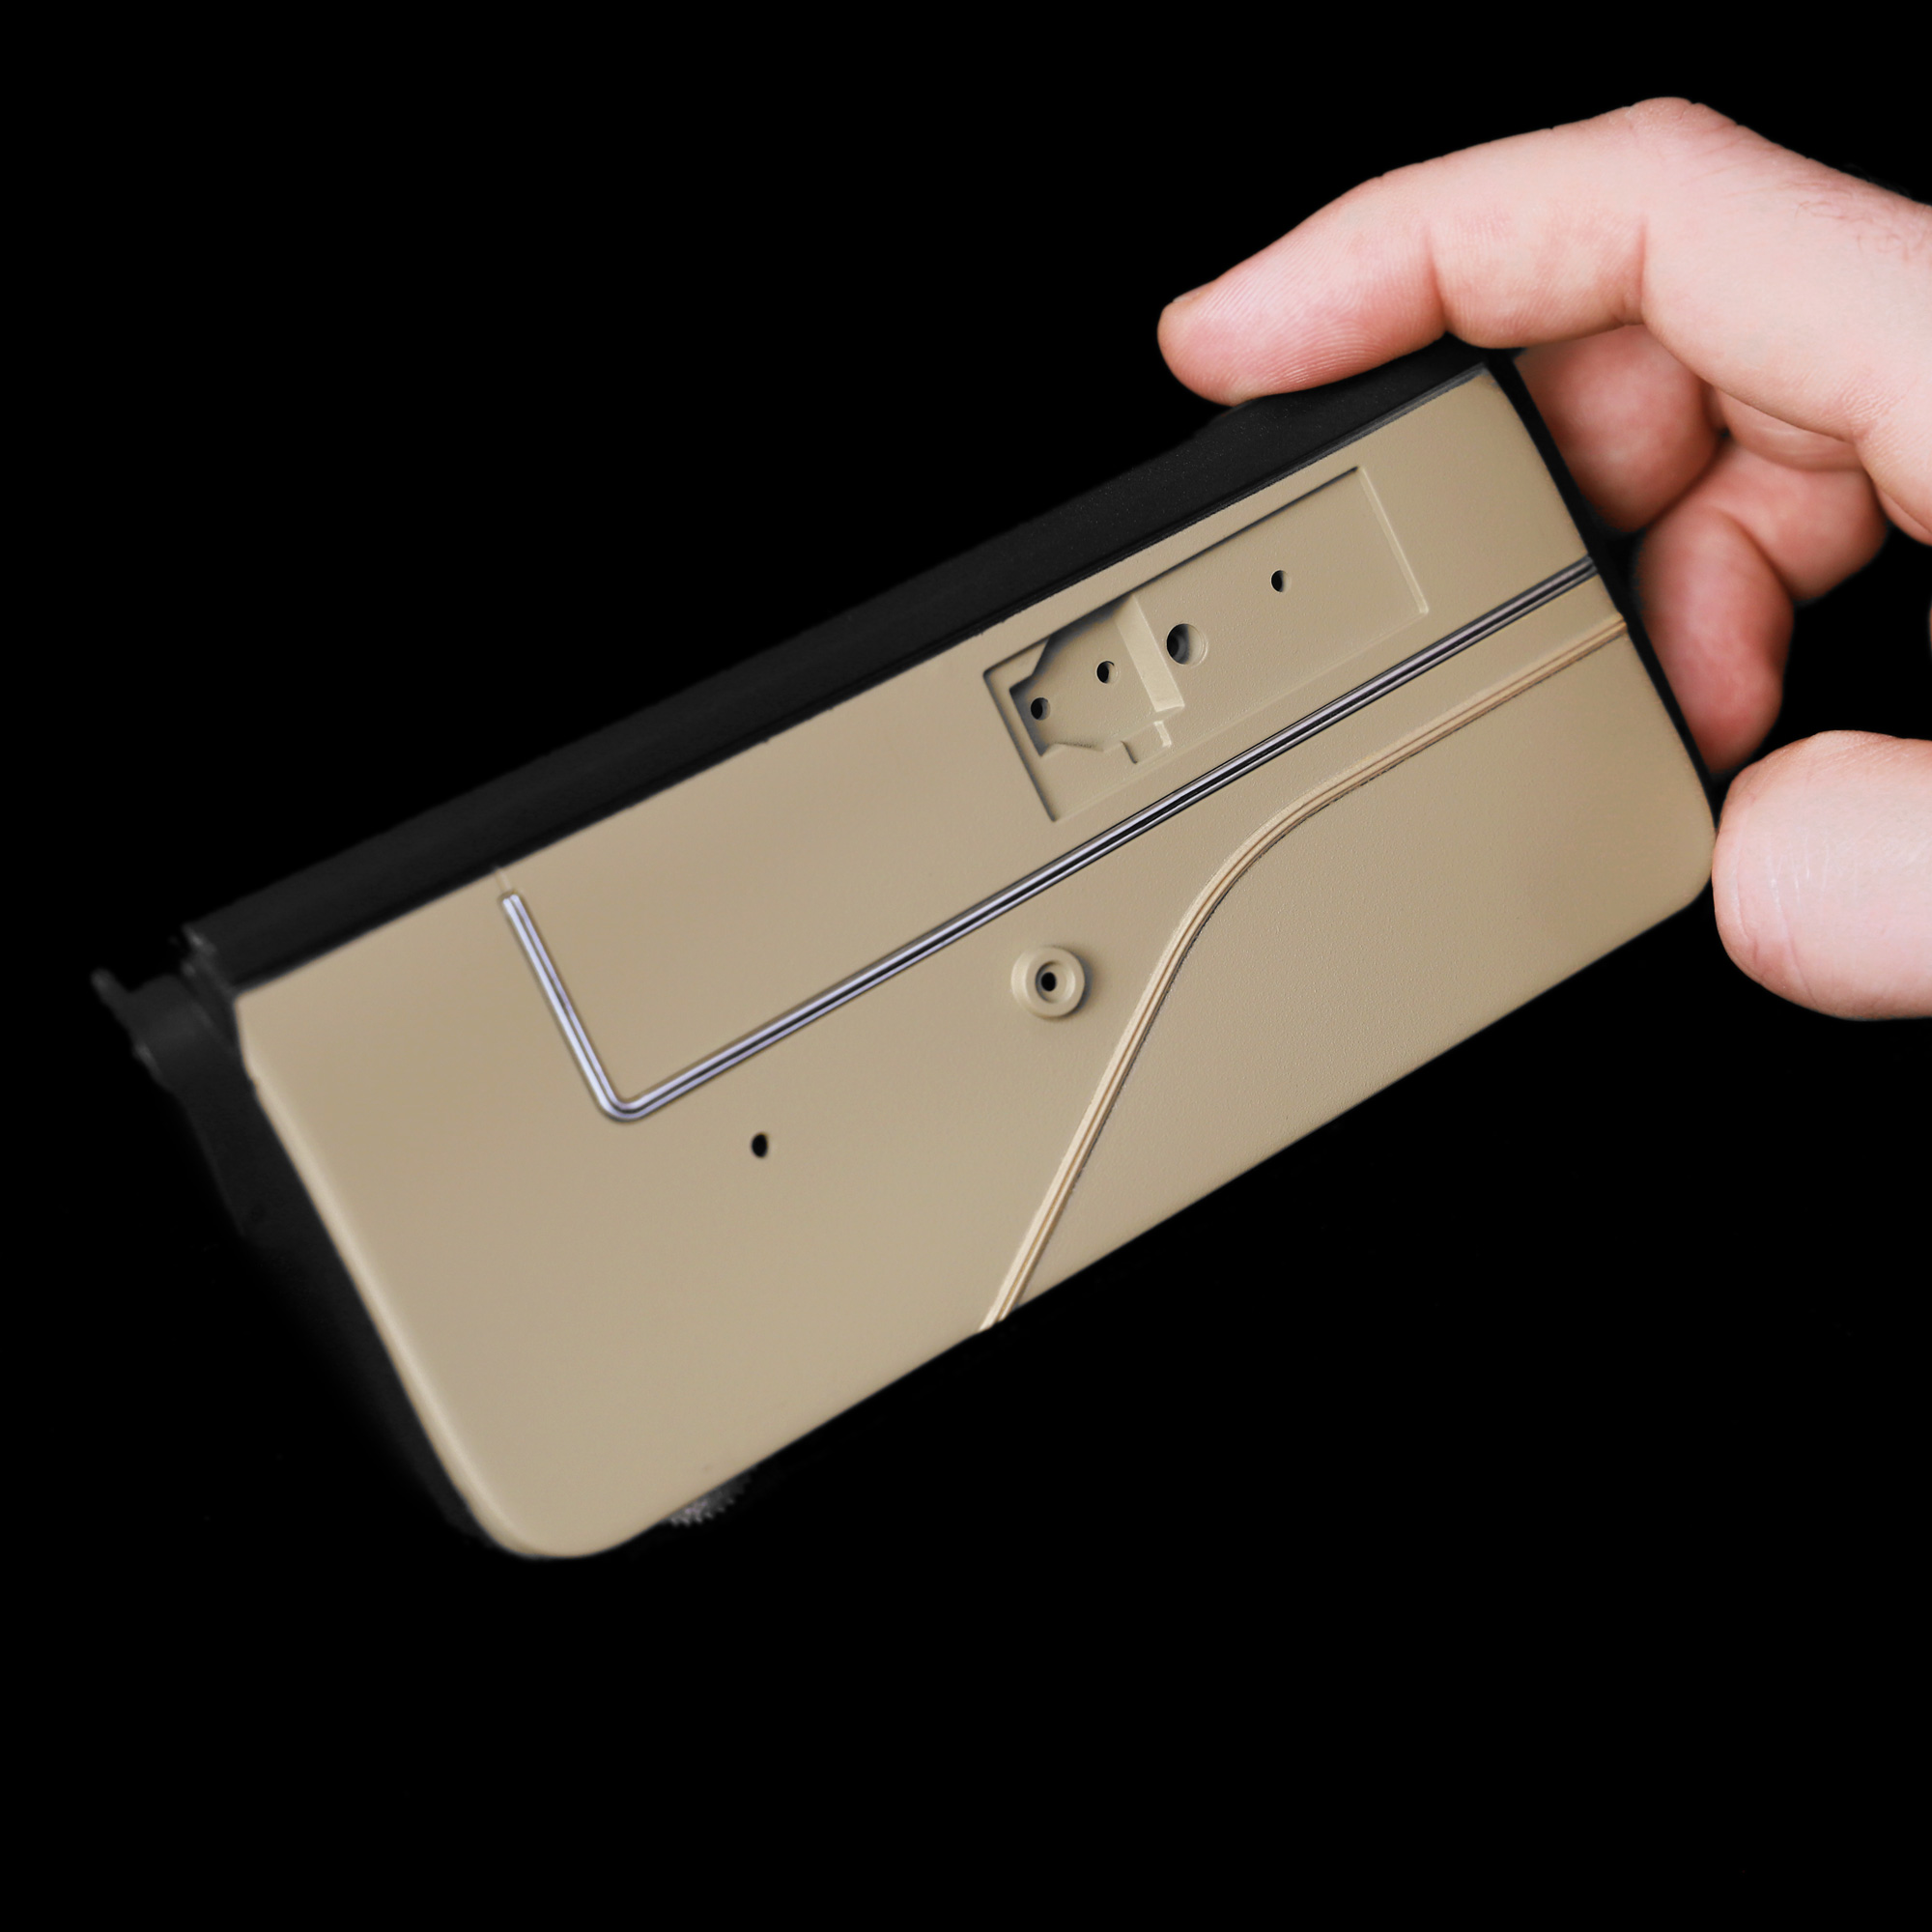
First, we will mask around the silver trims on the door panels (parts 70A and 73A) in preparation for painting, as the silver trims should be tan in colour.
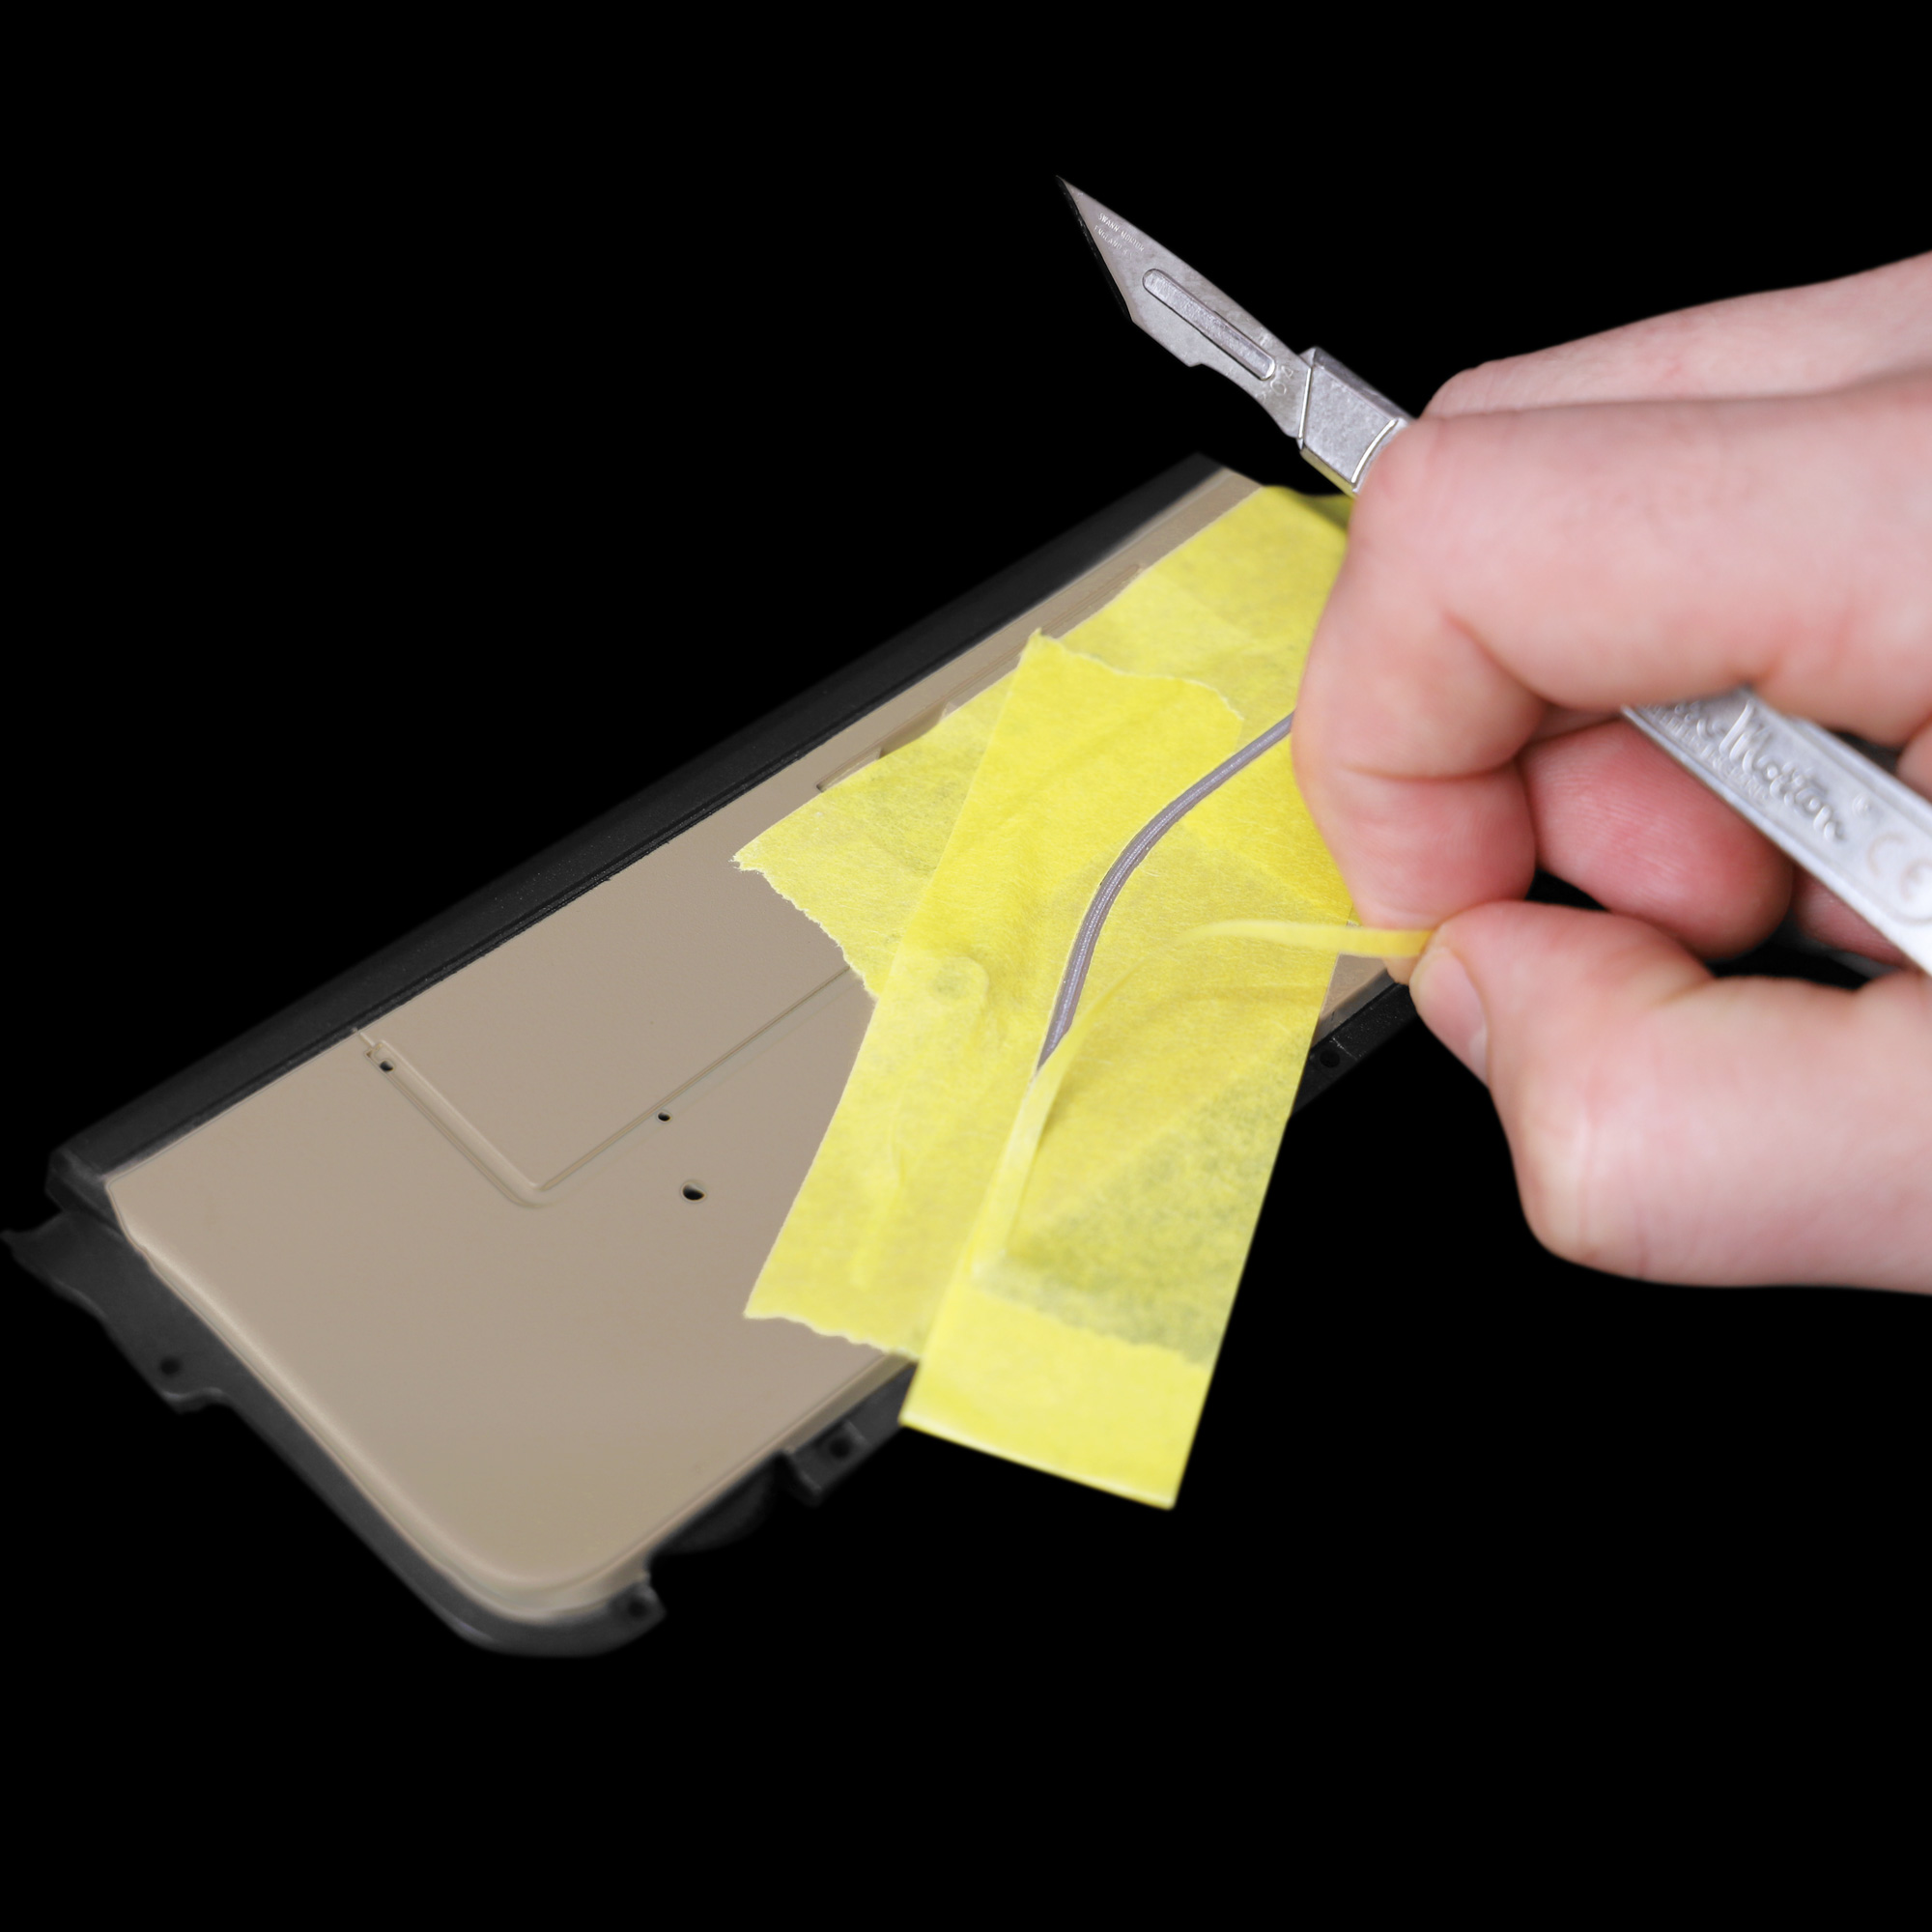
I recommend masking directly over the top of the silver trim first, running your finger along and into the edges of the silver trim, then carefully and very lightly scoring around the edge of the trim using a hobby knife.
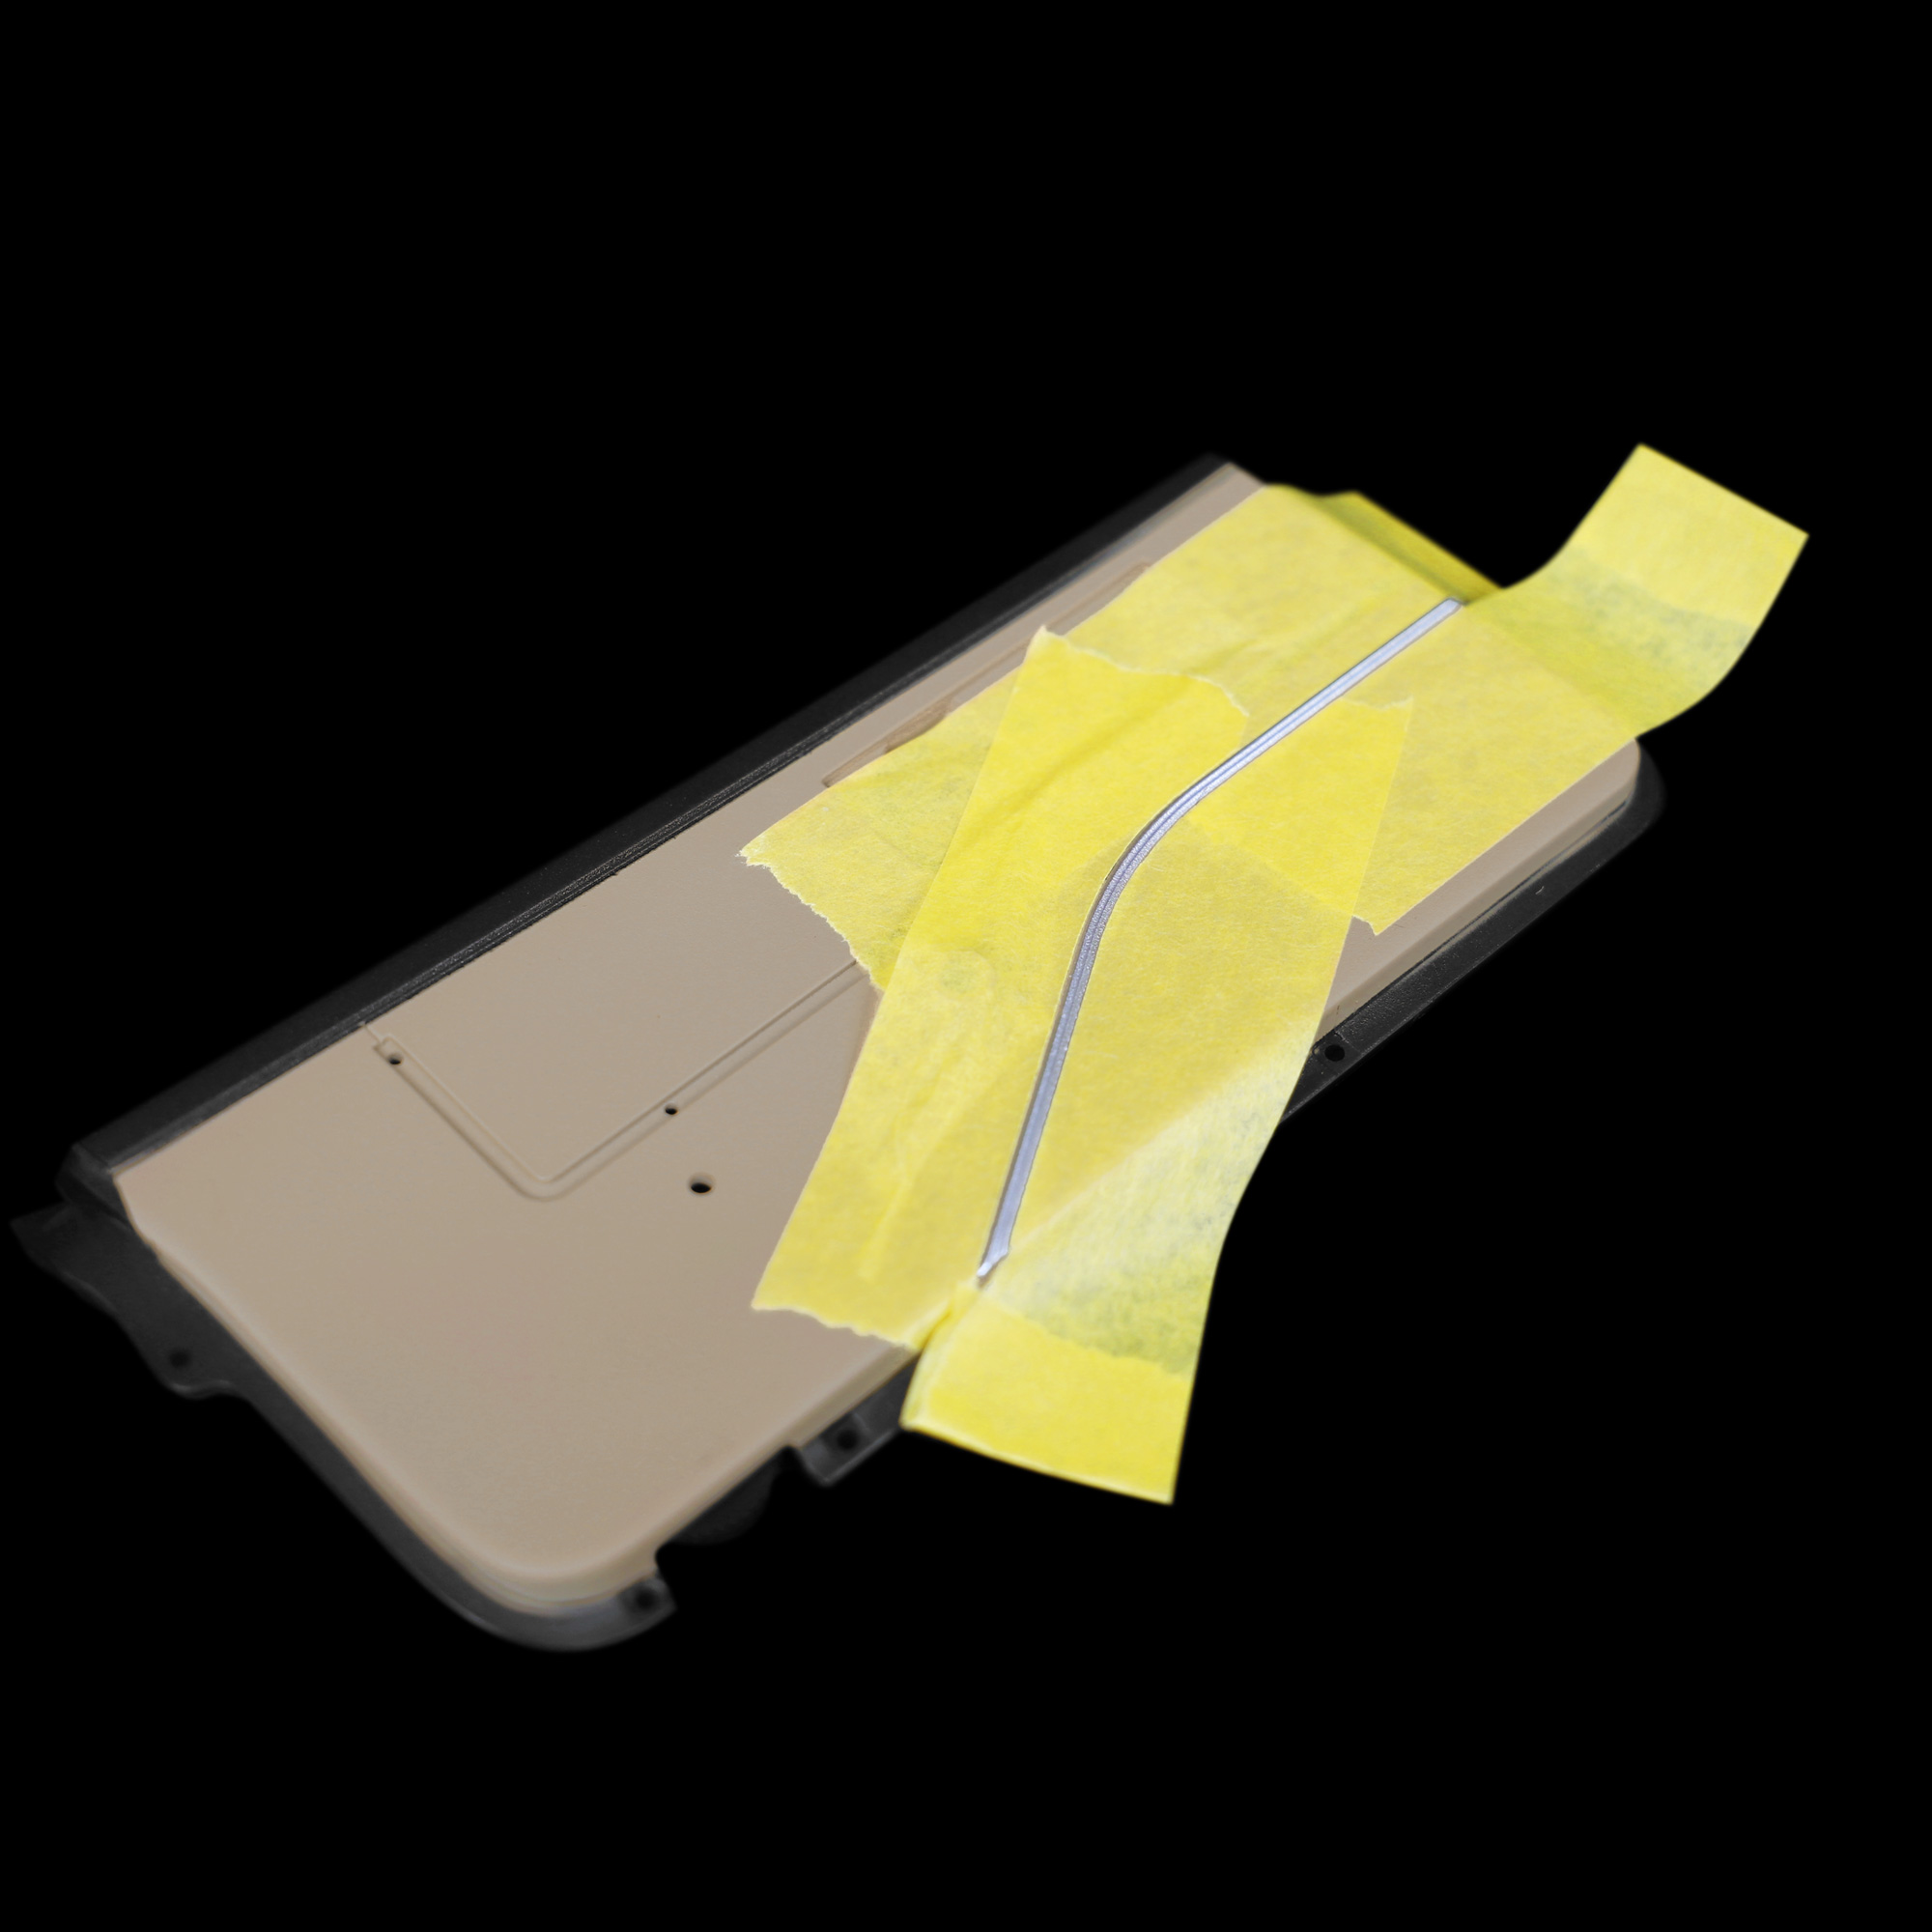
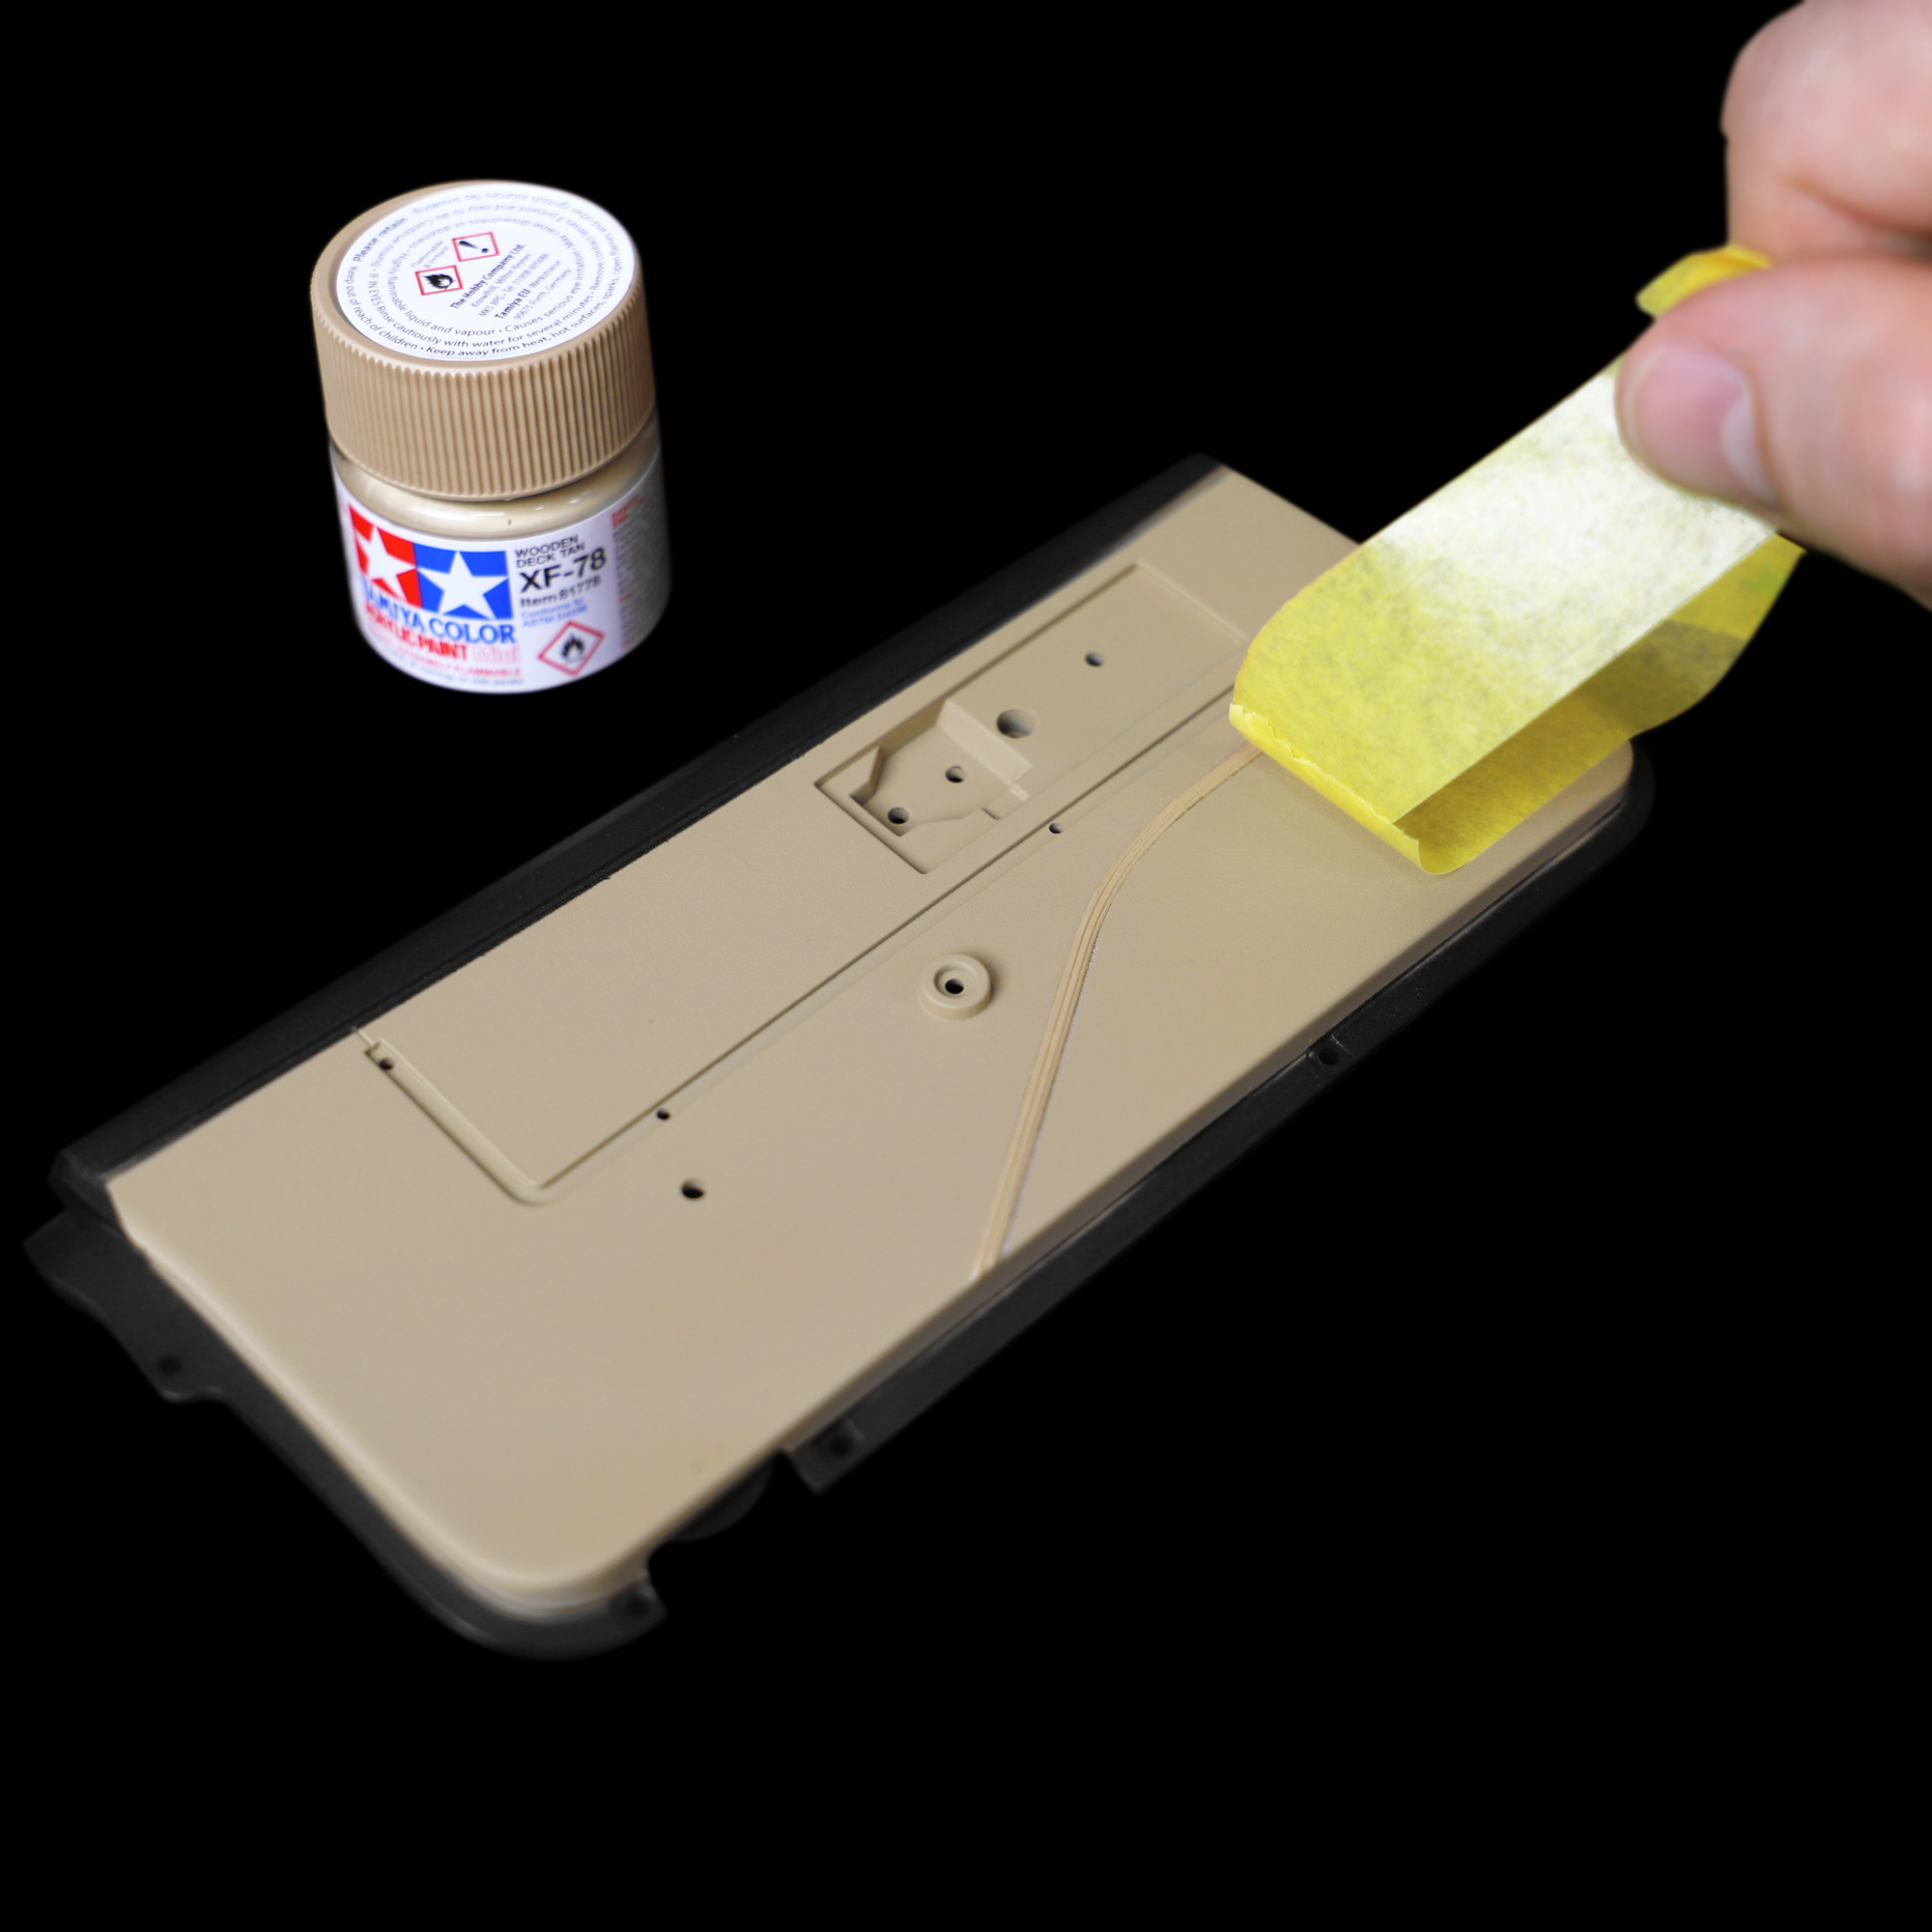
You can then peel away the thin strip of masking tape down the centre, exposing the silver trim ready for painting.
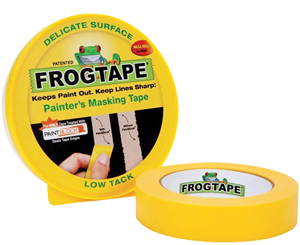
My go to for modelling masking tape is Frog Tape Delicate Surface Masking Tape (24mm).
Repeat for both door panels.
Step 2 Painting the silver trims
Where available, I have provided Amazon links to all the paints required for this mod. However, you can also find these paints in all good model shops and elsewhere online.
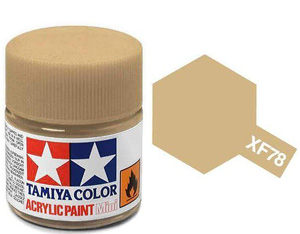
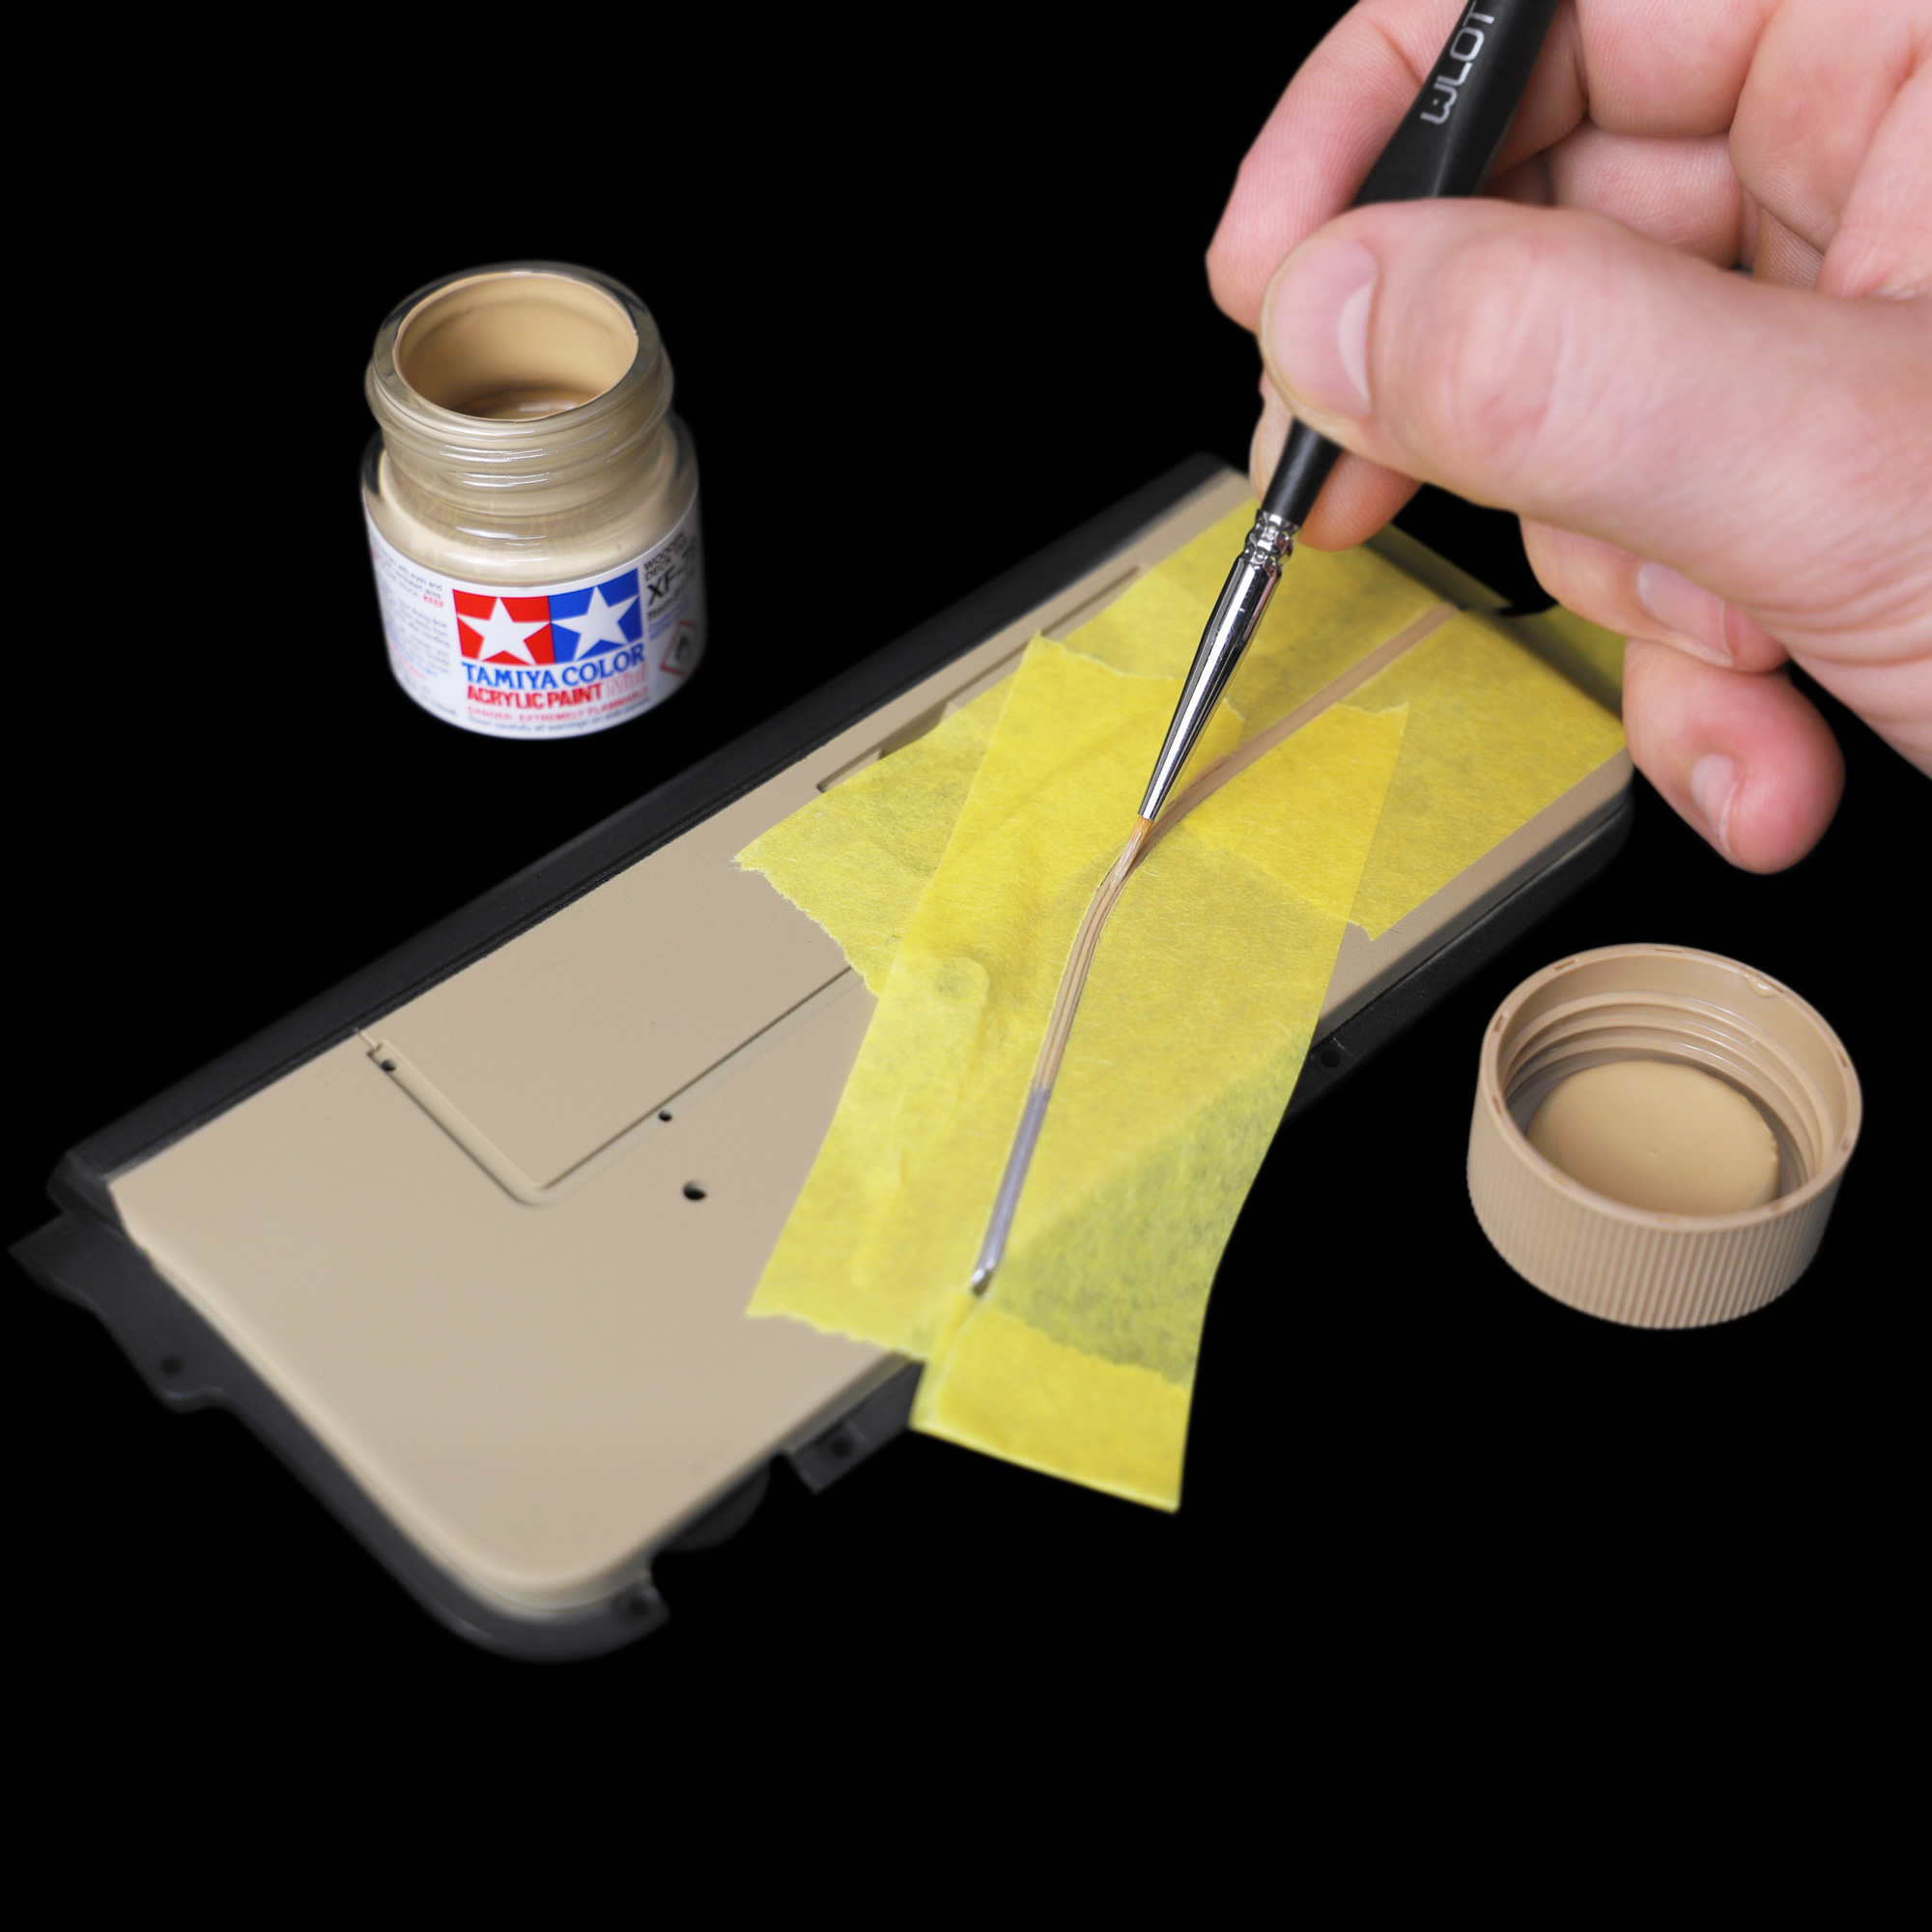
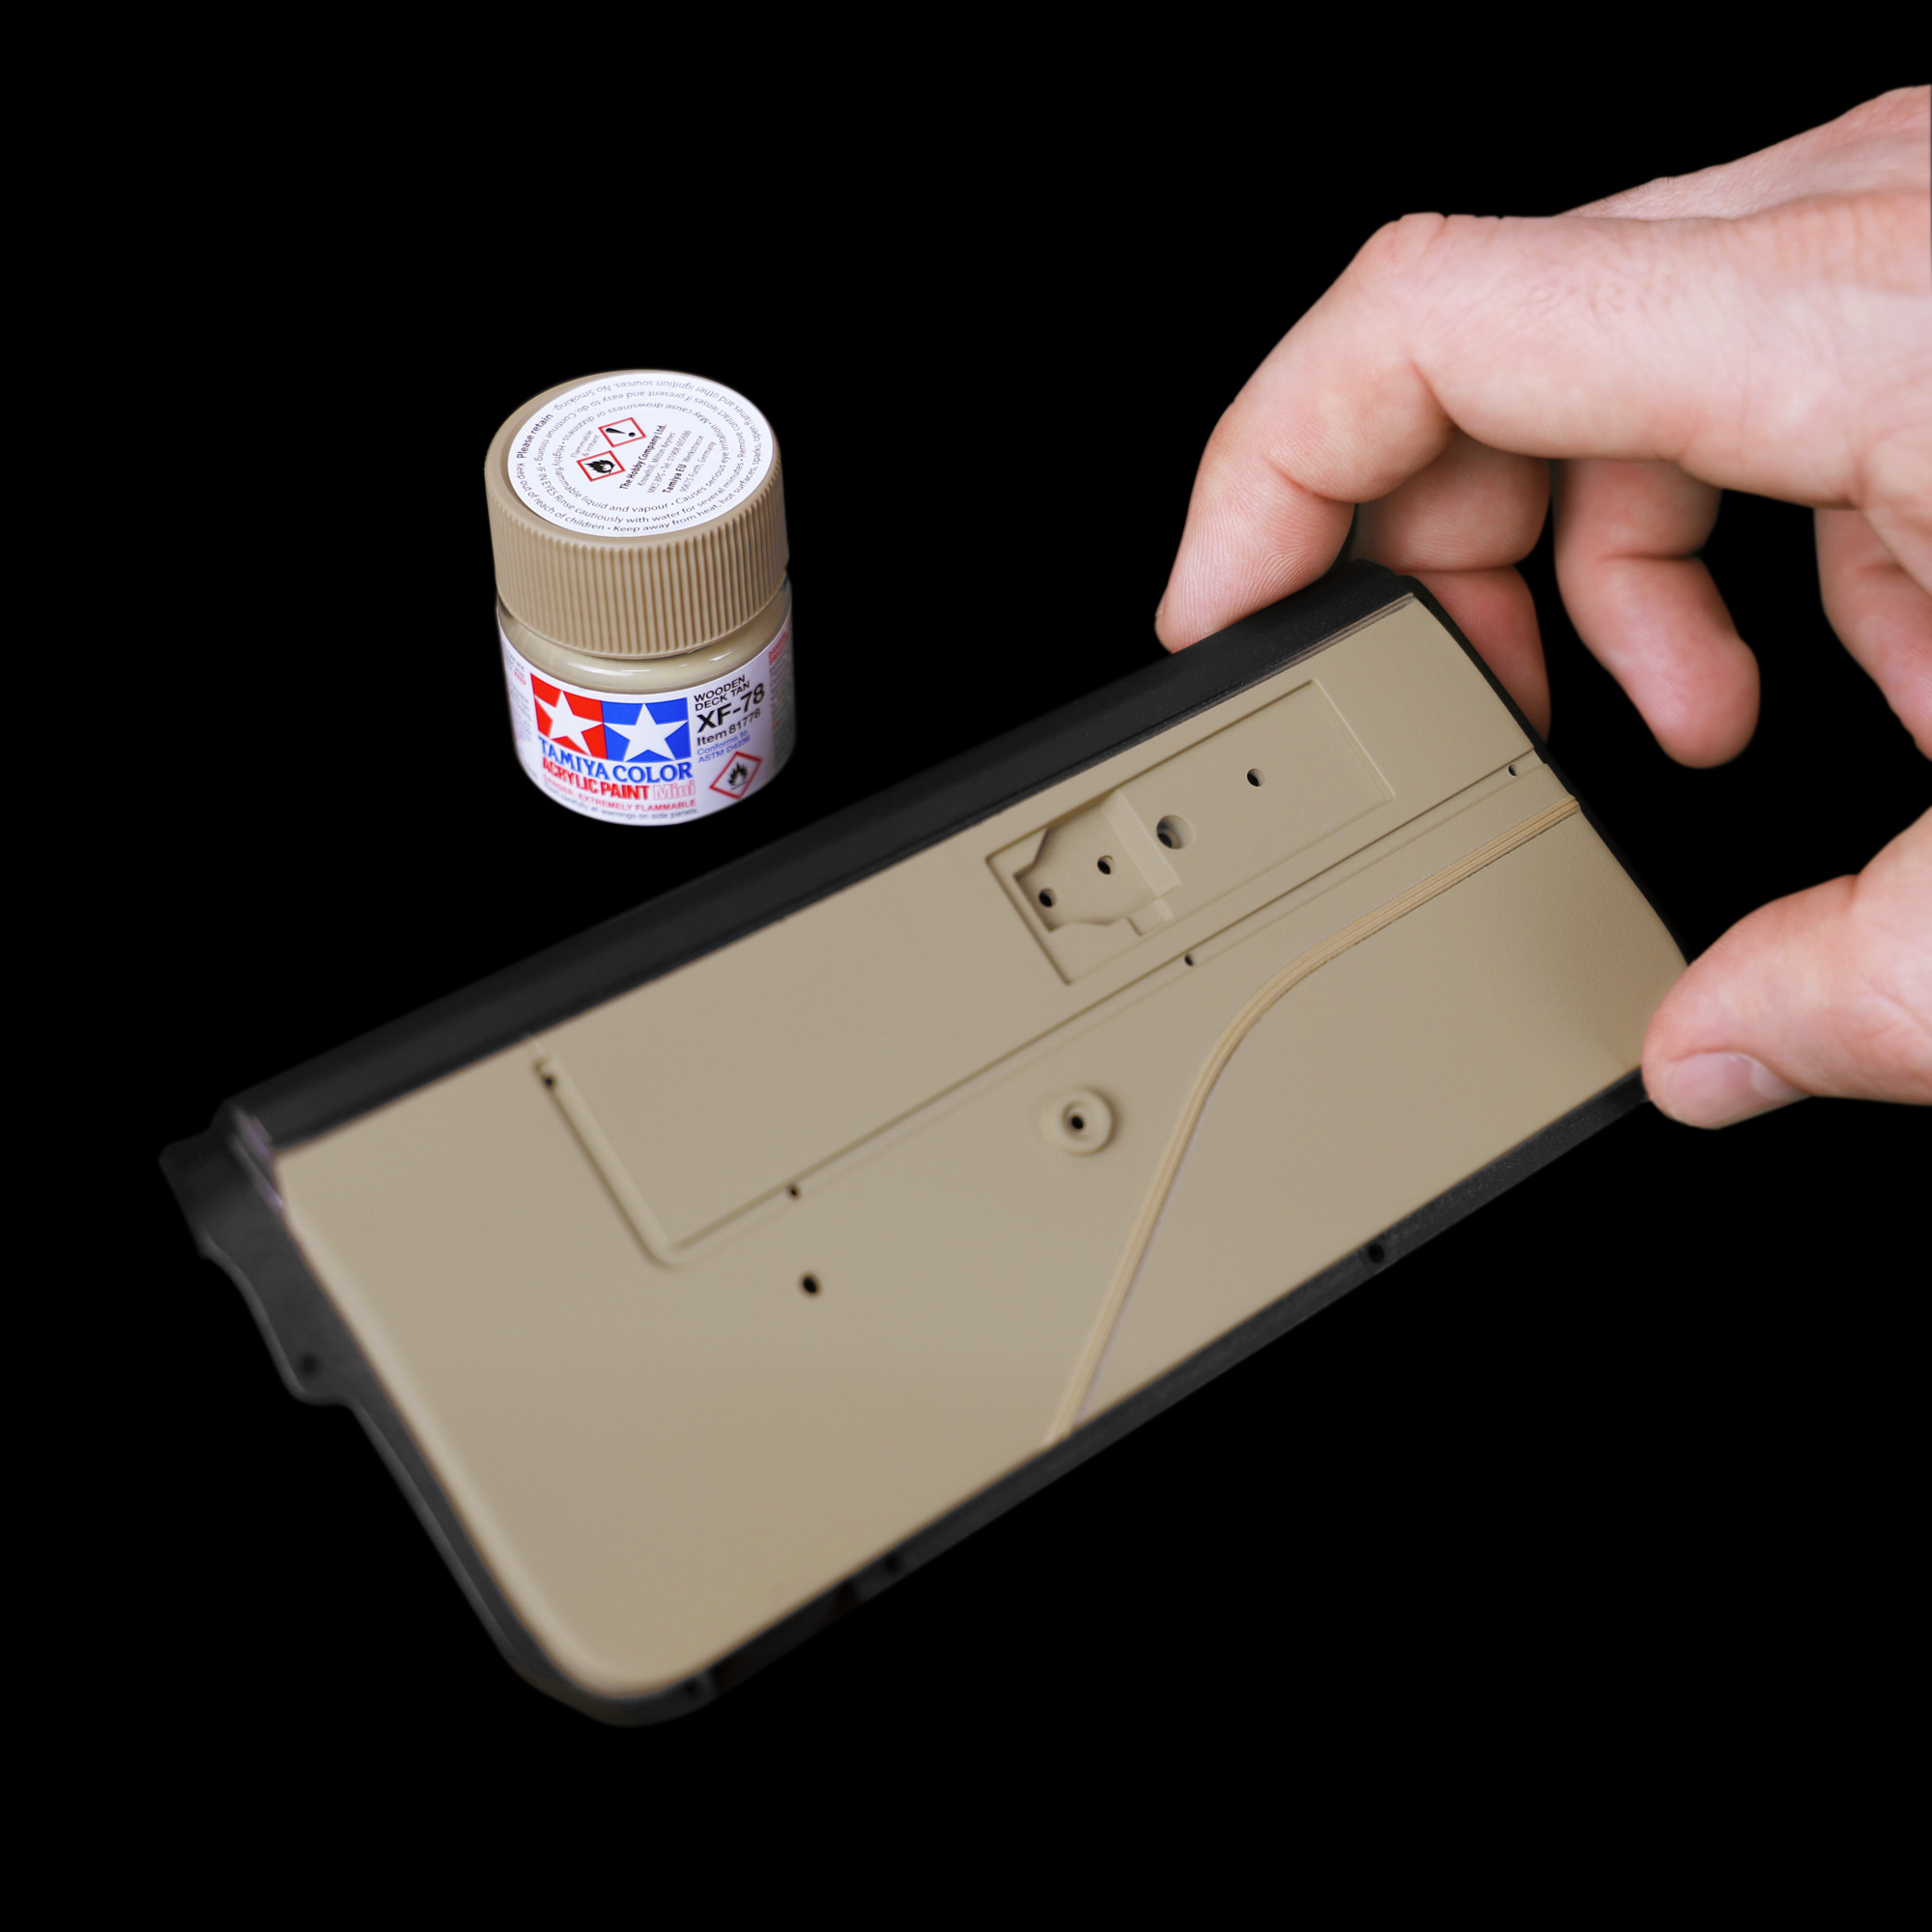
Using Tamiya Acrylic Mini XF-78 Wooden Deck Tan and a fine-tipped modelling brush, carefully paint over the silver trim.
I would recommend applying two thin coats, giving the paint sufficient time to dry between coats.
Repeat for both door panels.
Step 3 Painting the black trims
The next pieces to paint are the thin black door panel trims (parts 70B and 73B).
These should be silver in colour, with a black decor line running through the centre.
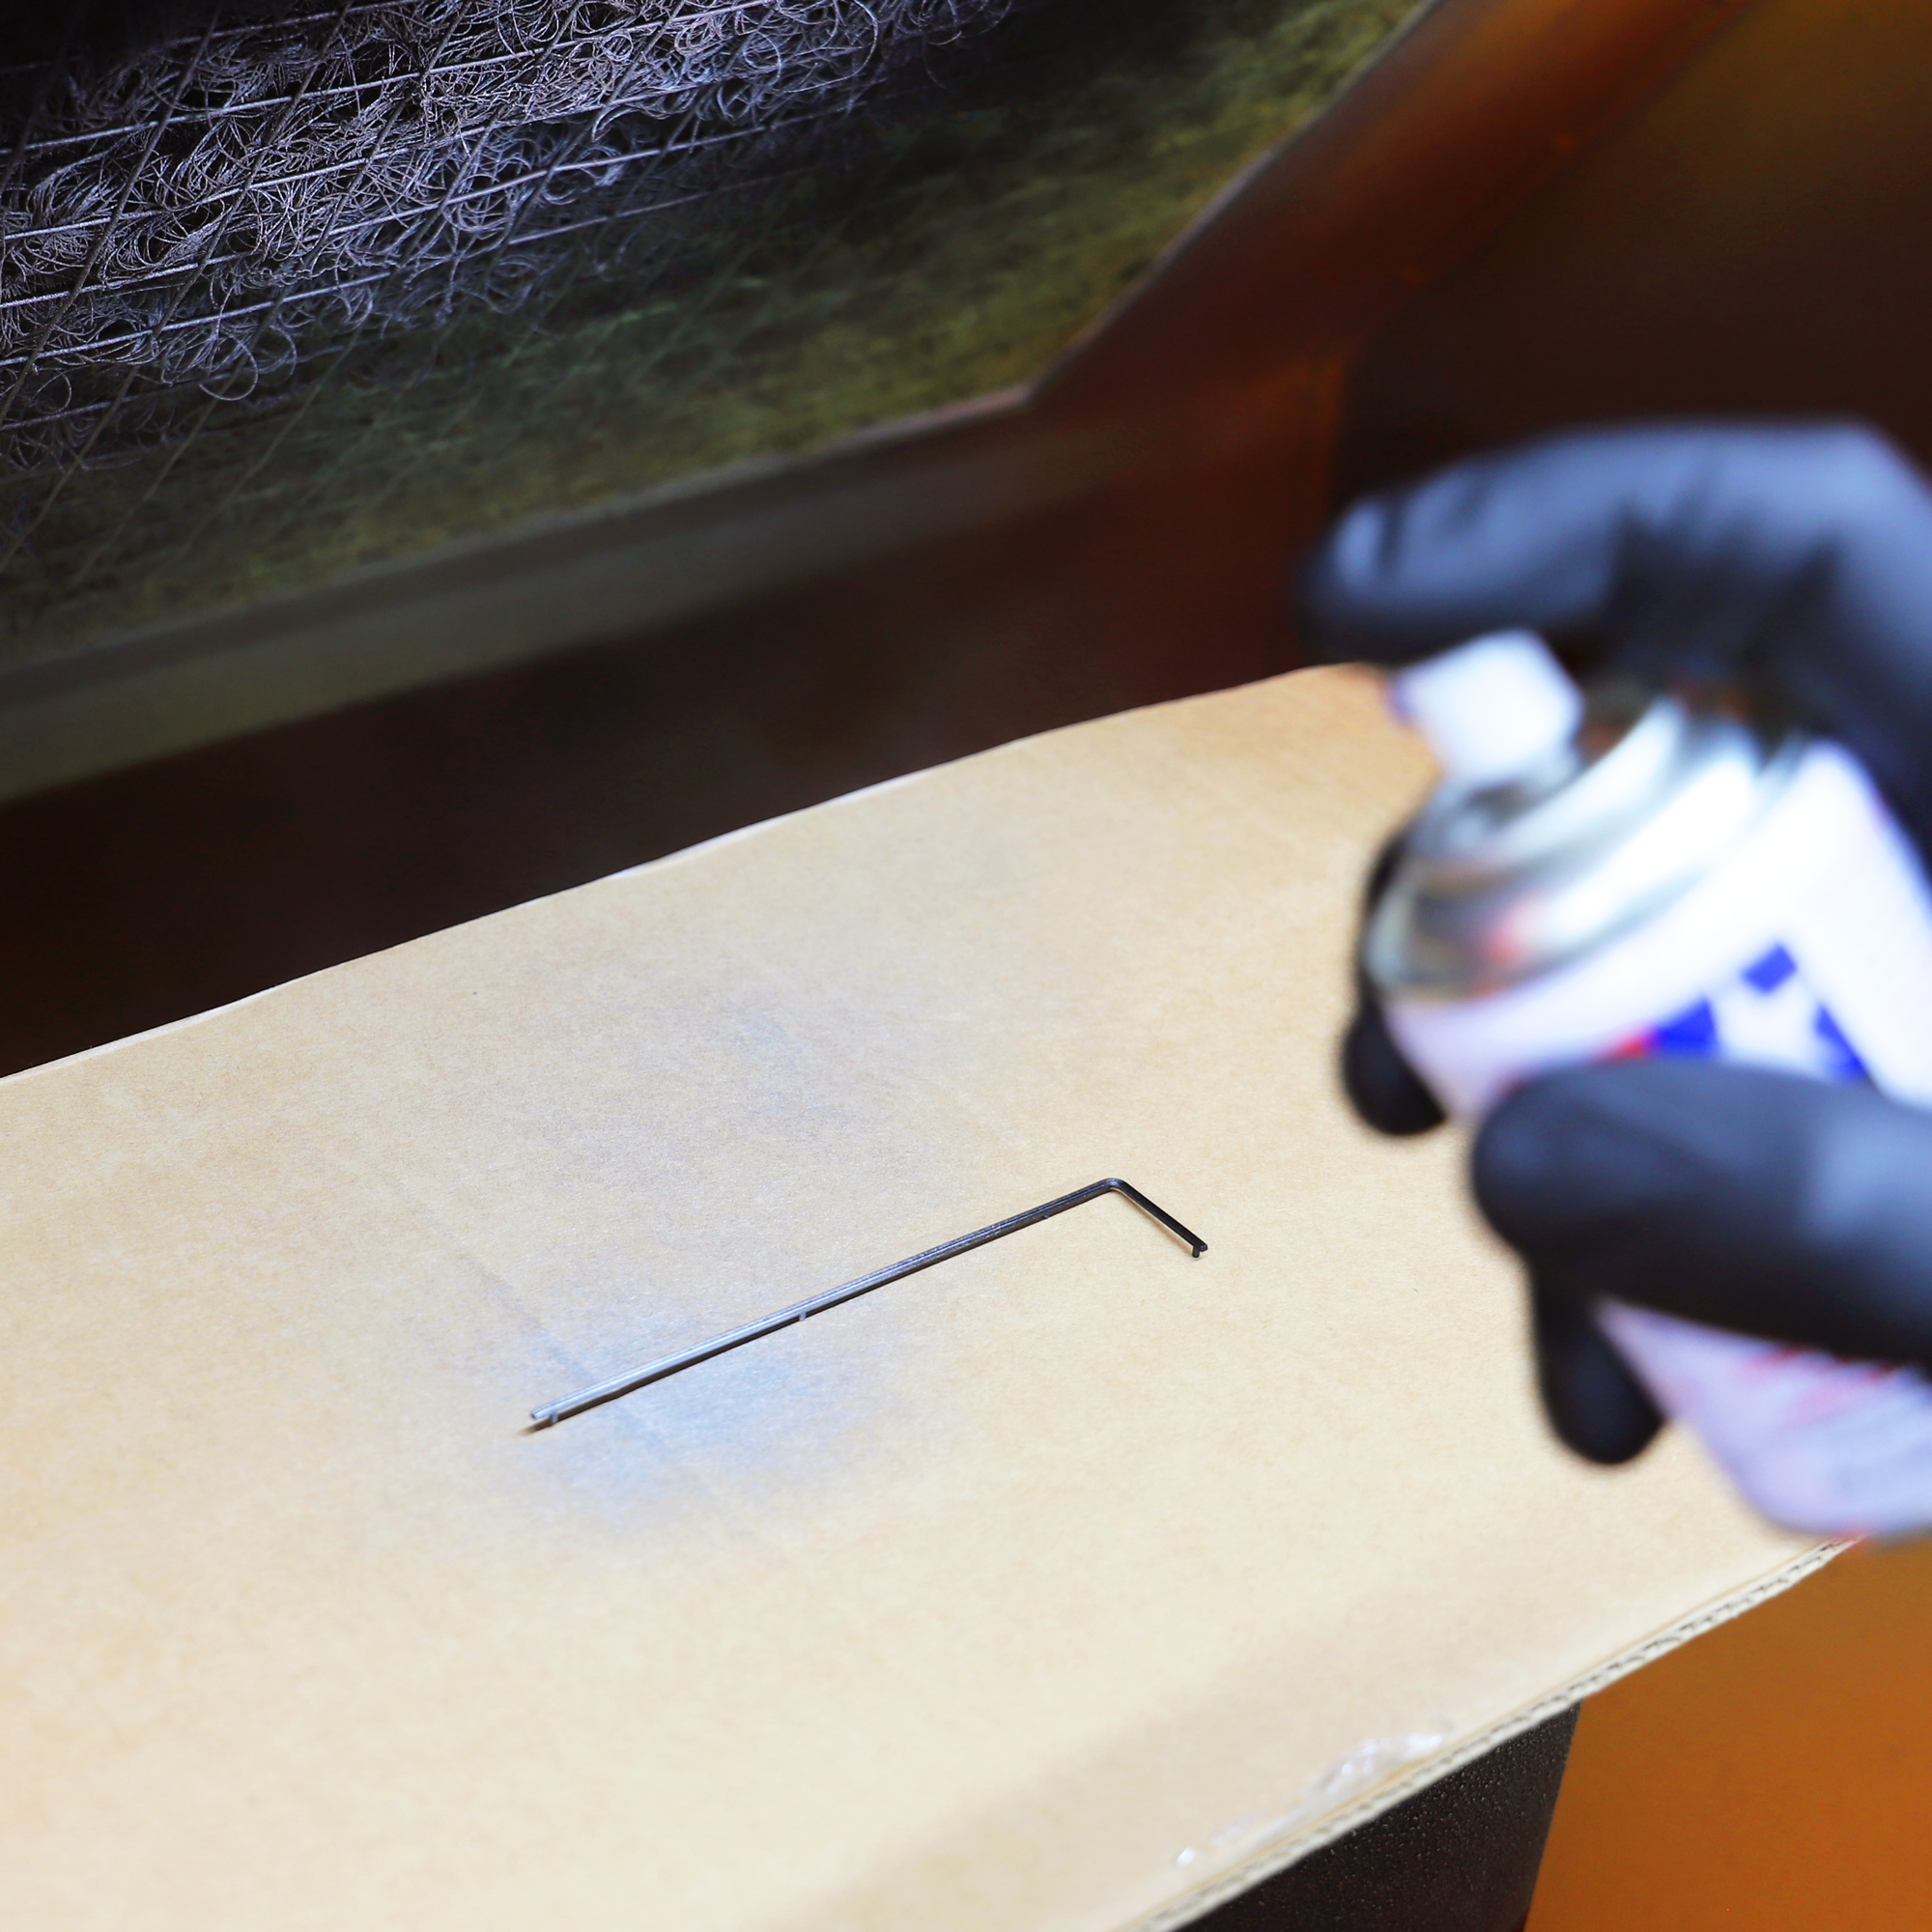
Ensure that you are in a well-ventilated area and have made suitable preparations to avoid any overspray on to surrounding objects.
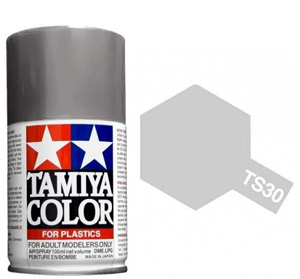
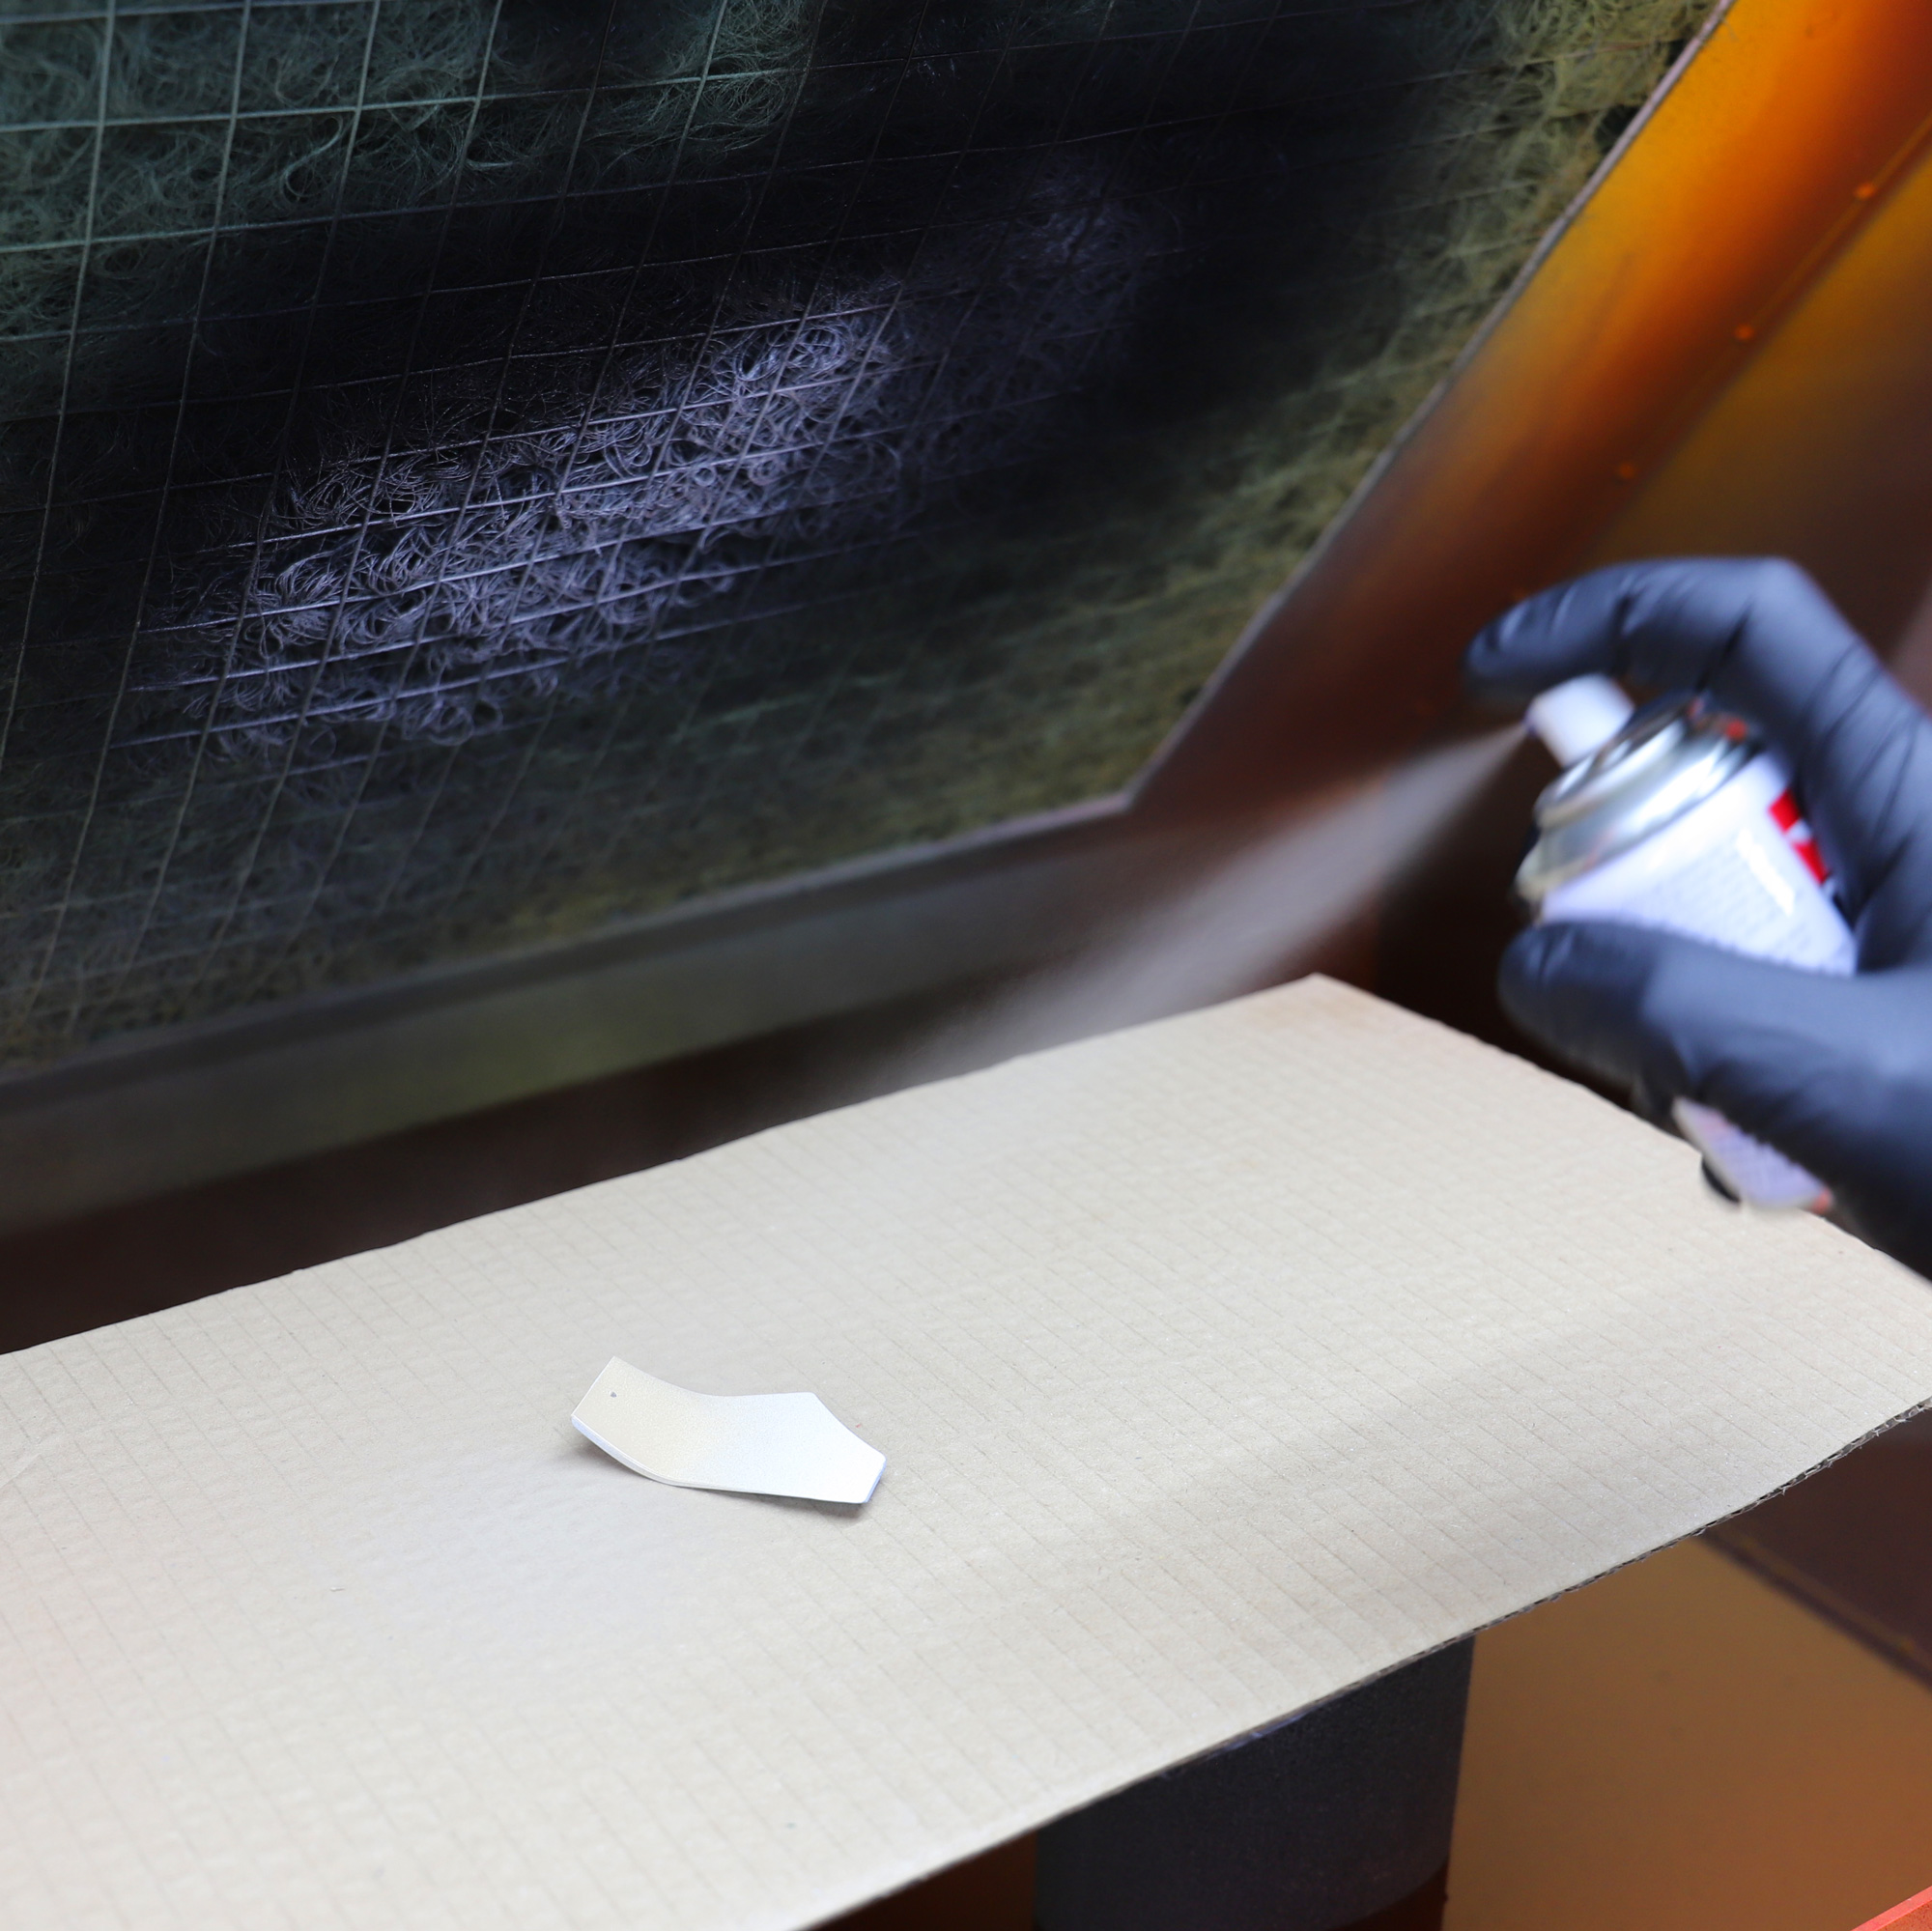
Using Tamiya TS-30 Silver Leaf (or an alternative silver spray paint of your choice), apply two thin coats across the entire piece, allowing sufficient drying time between coats.
Repeat for both door panel trims.
Step 4 Adding the black decor line
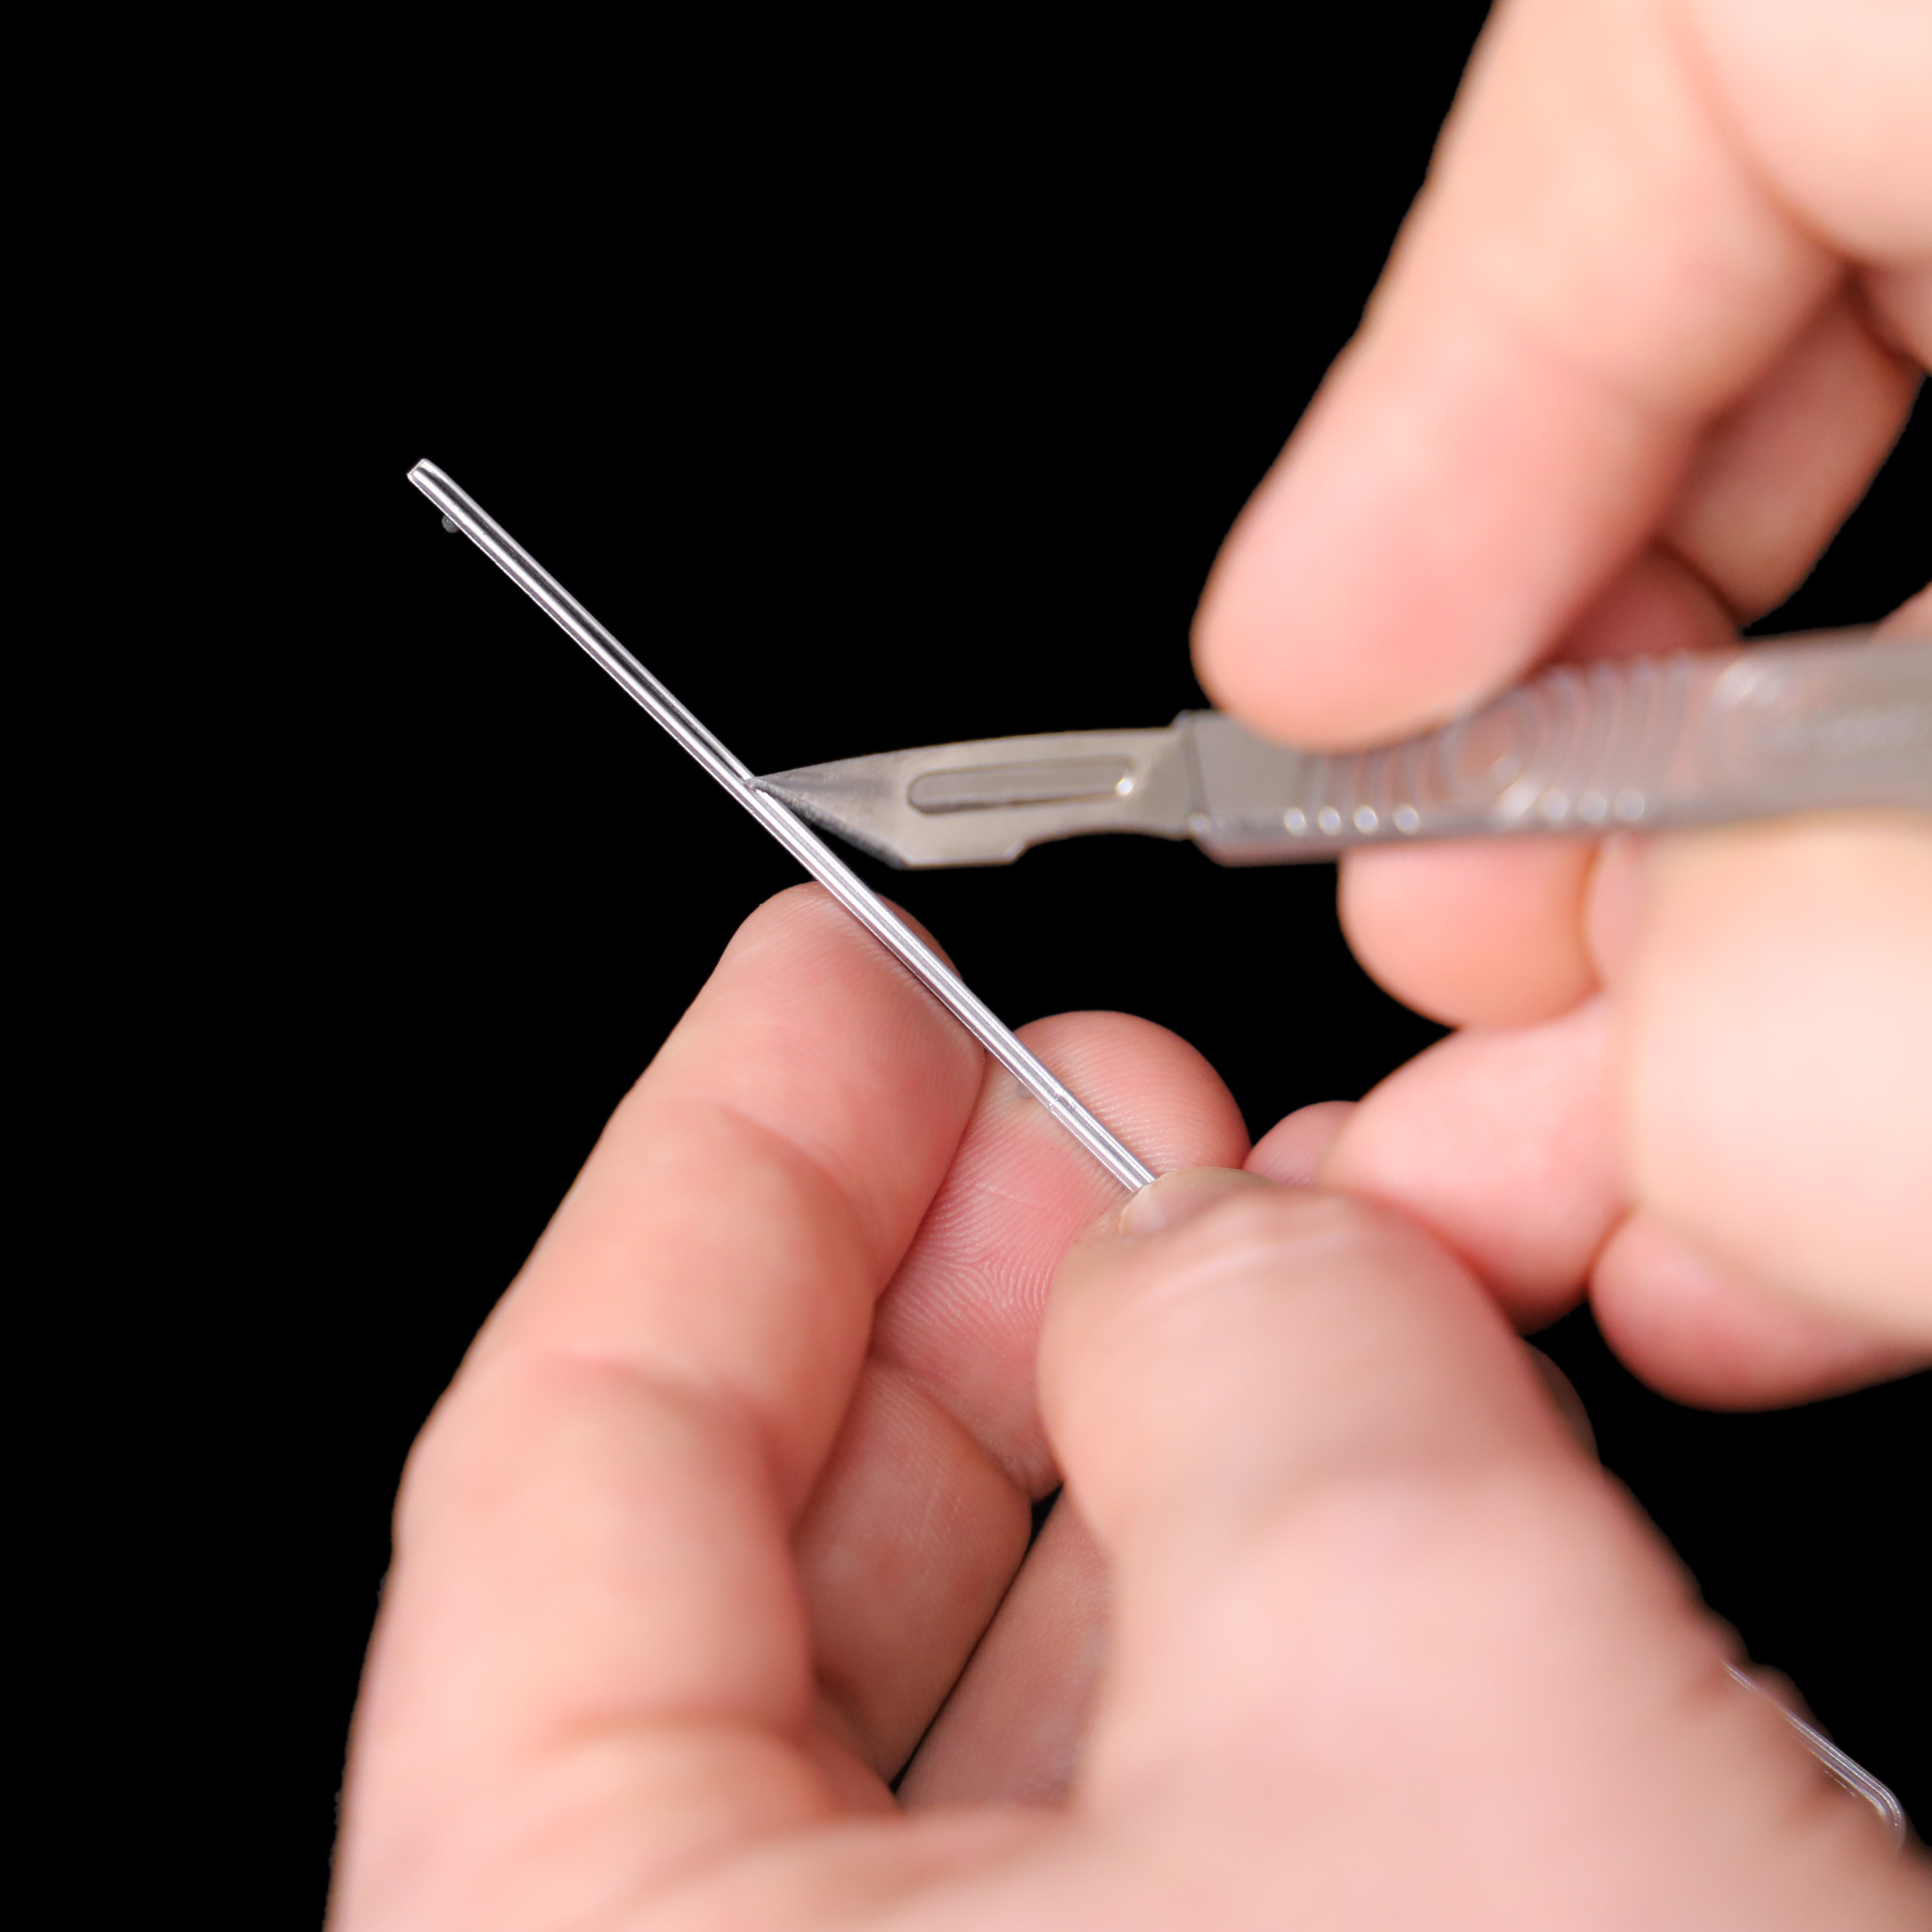
For the black line running along the centre of the trim, I found the easiest and most effective method was to run the tip of a hobby knife sideways along the inside of the groove, slowly scraping the silver paint away and revealing the black beneath. This beats trying to neatly paint the line, which is incredibly difficult and fiddly.
To avoid breaking the pins on the back of the trim, avoid placing it on any hard surfaces as you perform this step.
The method that worked best for me was to hold the trim and slowly scratch along the trim in short lengths. Then, flip the trim and work in the other direction.
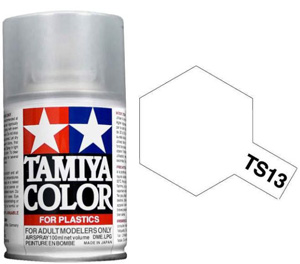
Once you’re happy with the results, seal the whole piece with a coat of Tamiya TS-13 Gloss Clear. This helps to deepen the black and also protect the silver paint.
Allow sufficient drying time before proceeding with the next steps.
Repeat for both door panel trims.
Step 5 Painting the Rear Sail Panels
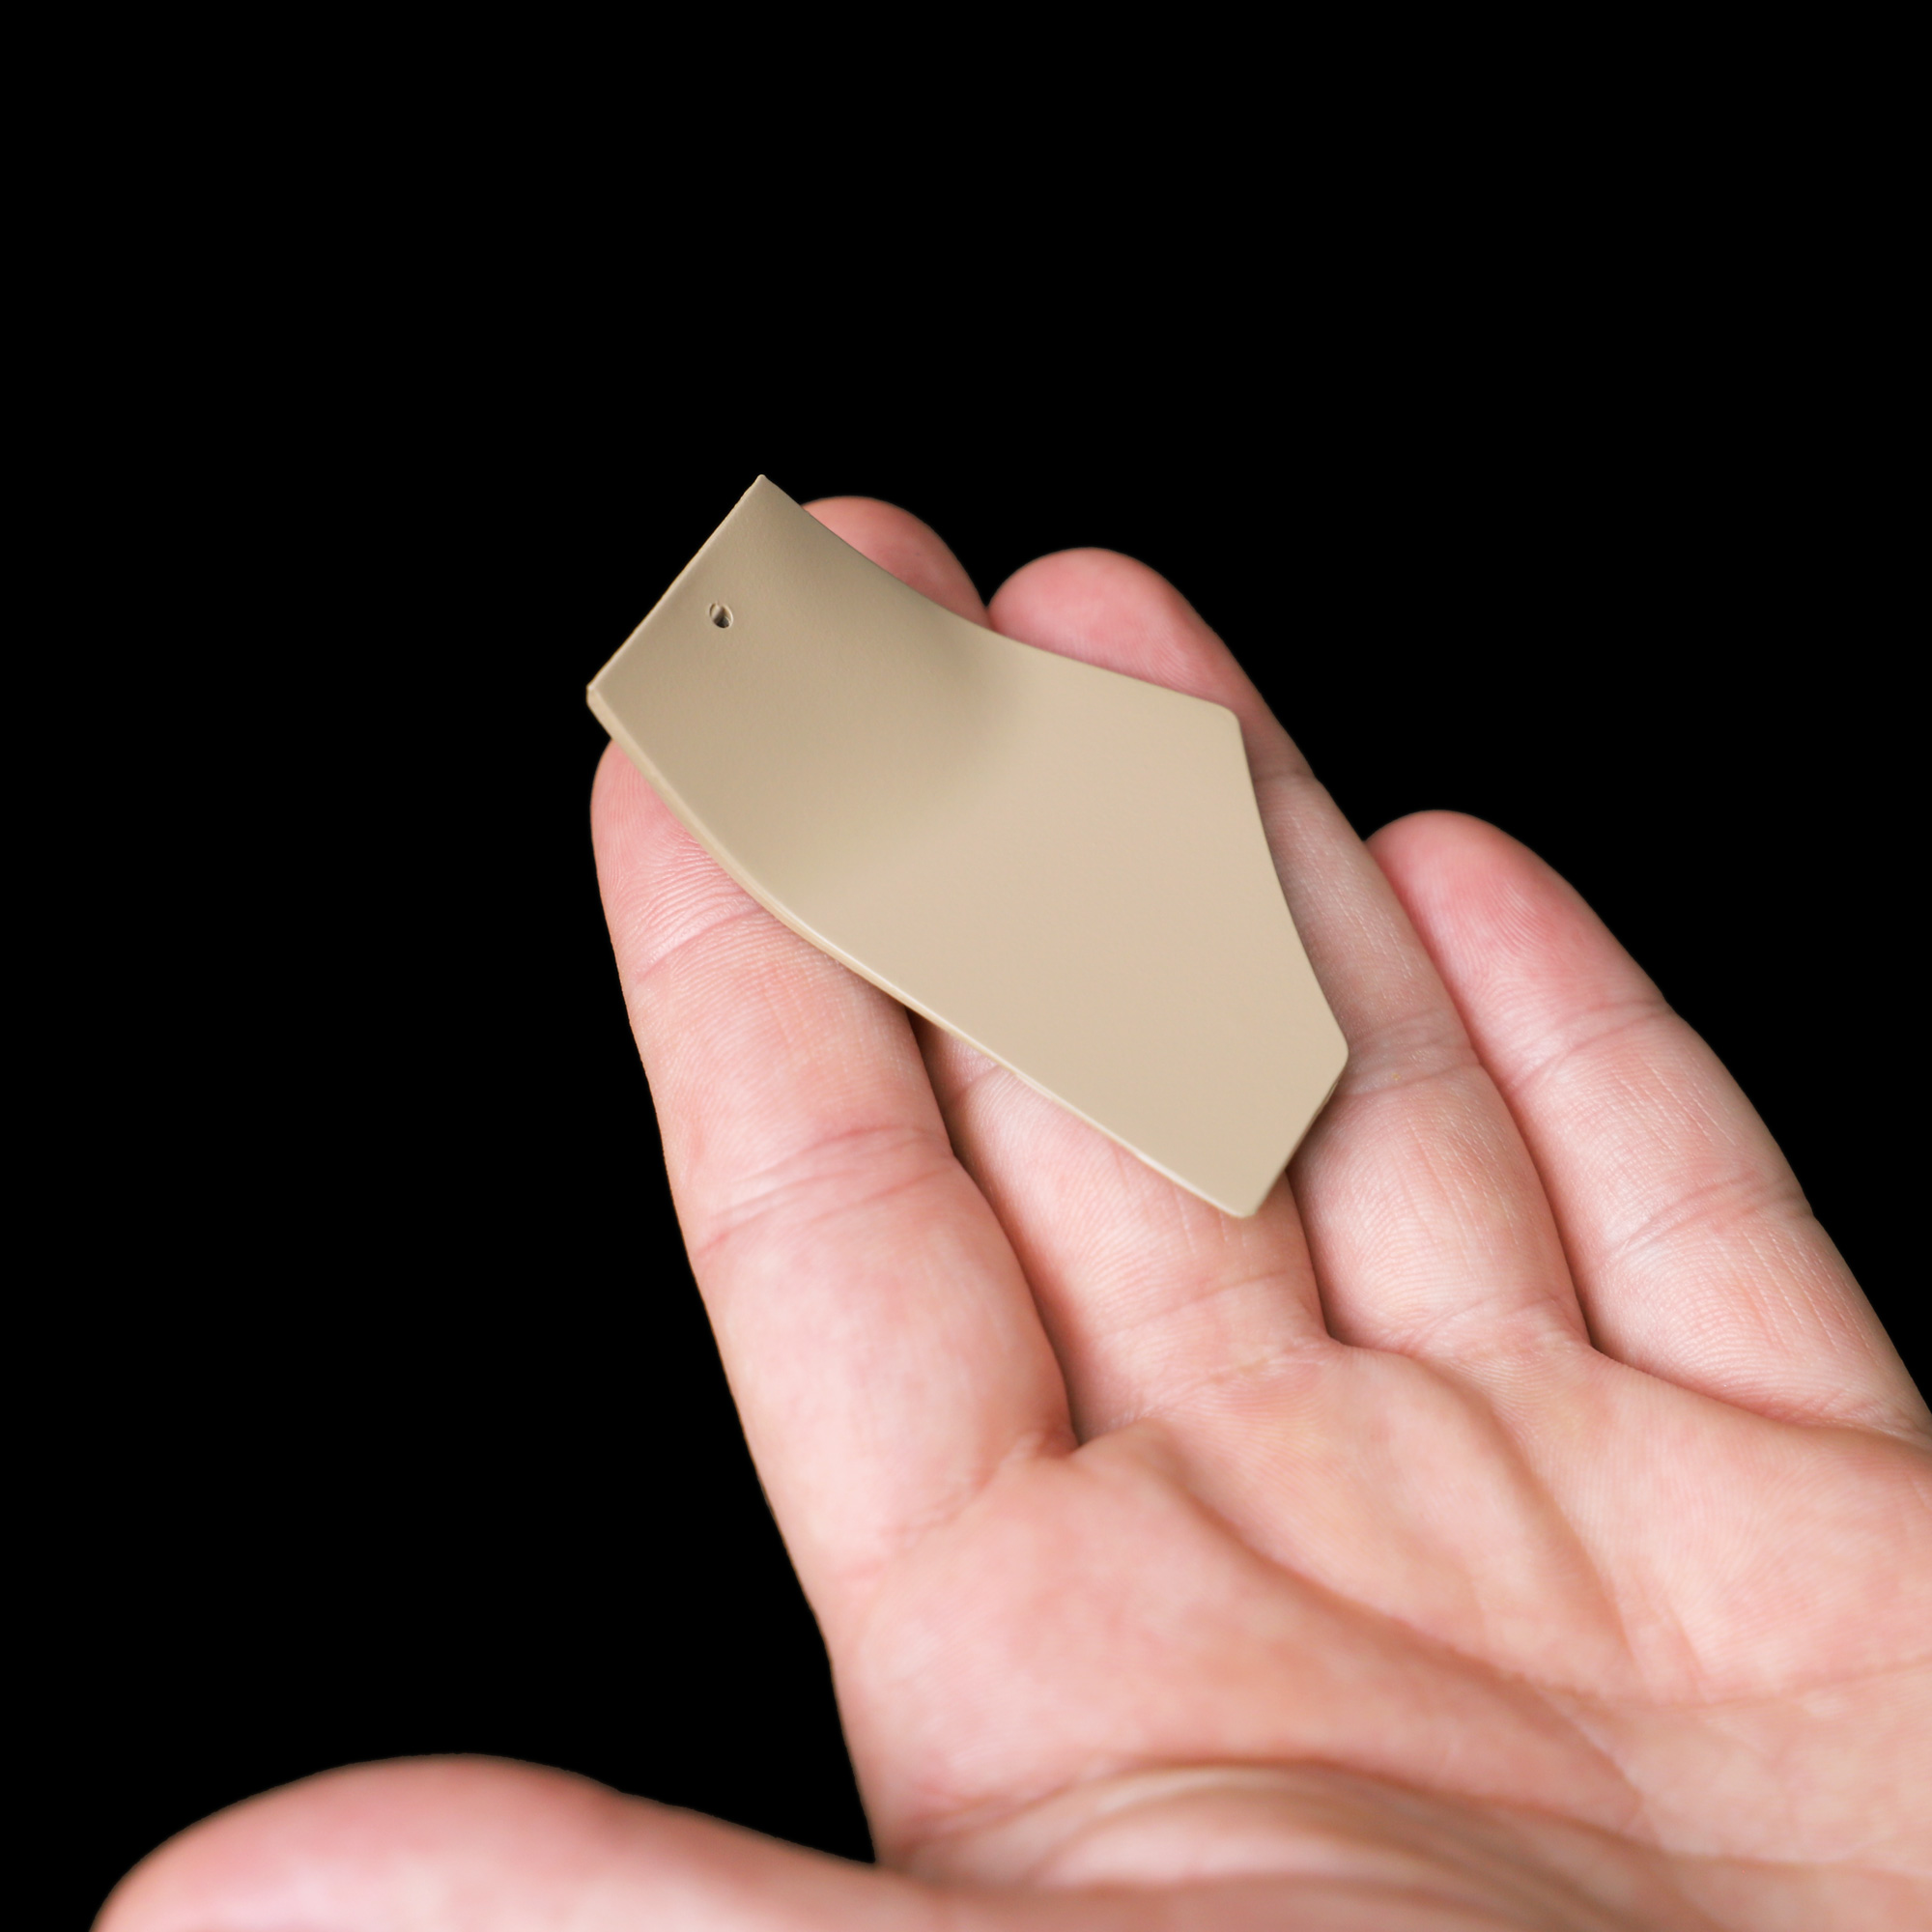
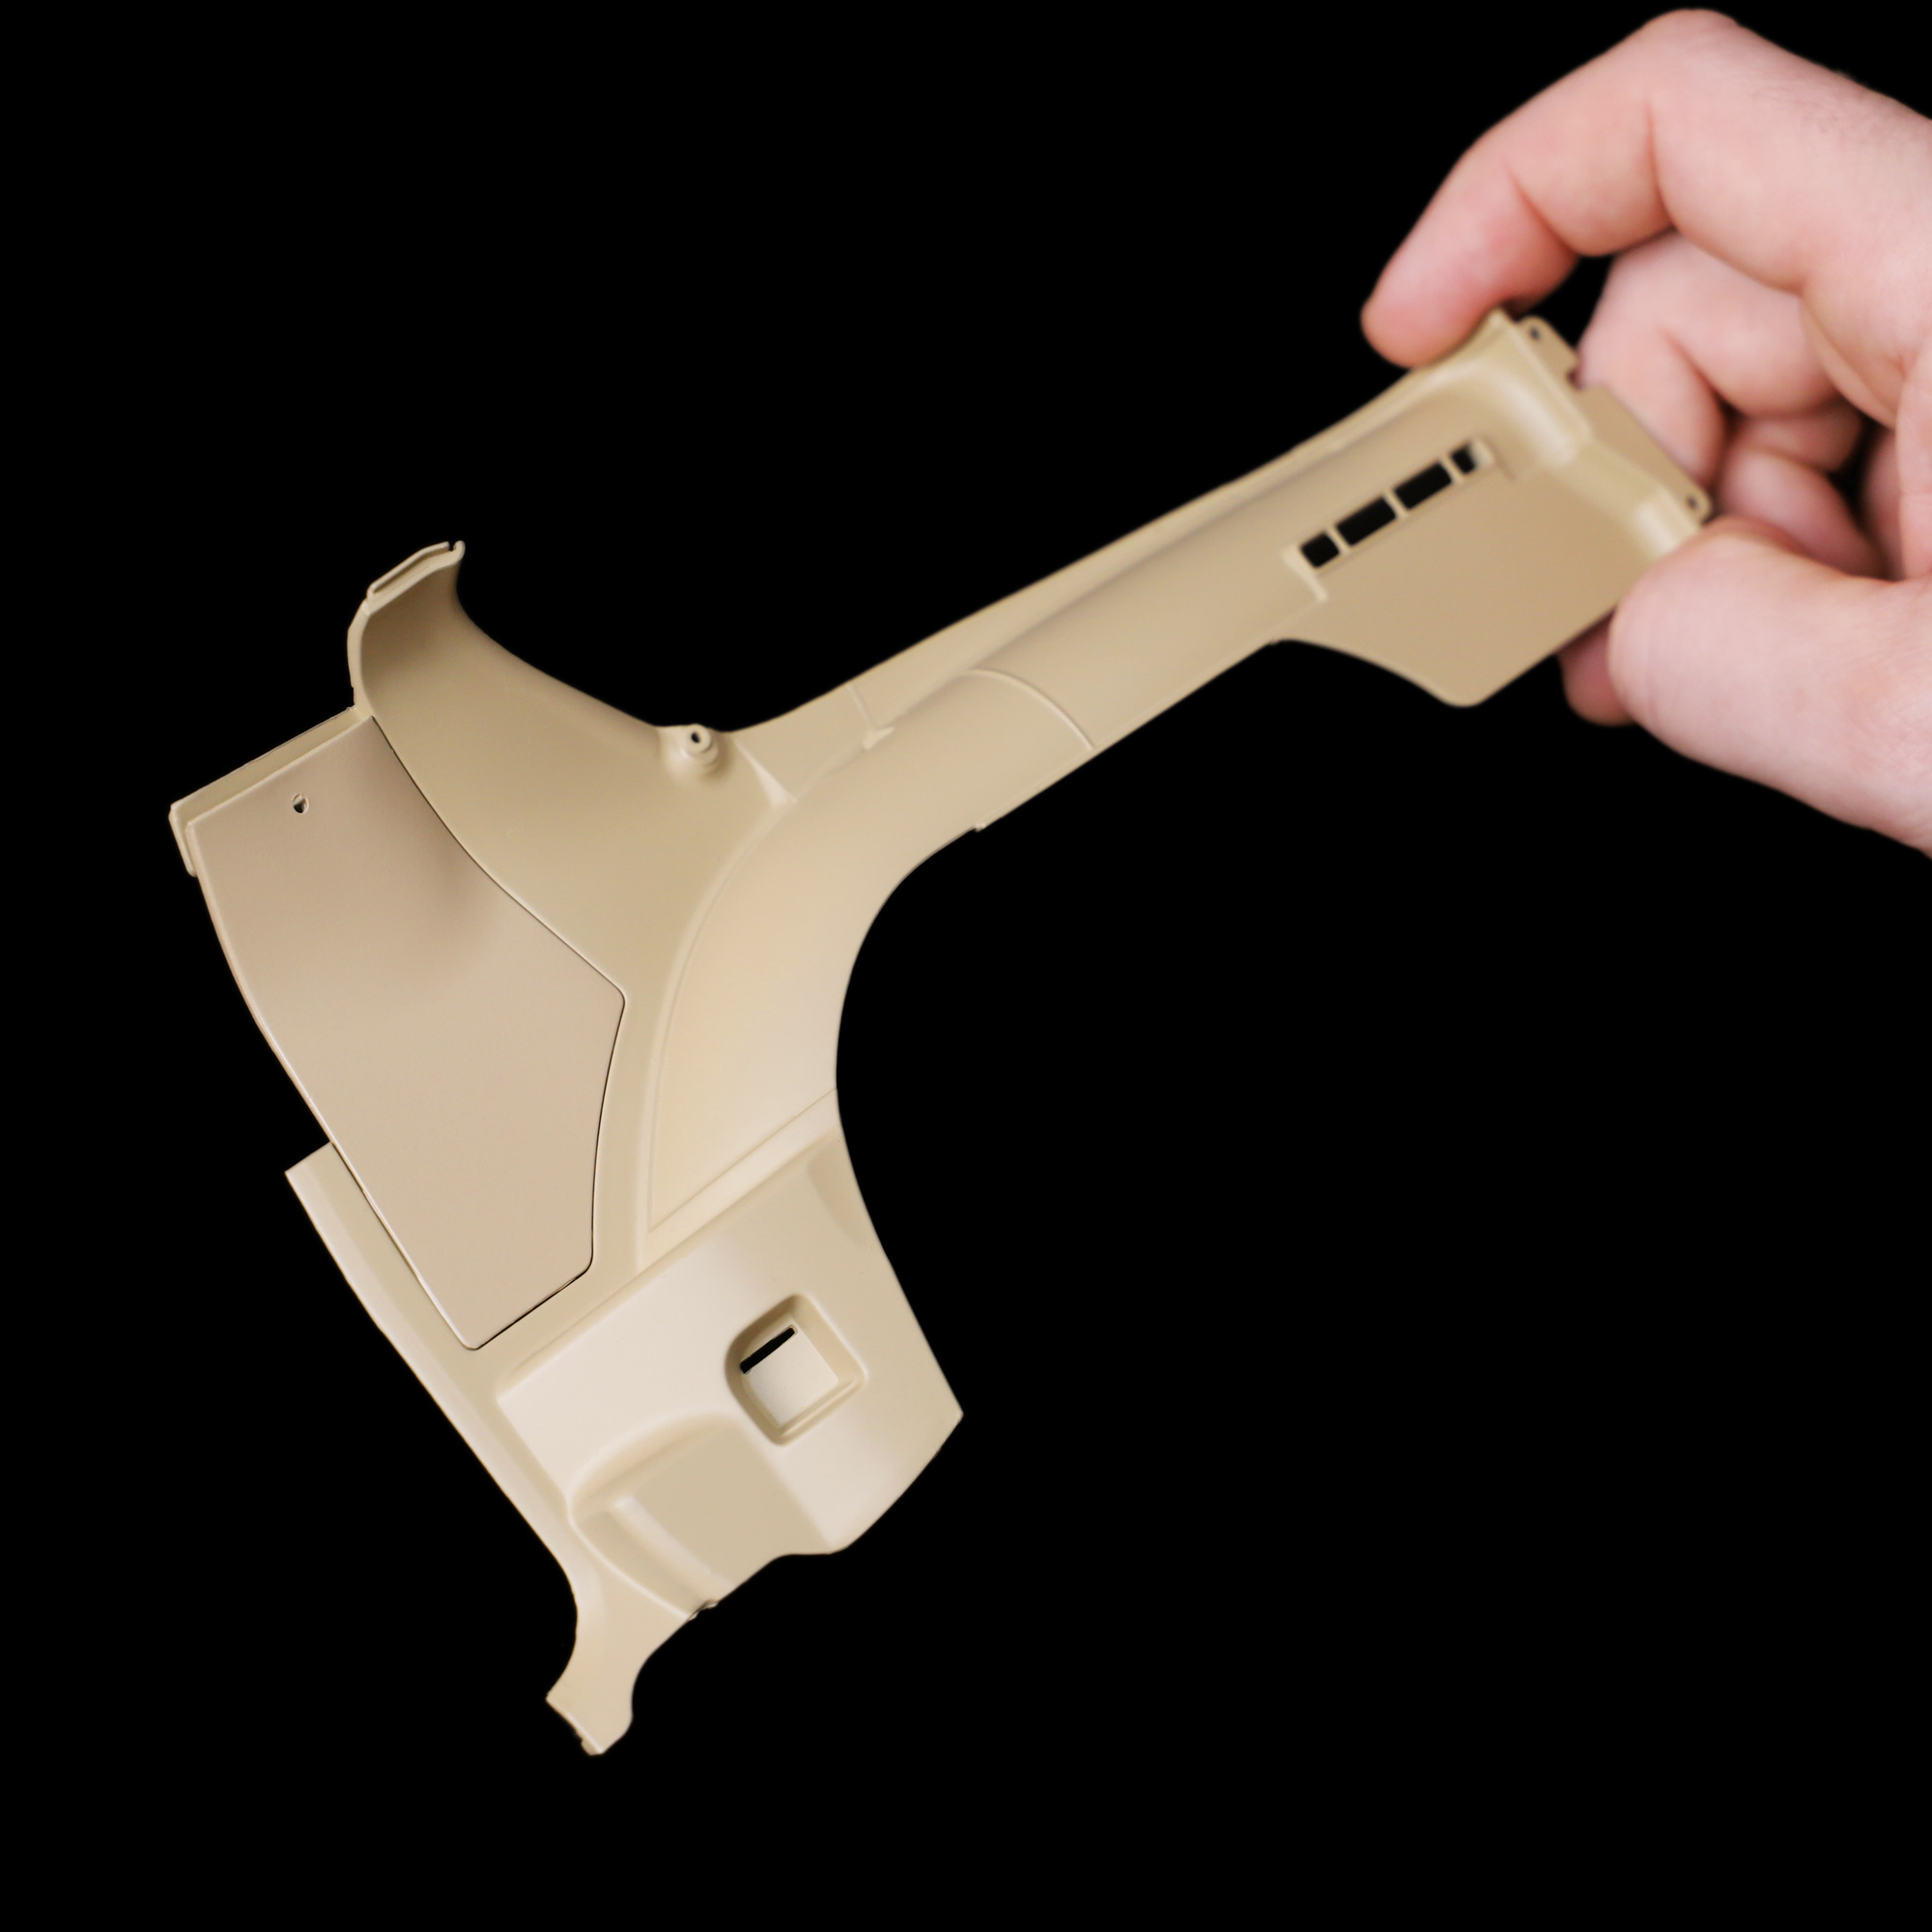
An optional step for the white rear sail panels (parts 103A and 106A) is to paint them tan before installing the carpets. This will prevent any unwanted white edges showing inside your model once installed.
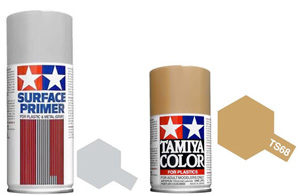
To spray paint the panels, first give them a thin coat of Tamiya Fine Surface Primer Light Grey, then once dry, apply two thin coats of Tamiya TS-68 Wooden Deck Tan.
Alternatively, instead of painting the whole panel, you can simply paint the edges and corners (anything that may be visible after the carpet is installed) using the Tamiya Acrylic Mini XF-78 Wooden Deck Tan paint used previously in Step 2.
As before, allow sufficient drying time between coats, and ensure the parts are thoroughly dry before proceeding to the next steps.
Repeat for both rear sail panels.
Step 6 Applying the door carpets
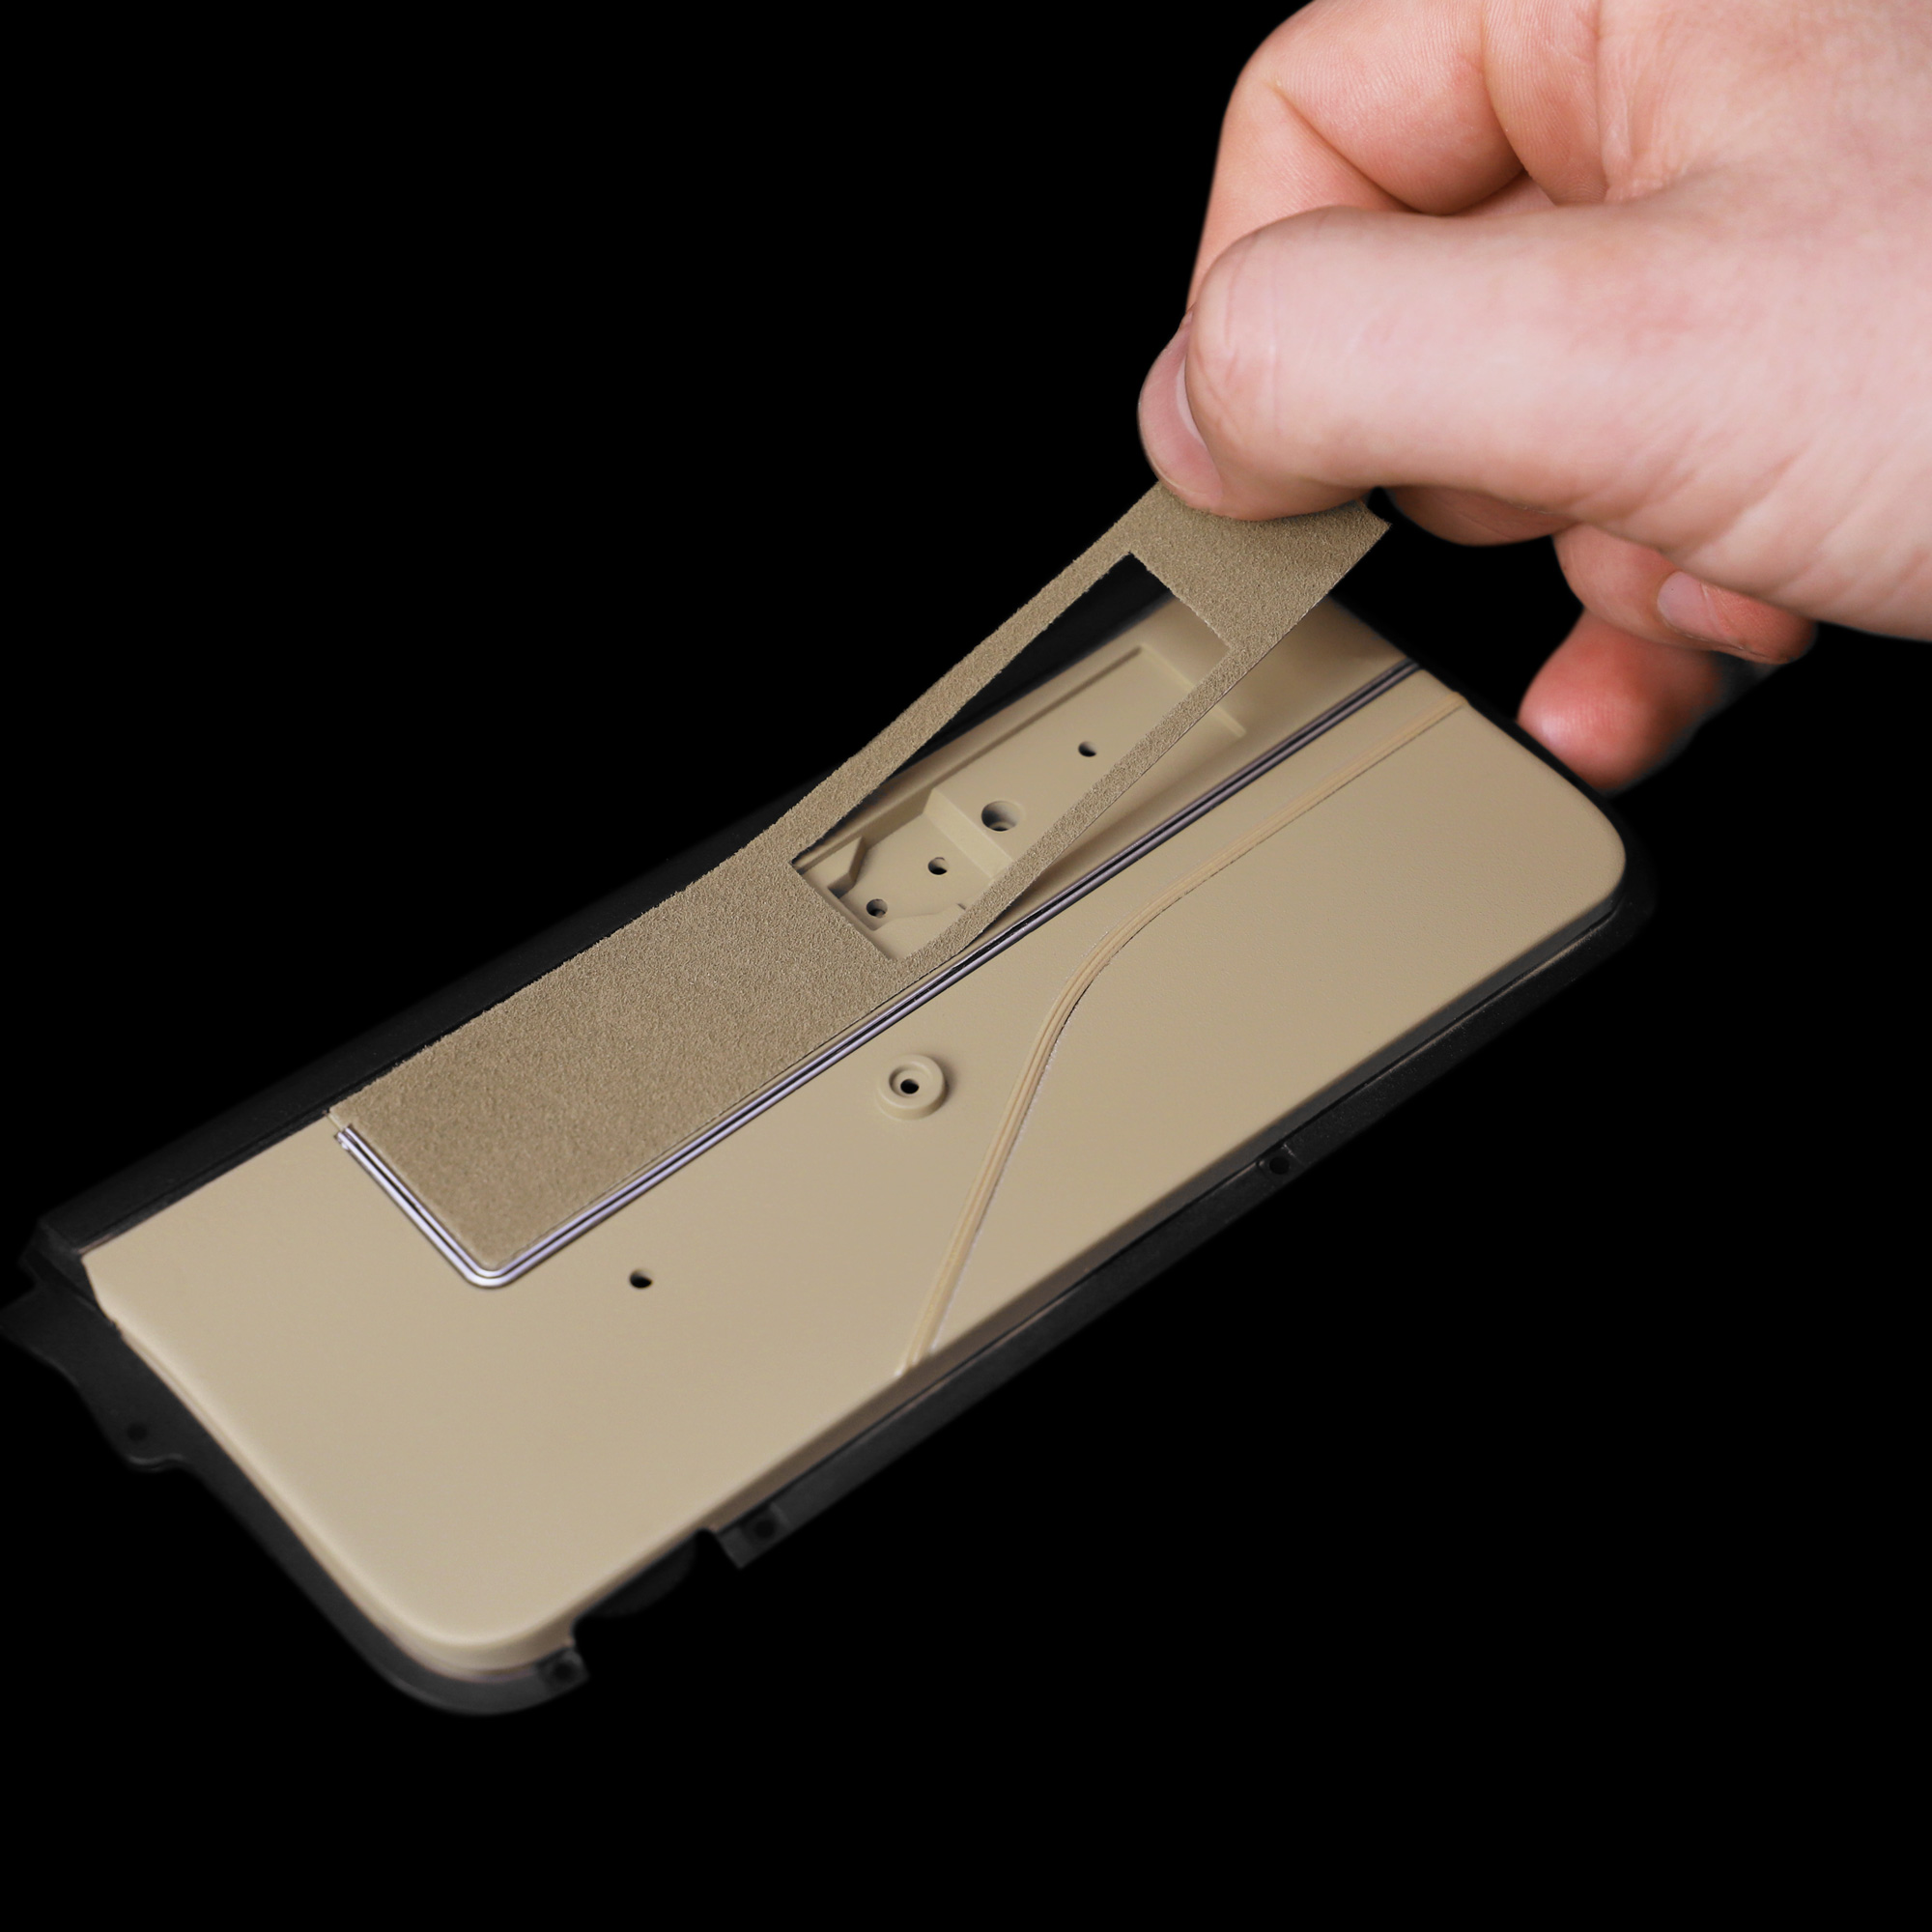
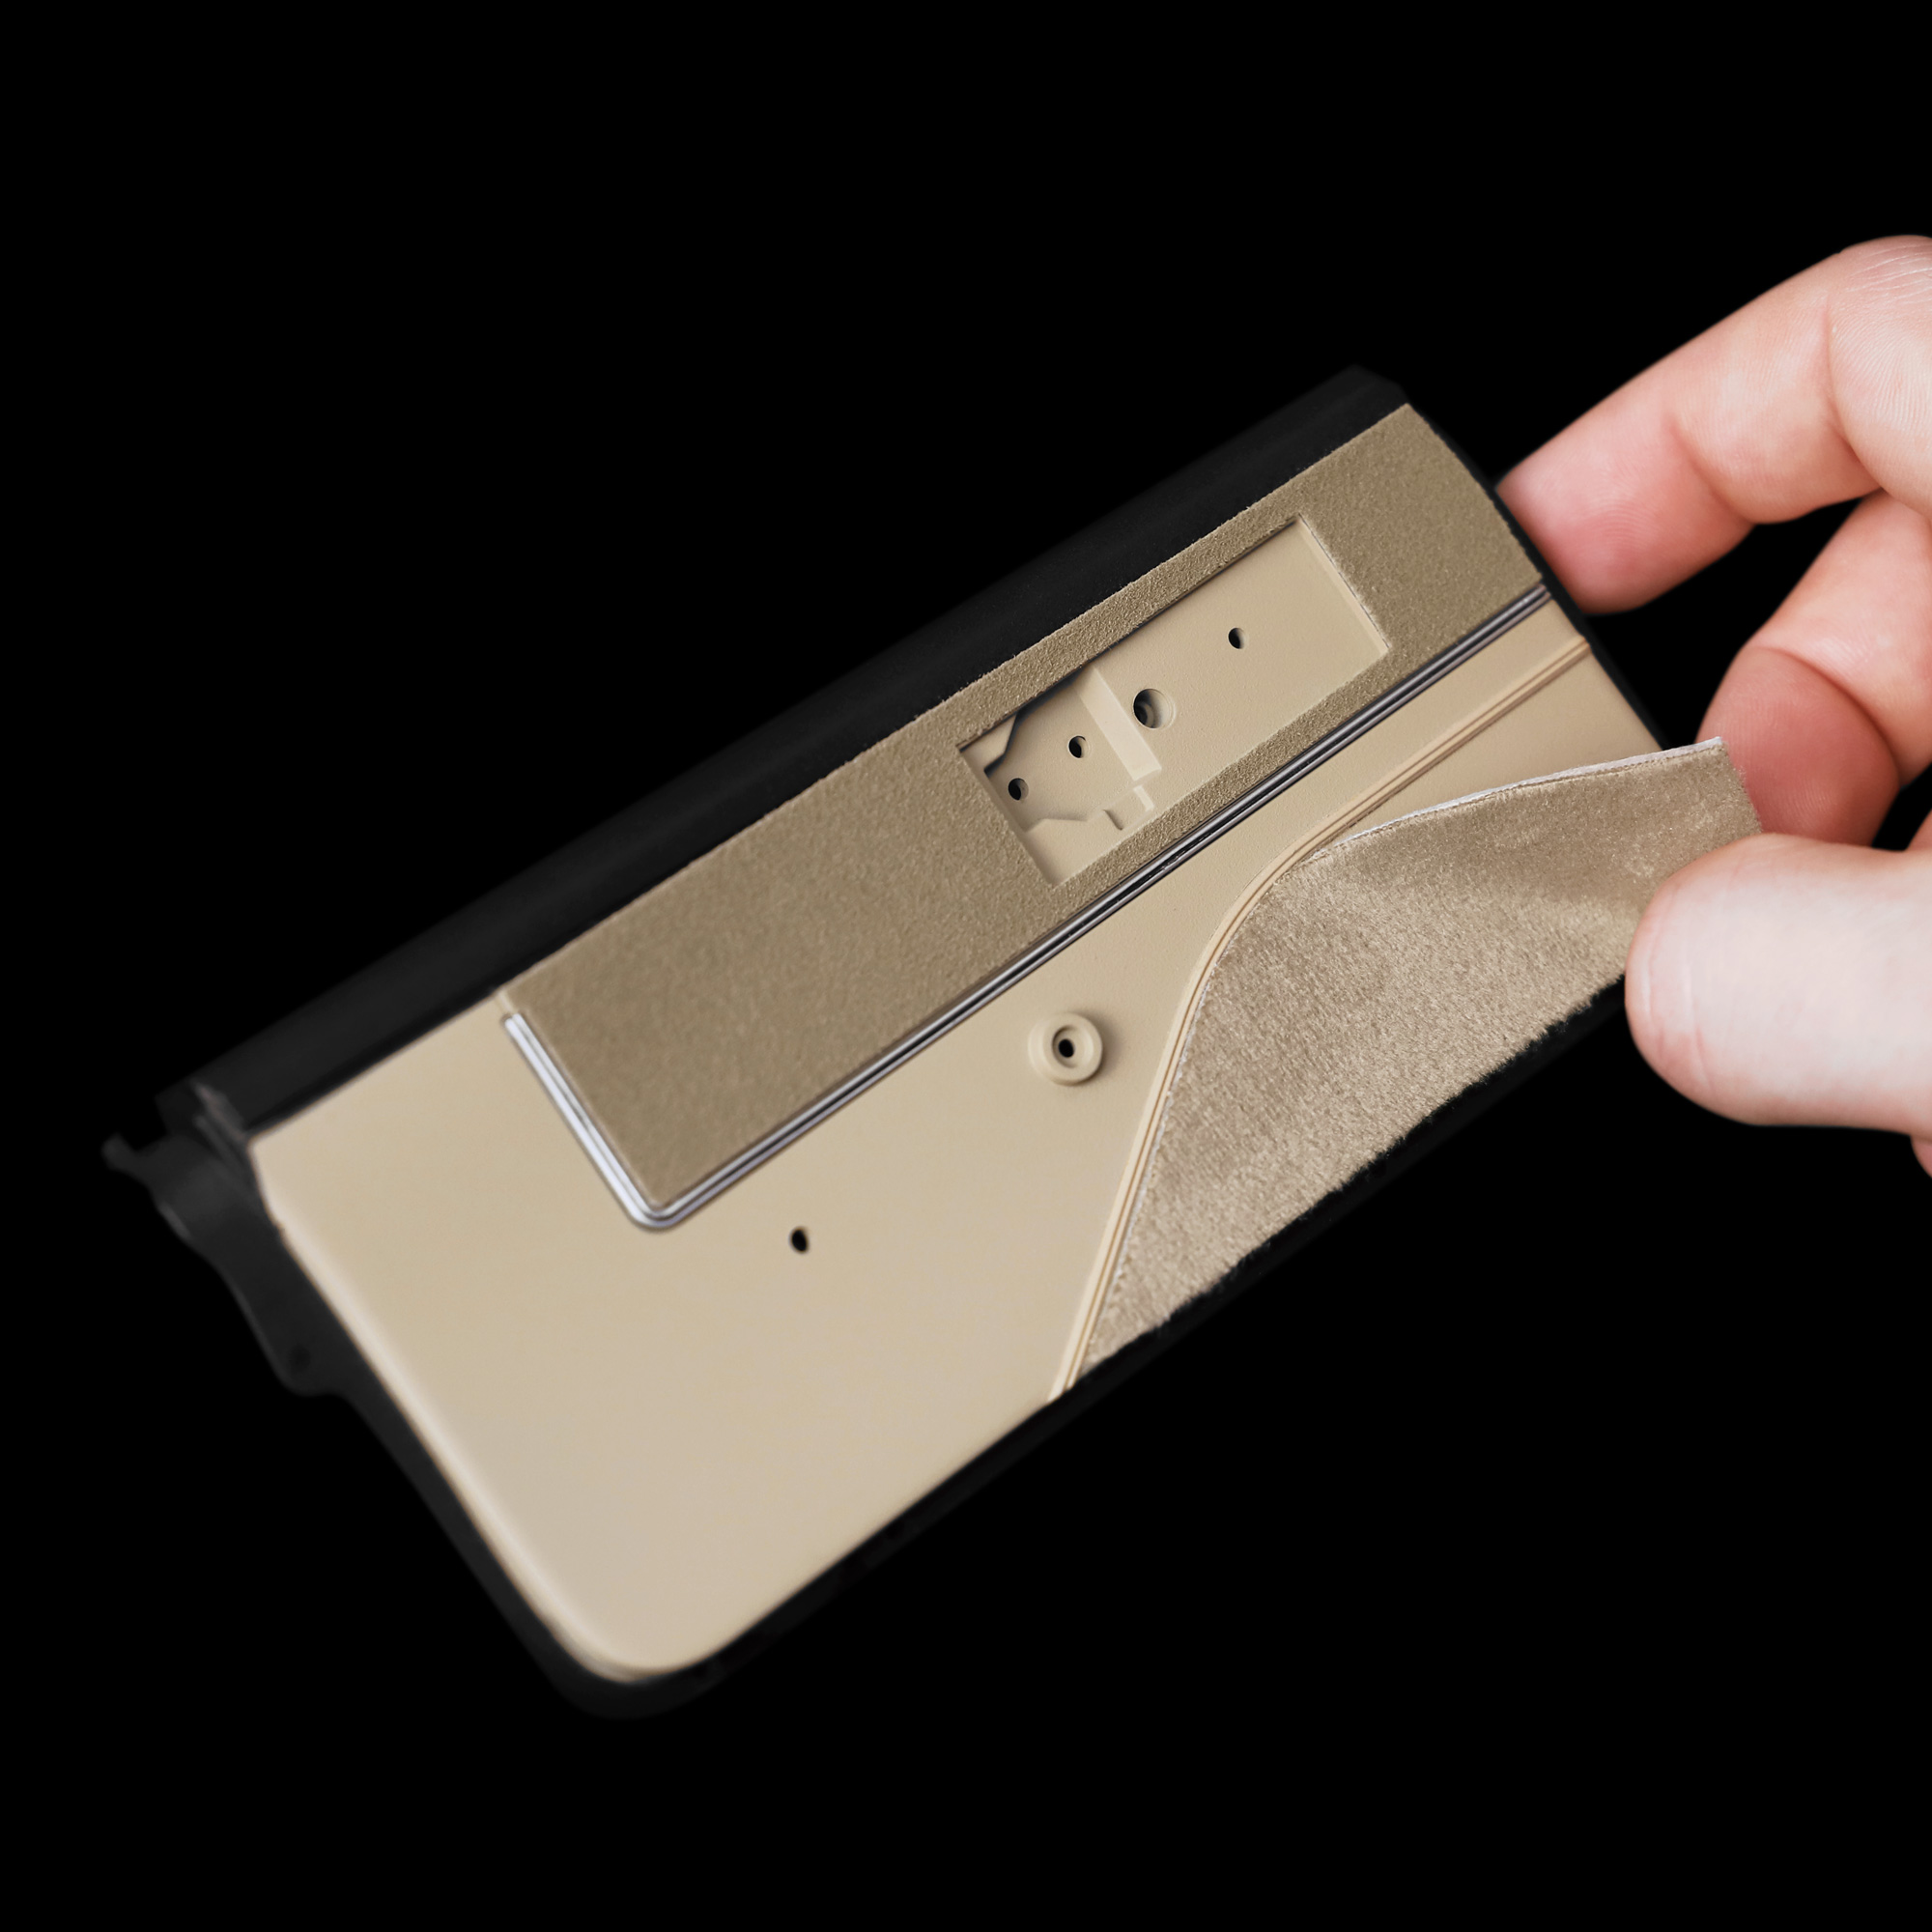
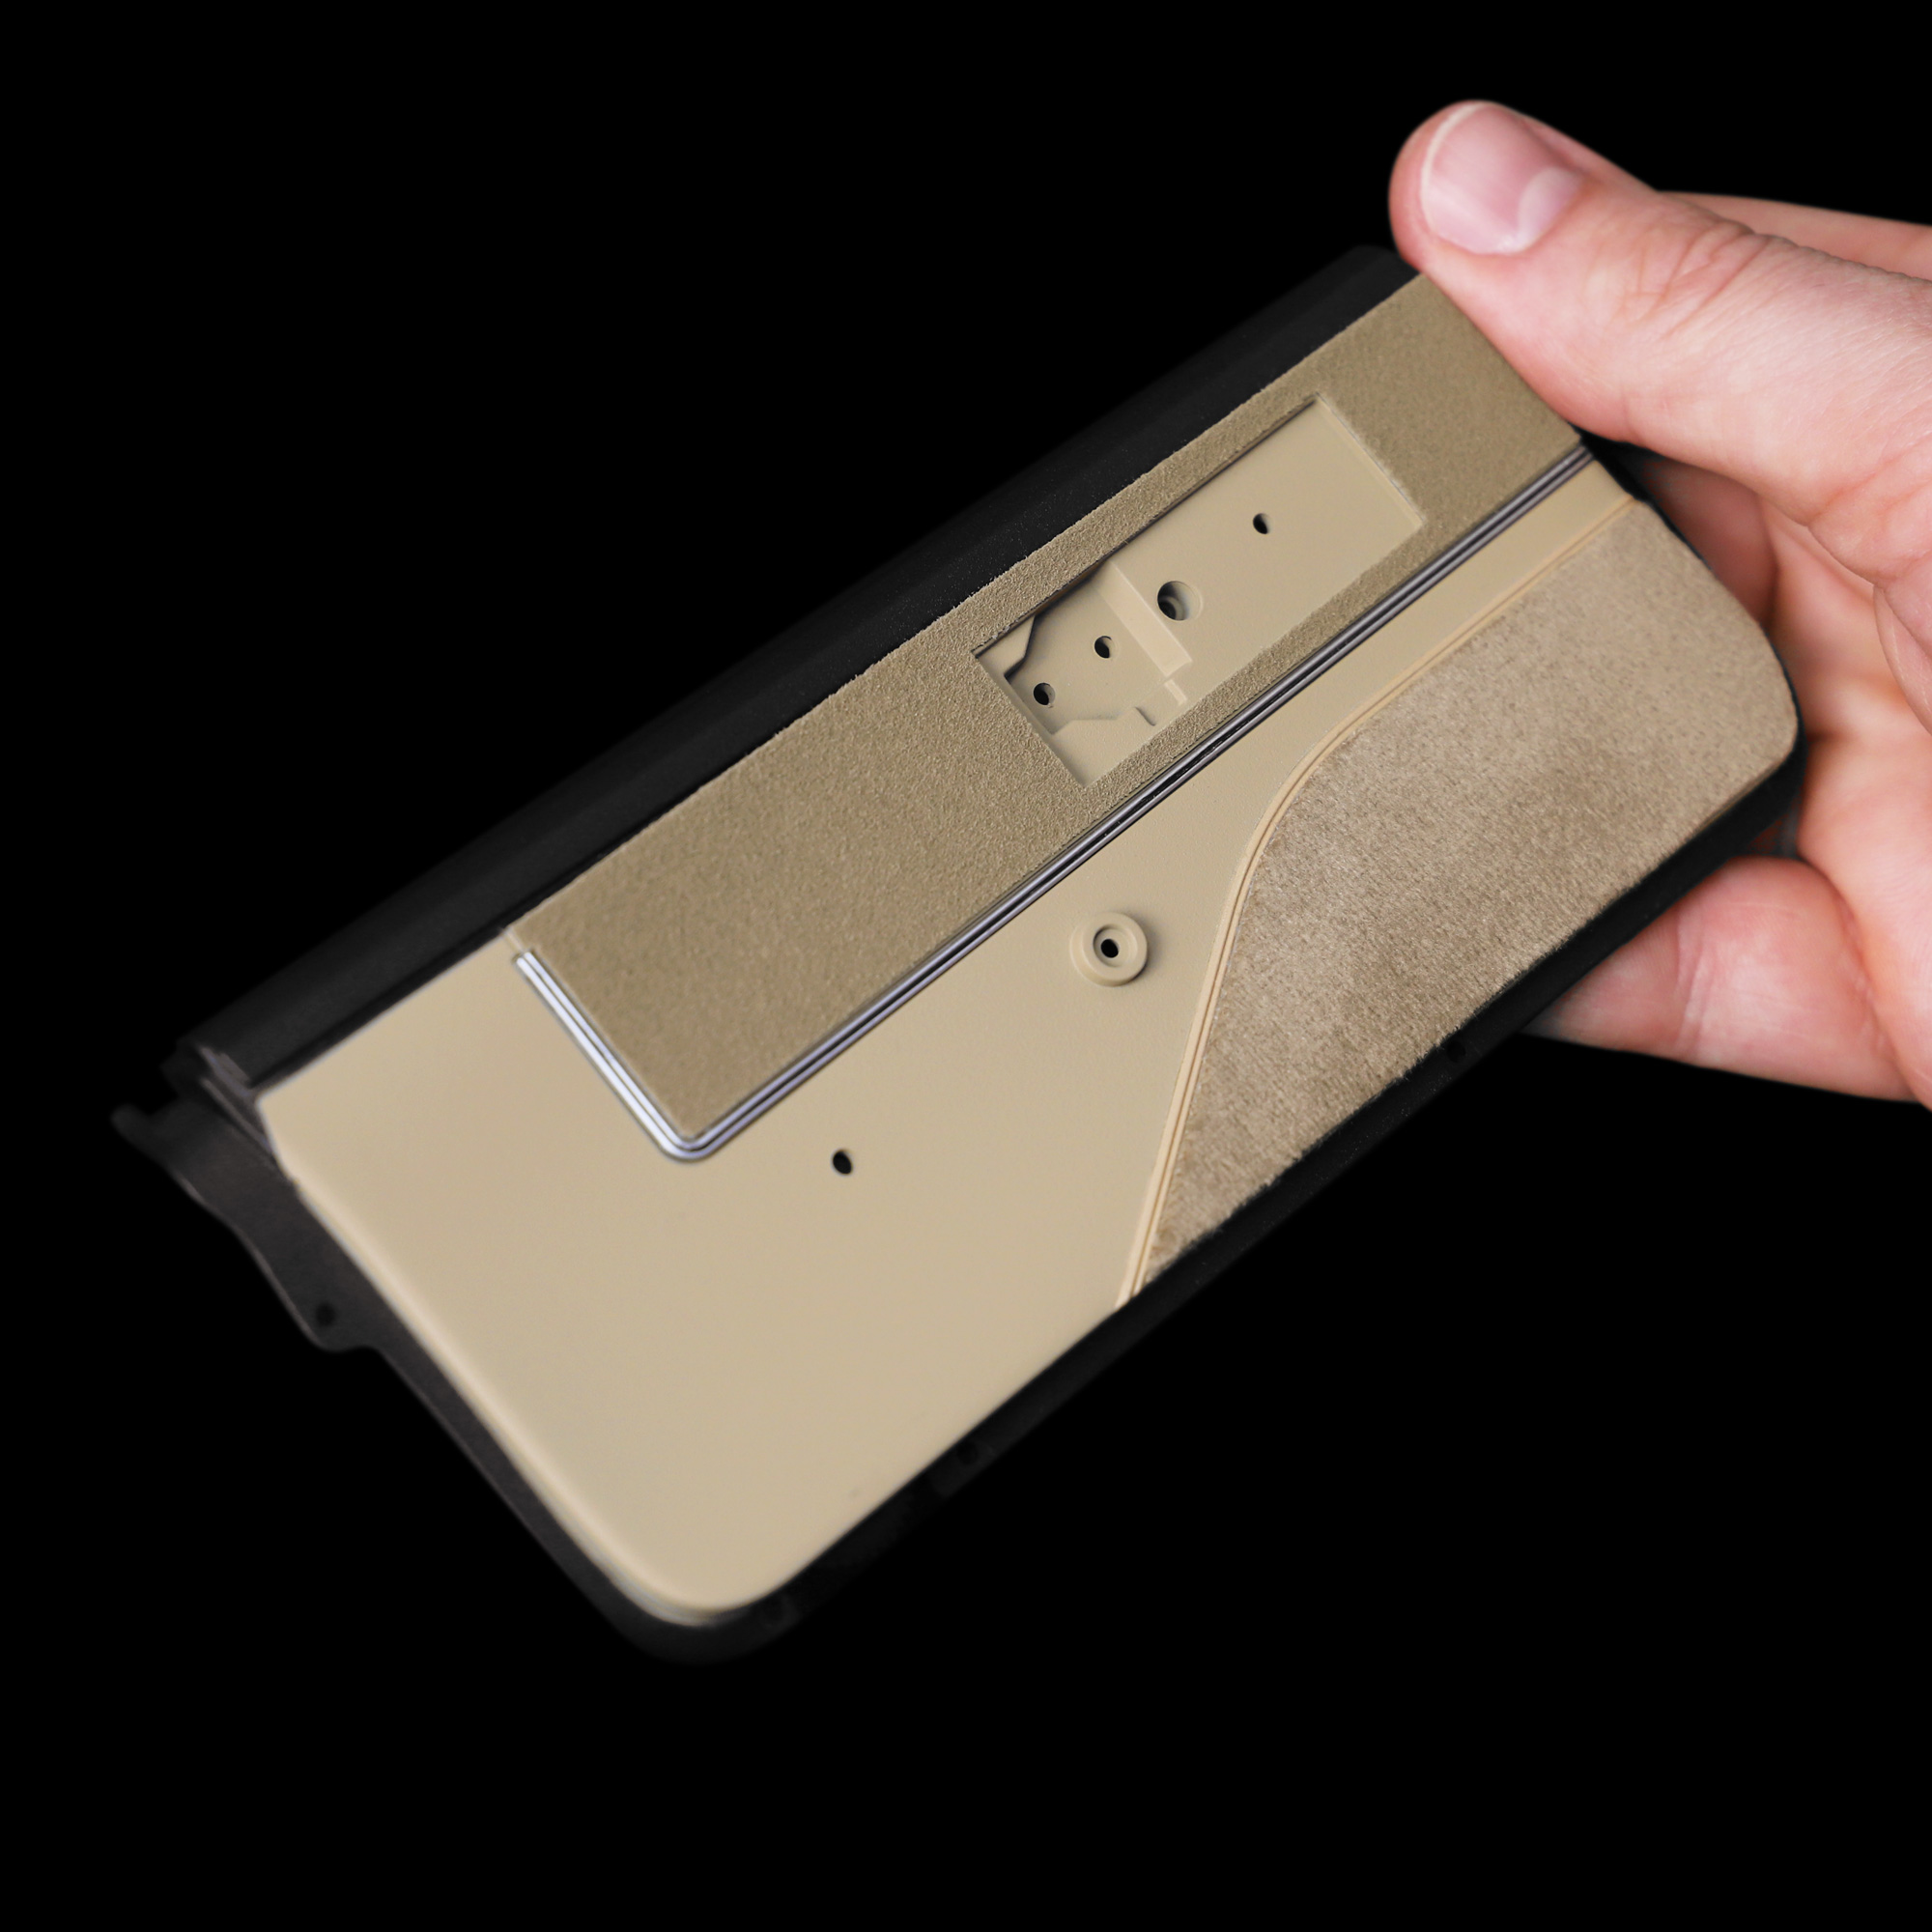
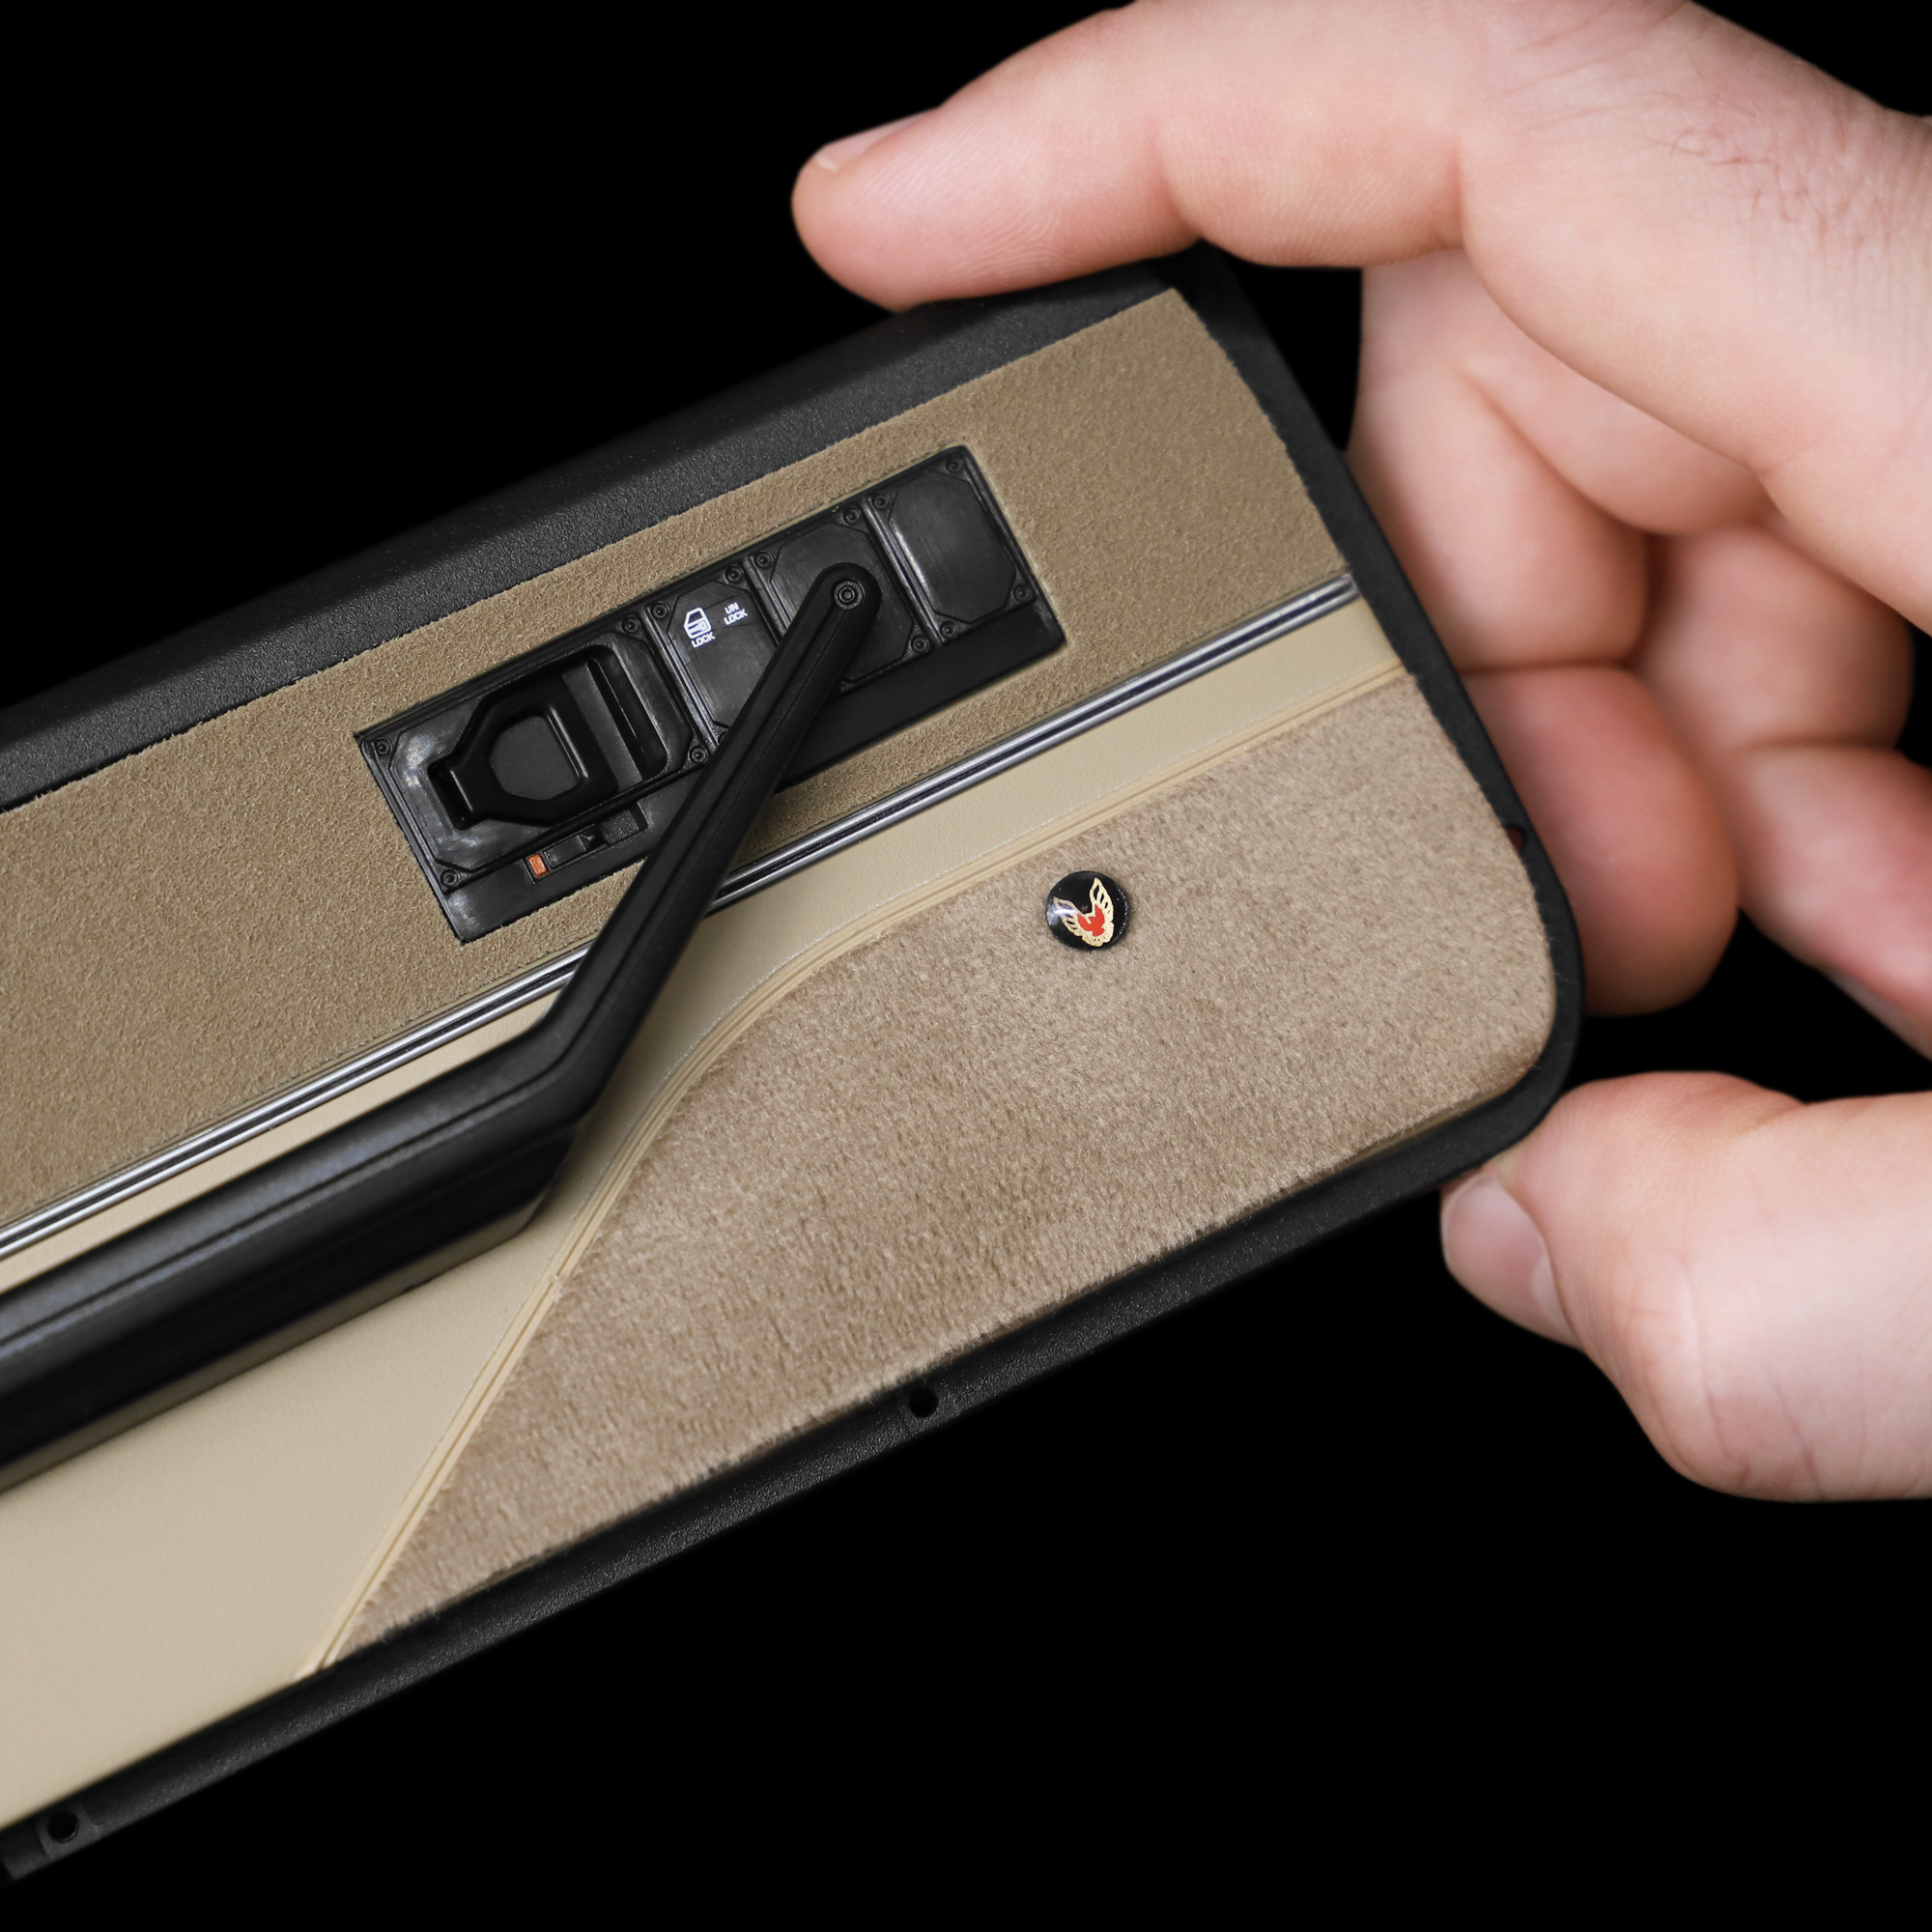
To attach the long top section of the door carpets you will first need to remove the armrest.
If you are too far past this stage and are unable to remove the armrest, you can snip the bottom section of the carpet to fit around the armrest.
Each piece is self-adhesive – simply peel off the backing and stick both sections into place.
Repeat for both door panels.
Step 7 Installing the door panel badges
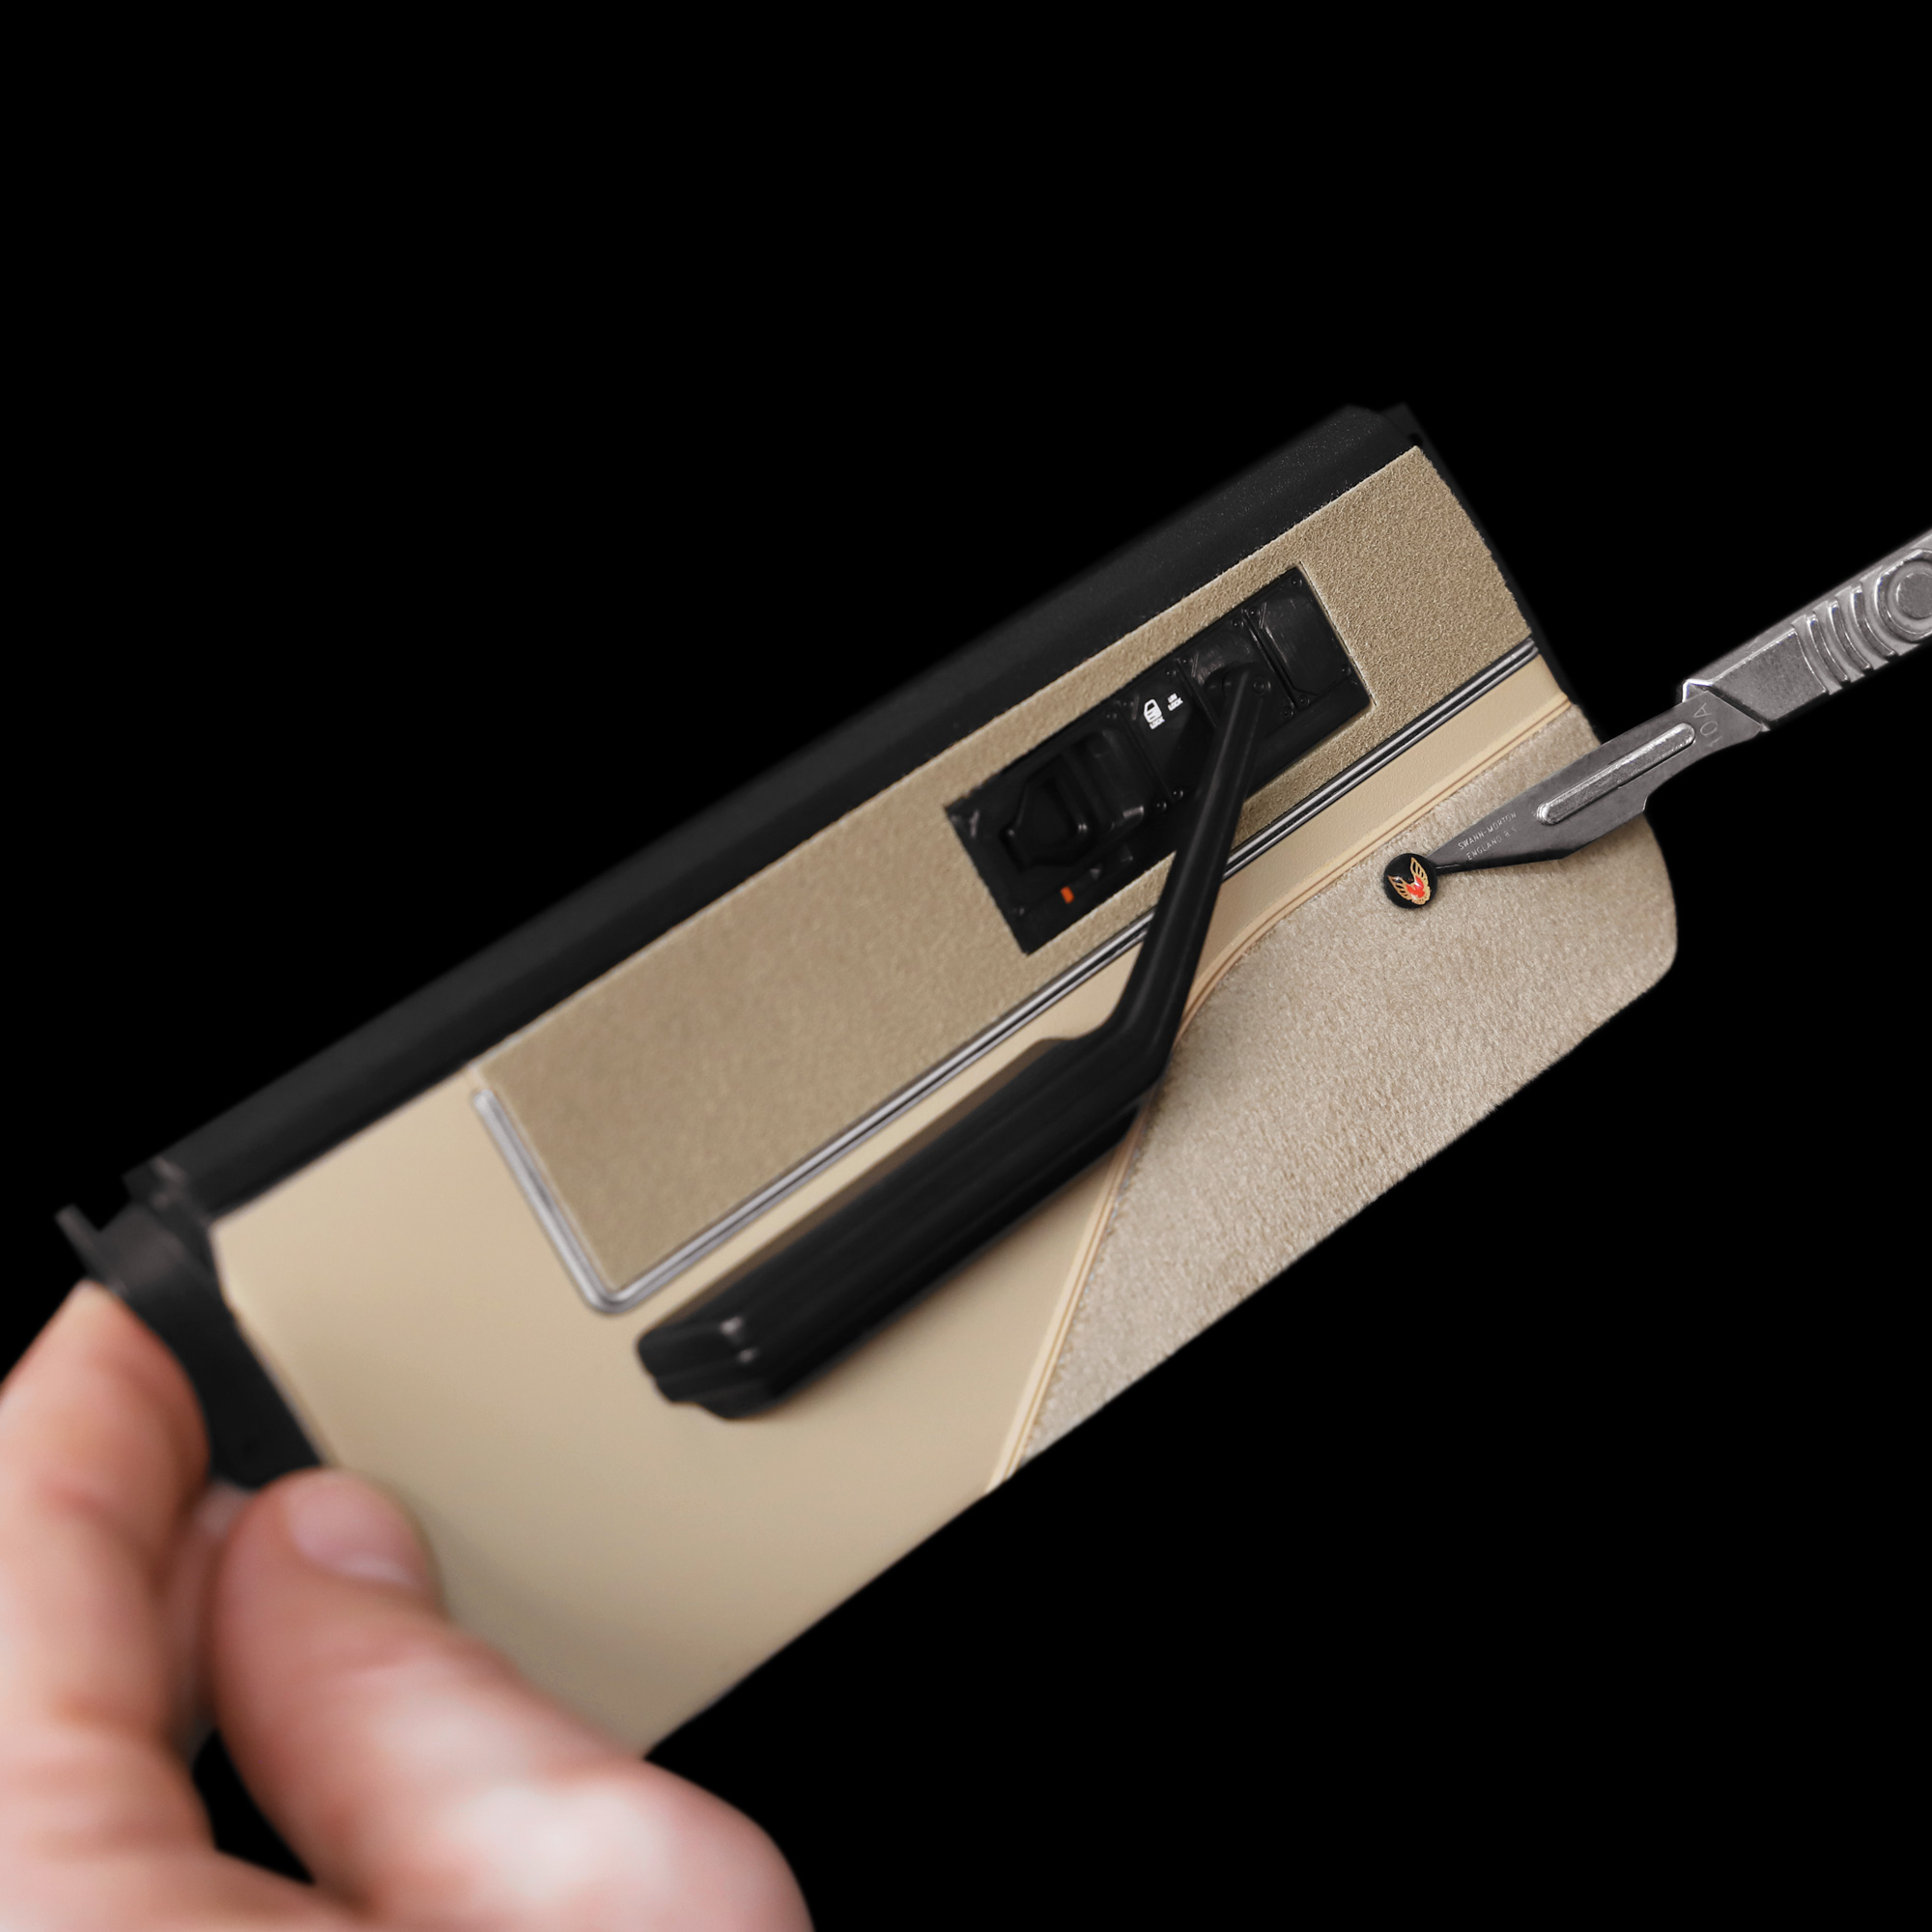
The door badges are also self-adhesive – simply peel off the backing and stick into place.
For correct placement, align approximately 25mm in from the edge (directly underneath the dividing line of the two rectangular panels above) and approximately 2mm down from the top of the carpet edge.
Refer to the photos opposite for further guidance.
Repeat for both door panels.
Step 8 Installing the felt window protectors
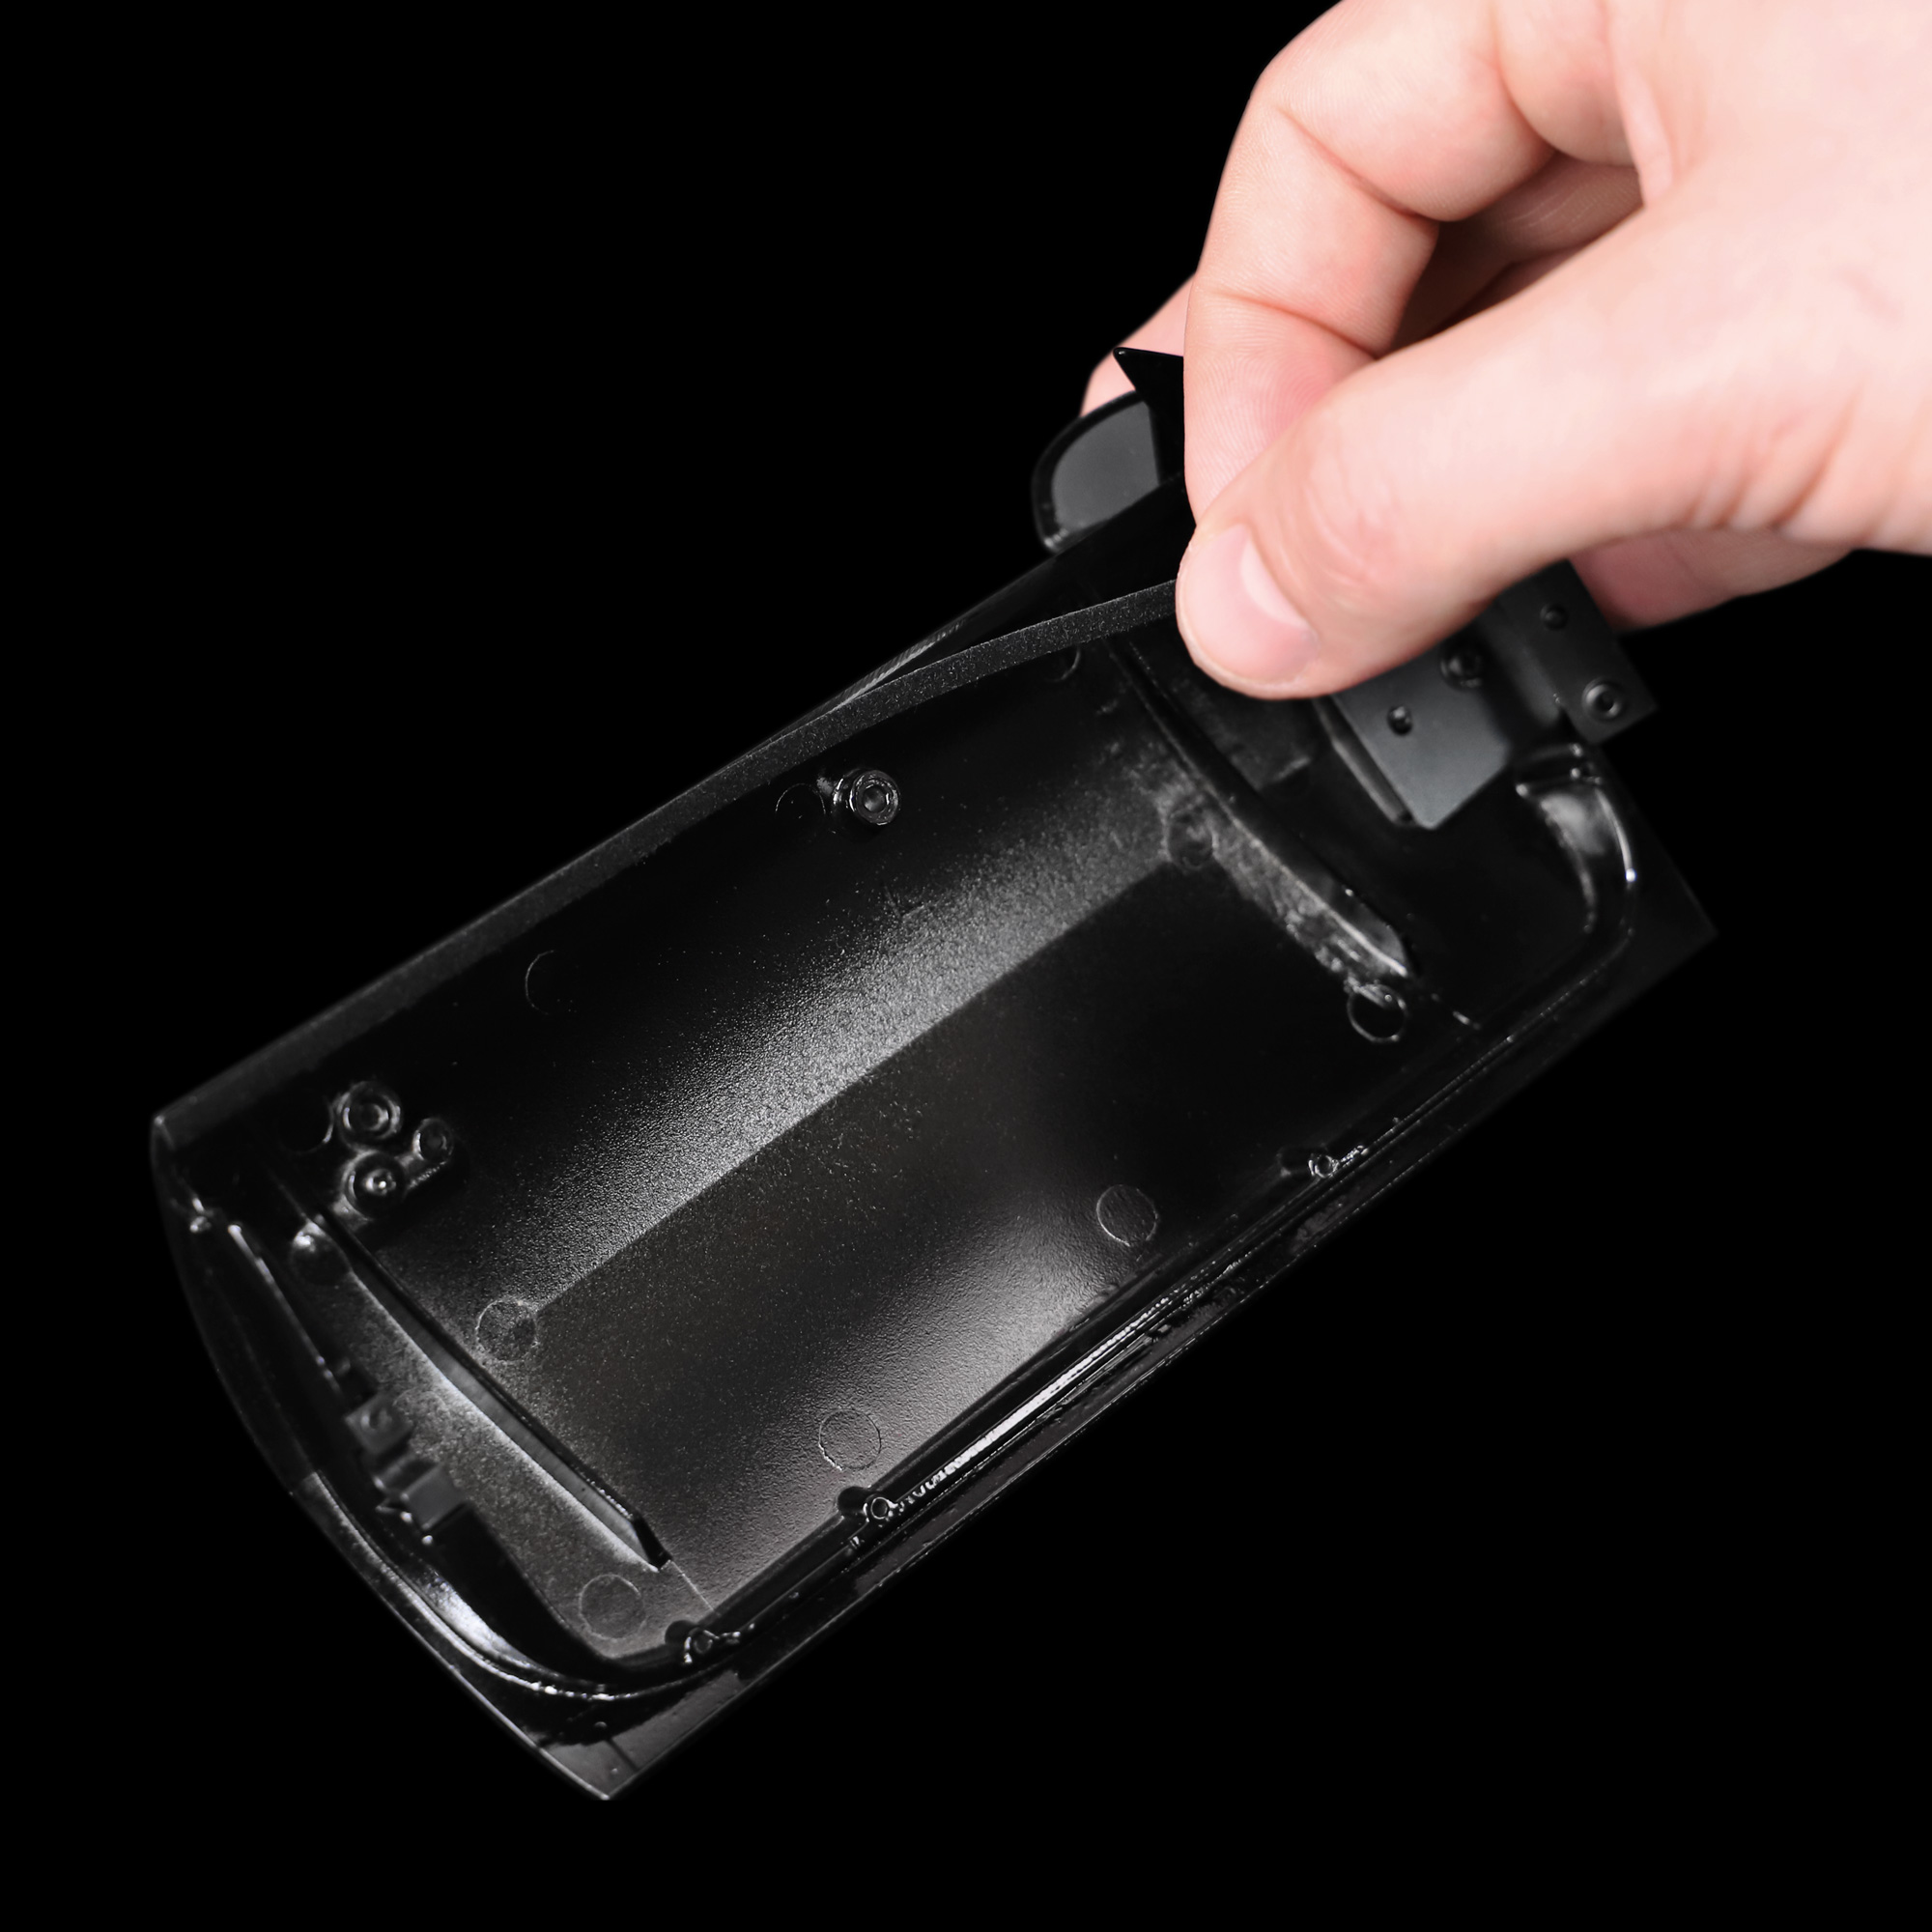
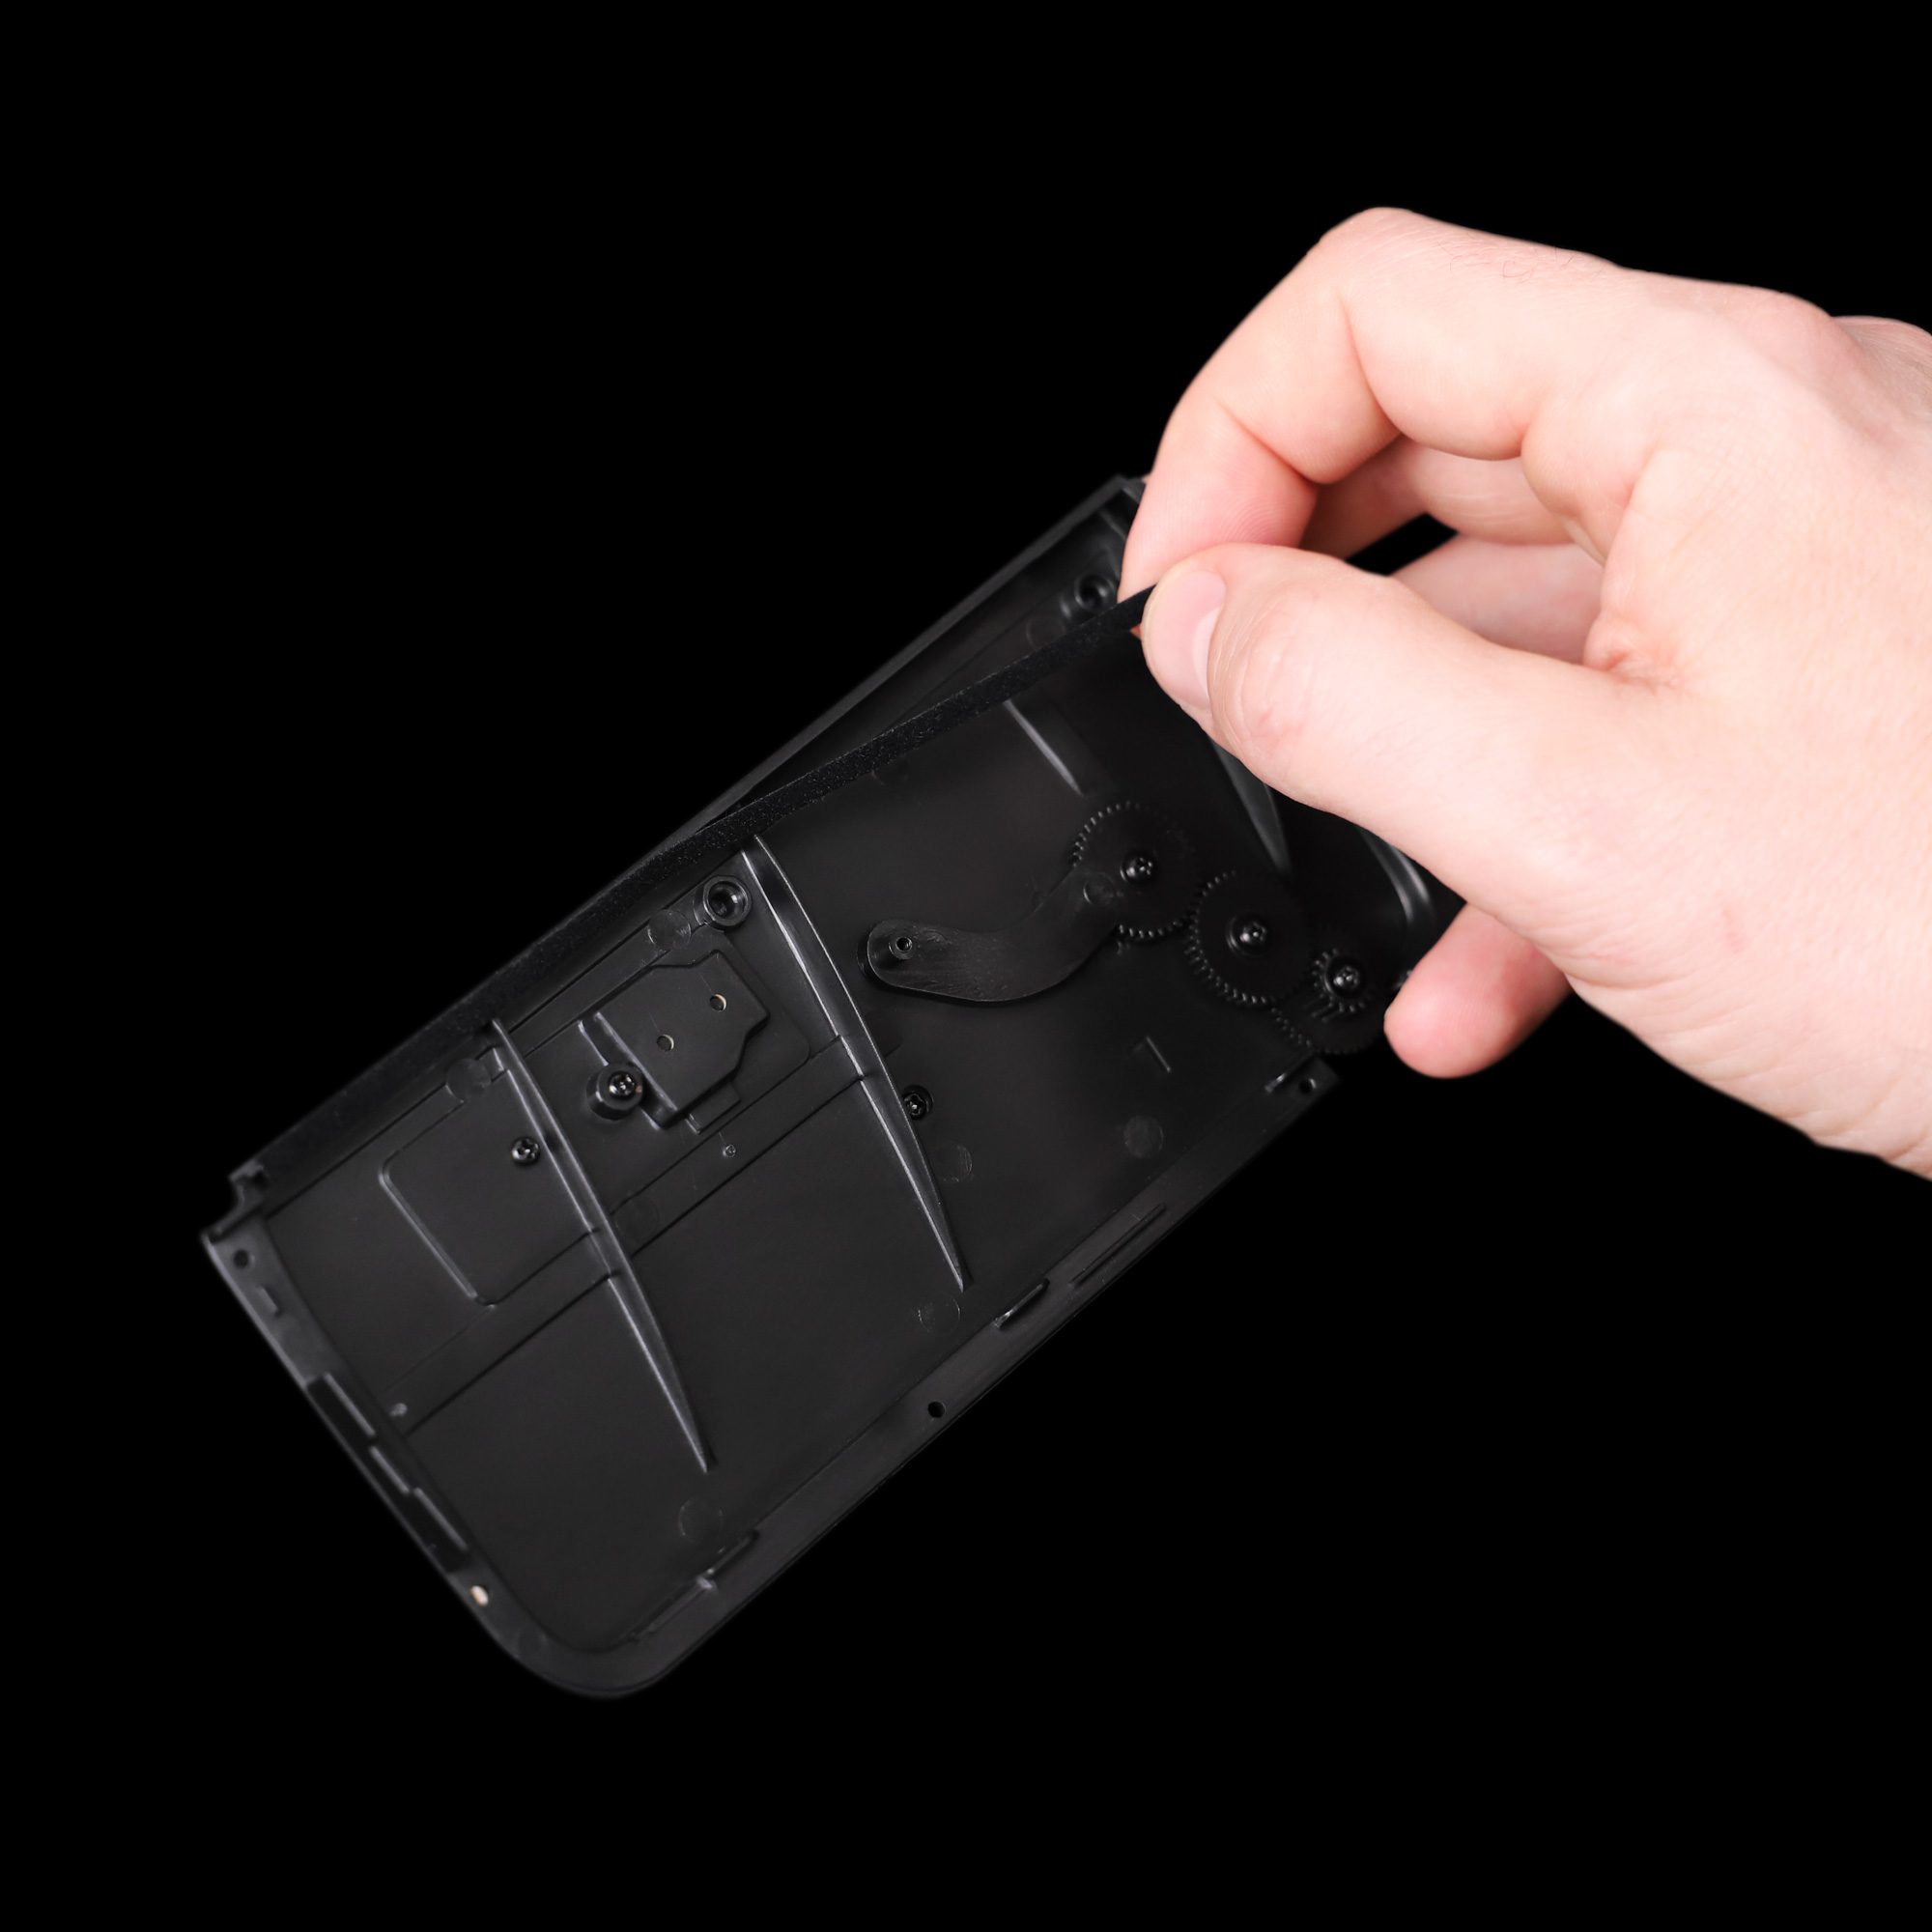
Install the felt strips to the inside edges of the doors (parts 68A and 71A) and door panels (parts 70A and 73A).
These felt strips replace the vinyl strips that are provided with the windows at issue 69 and 72, and will better protect the windows from scratches when winding them into the door.
Repeat for both door doors.
Step 9 Installing the rear sail panel carpets
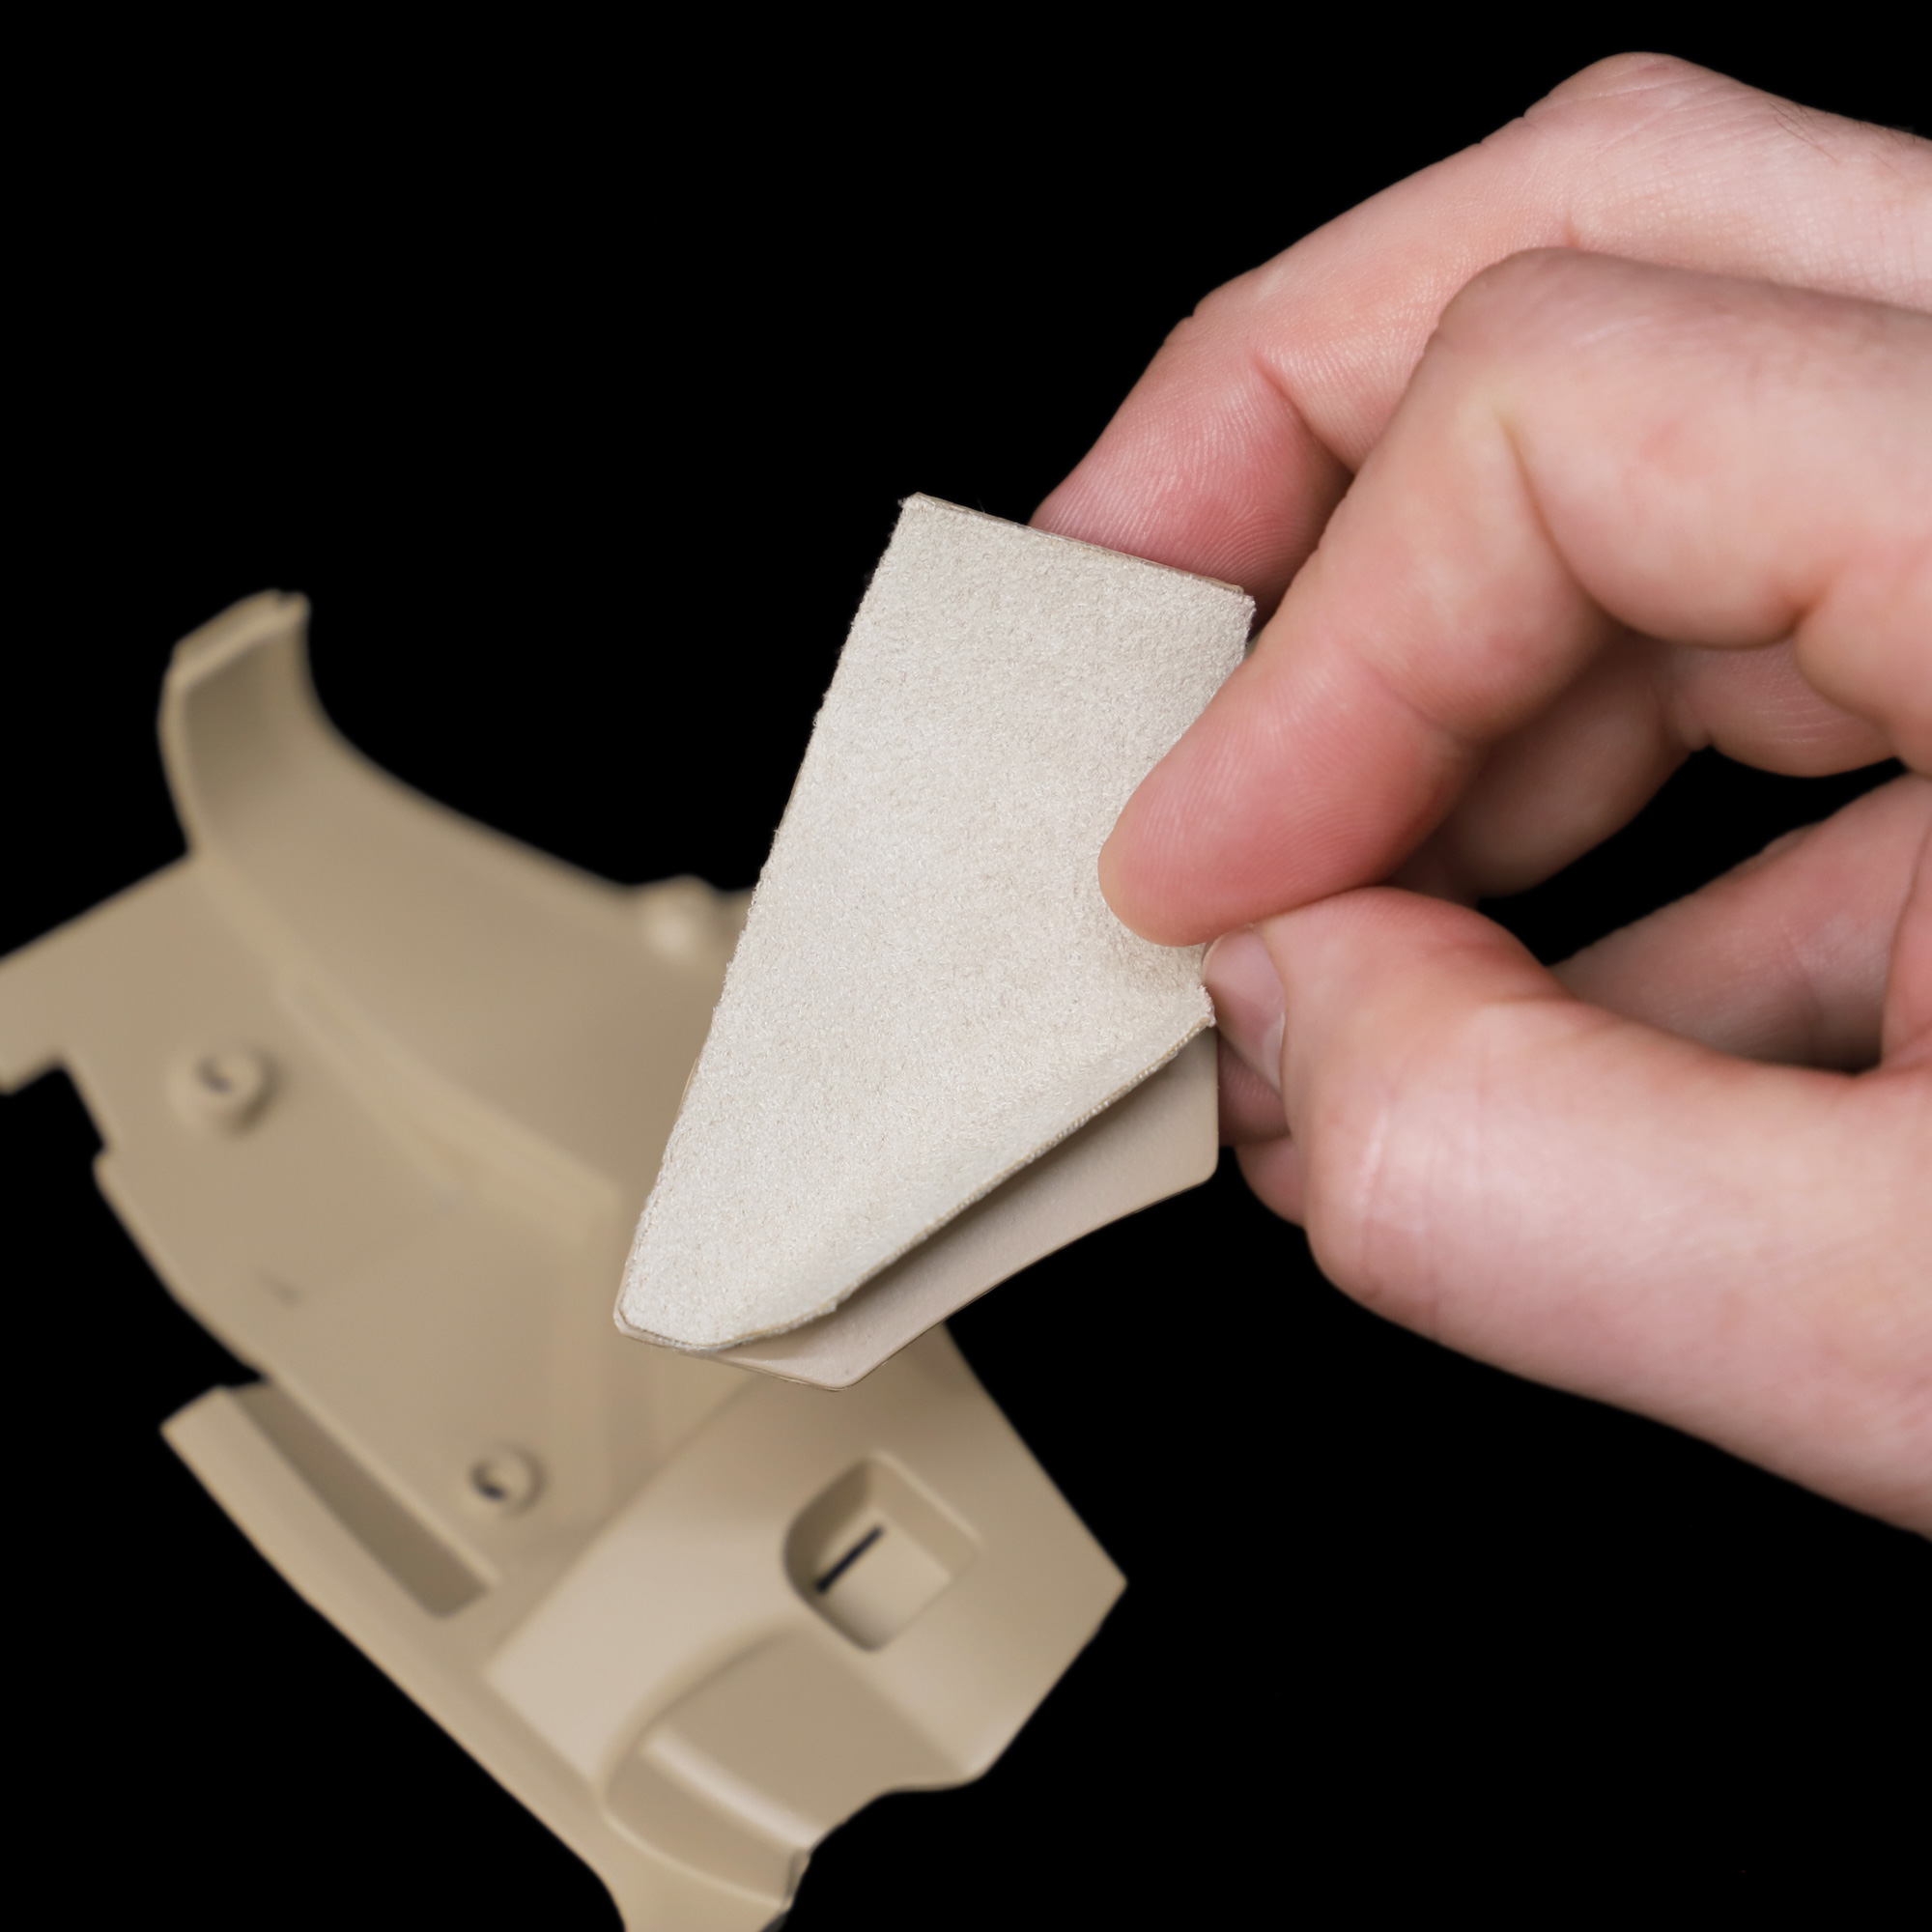
Starting along the top edge, slowing work along the curved edge towards the bottom right corner. The sail panel has a strange shape to it, and I found the carpet fits best this way.
Each piece is self-adhesive – simply peel off the backing and stick into place.
Once the carpet is installed, pierce the small hole at the top for parts 103B and 106B (the tiny tan pieces that fit into the top of the sail panels).
Repeat for both rear sail panels and continue to install into your model.


